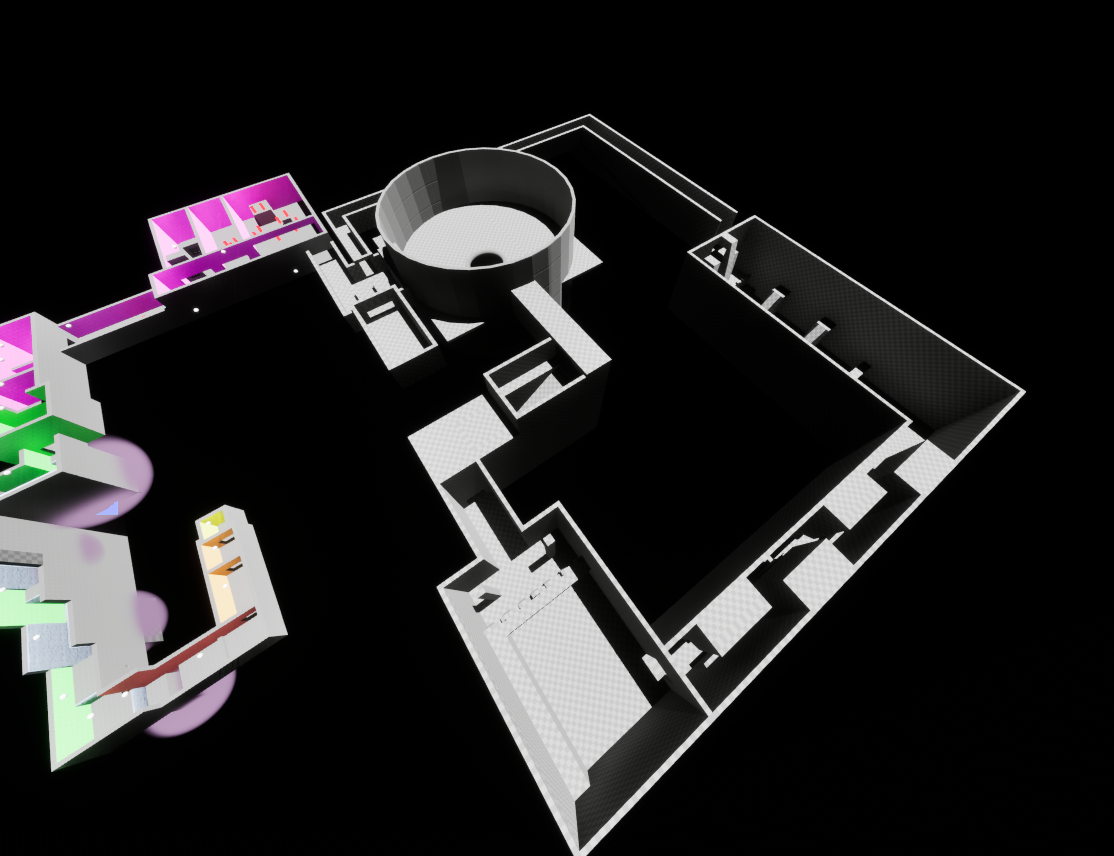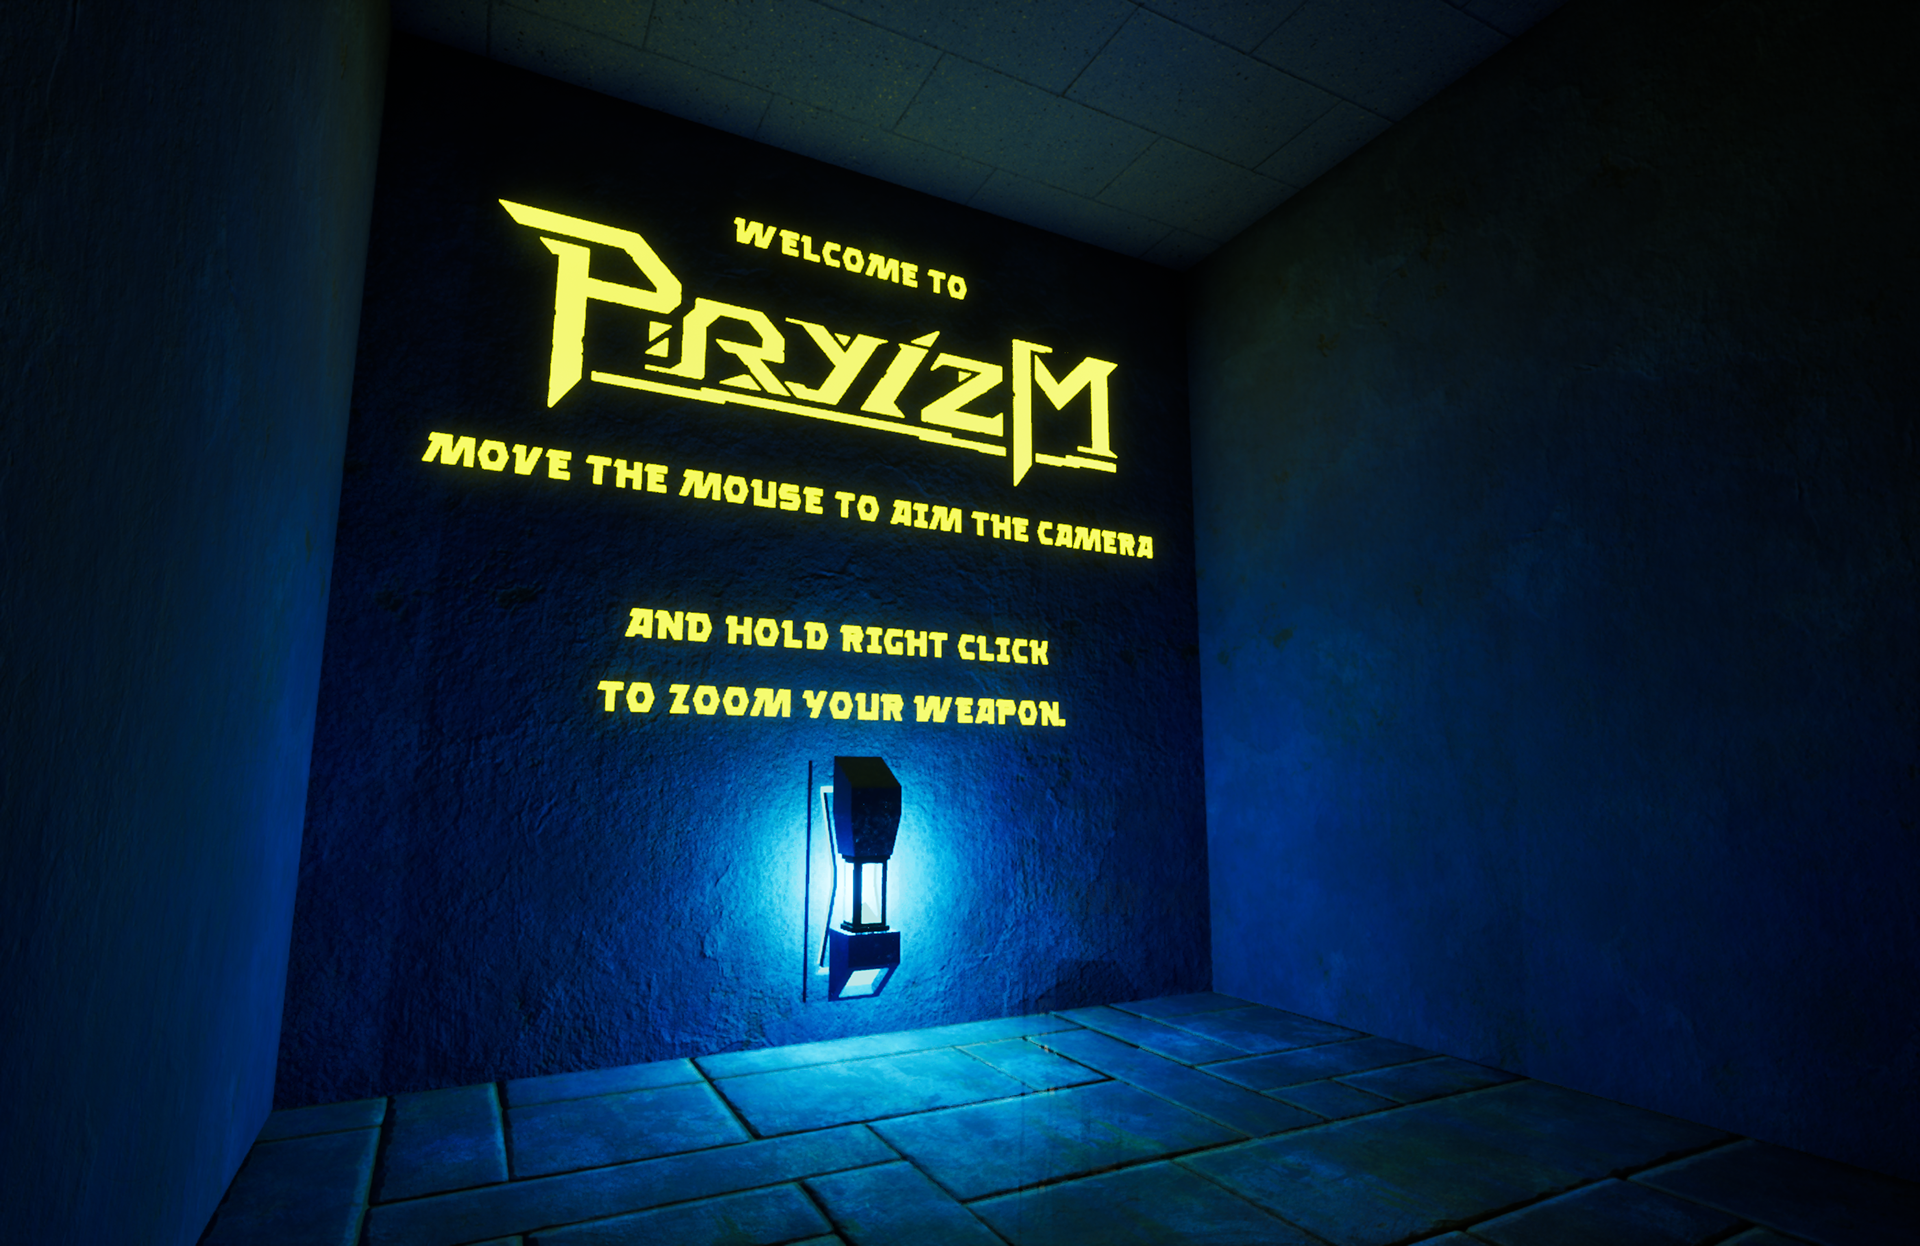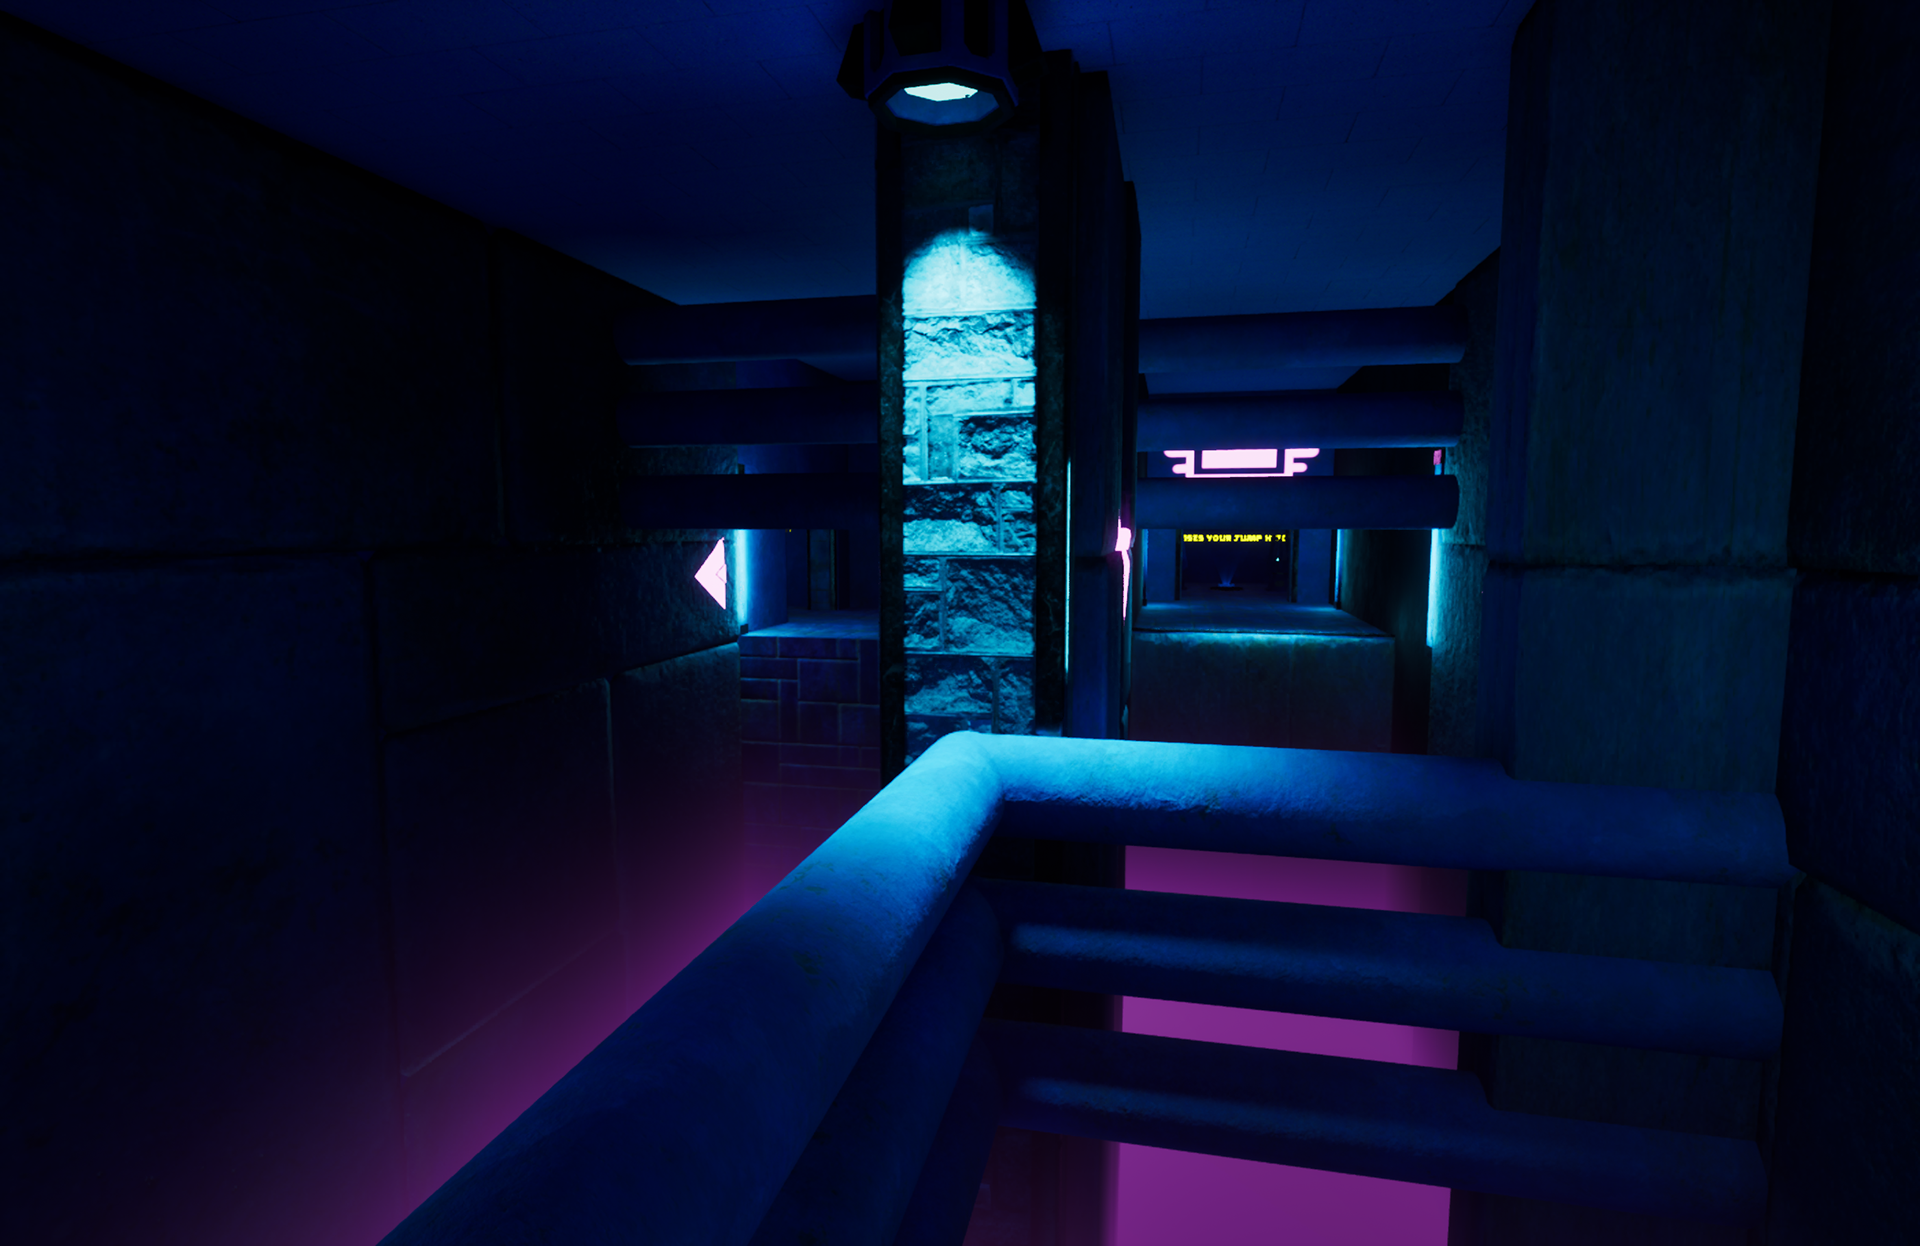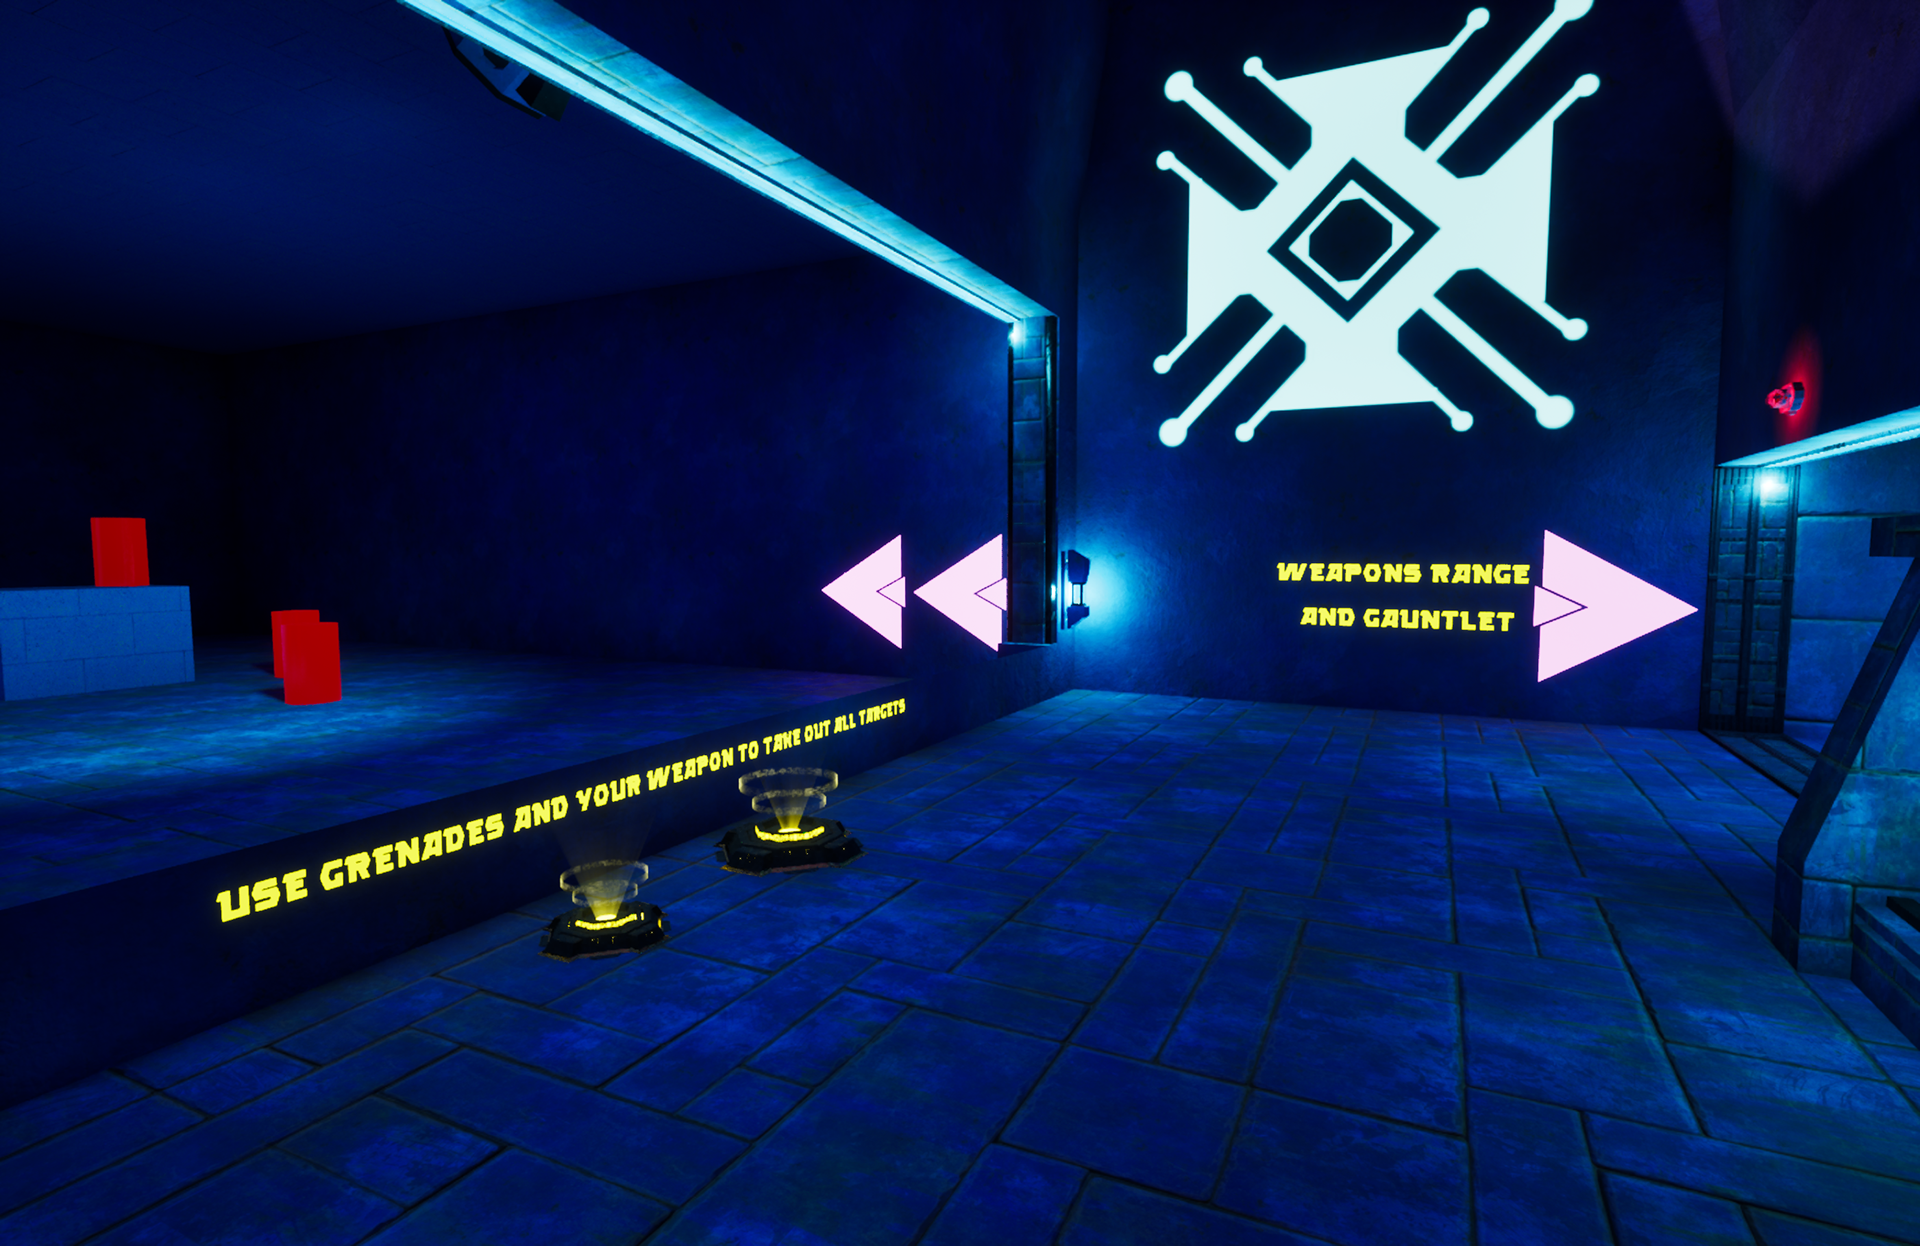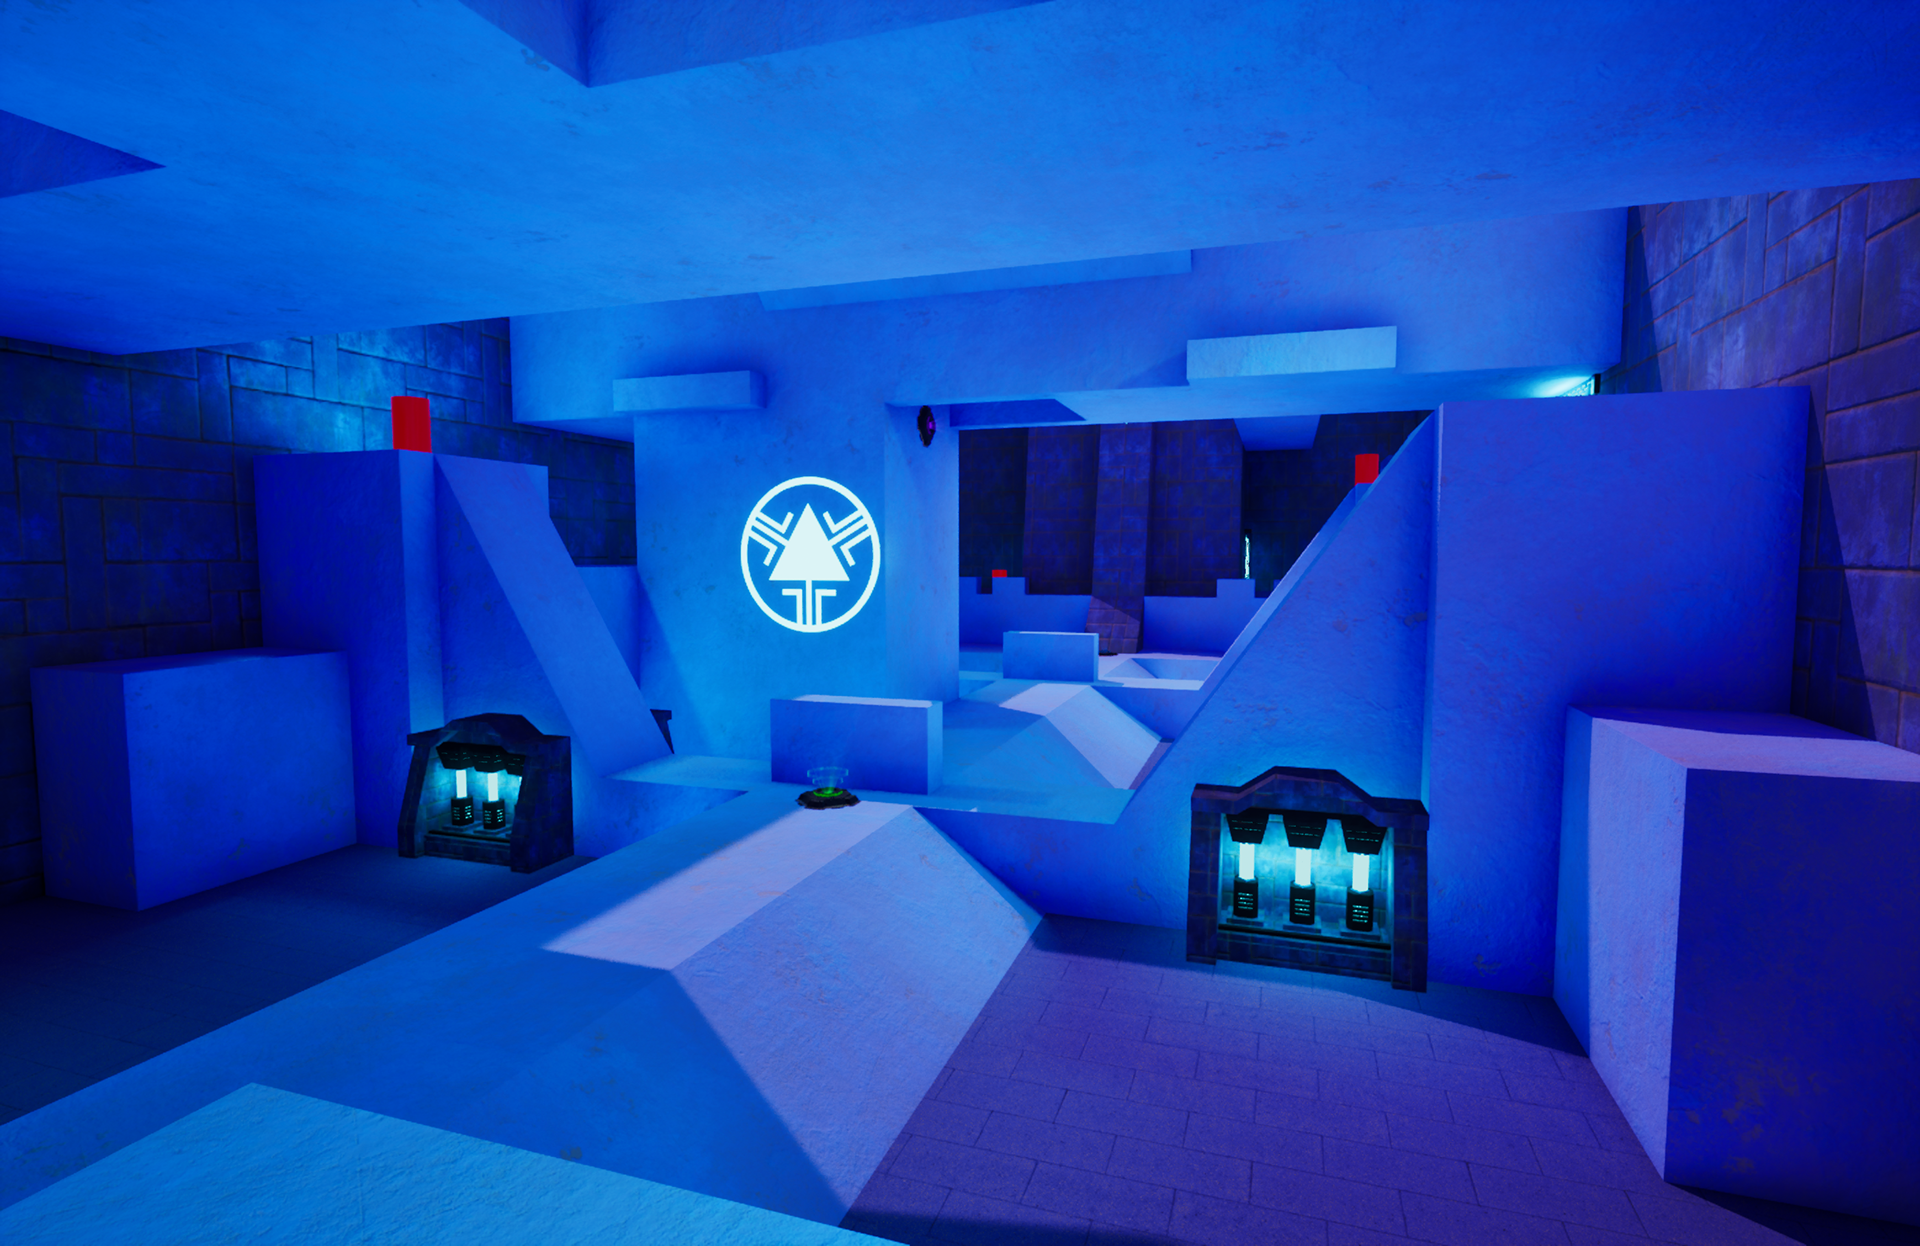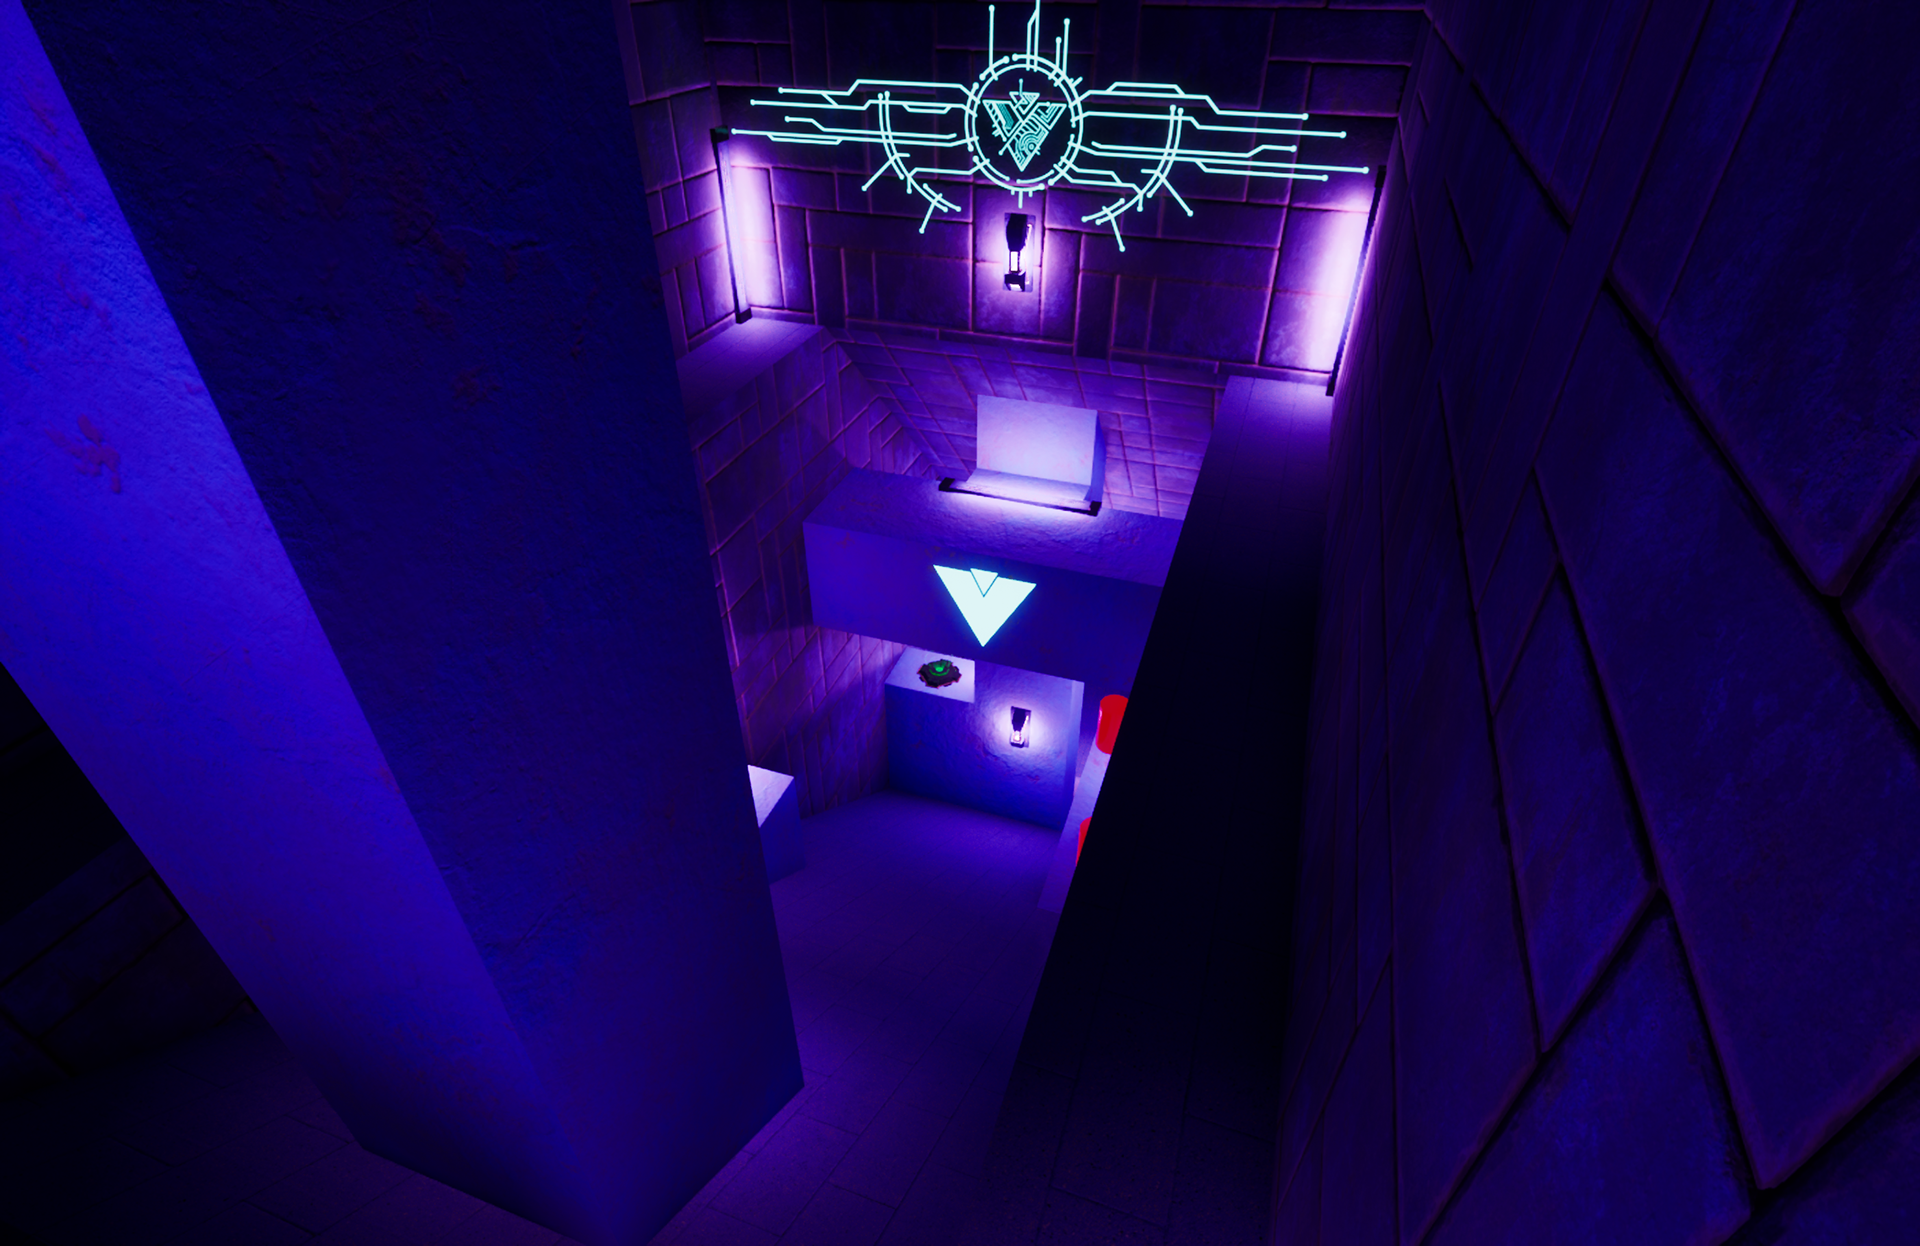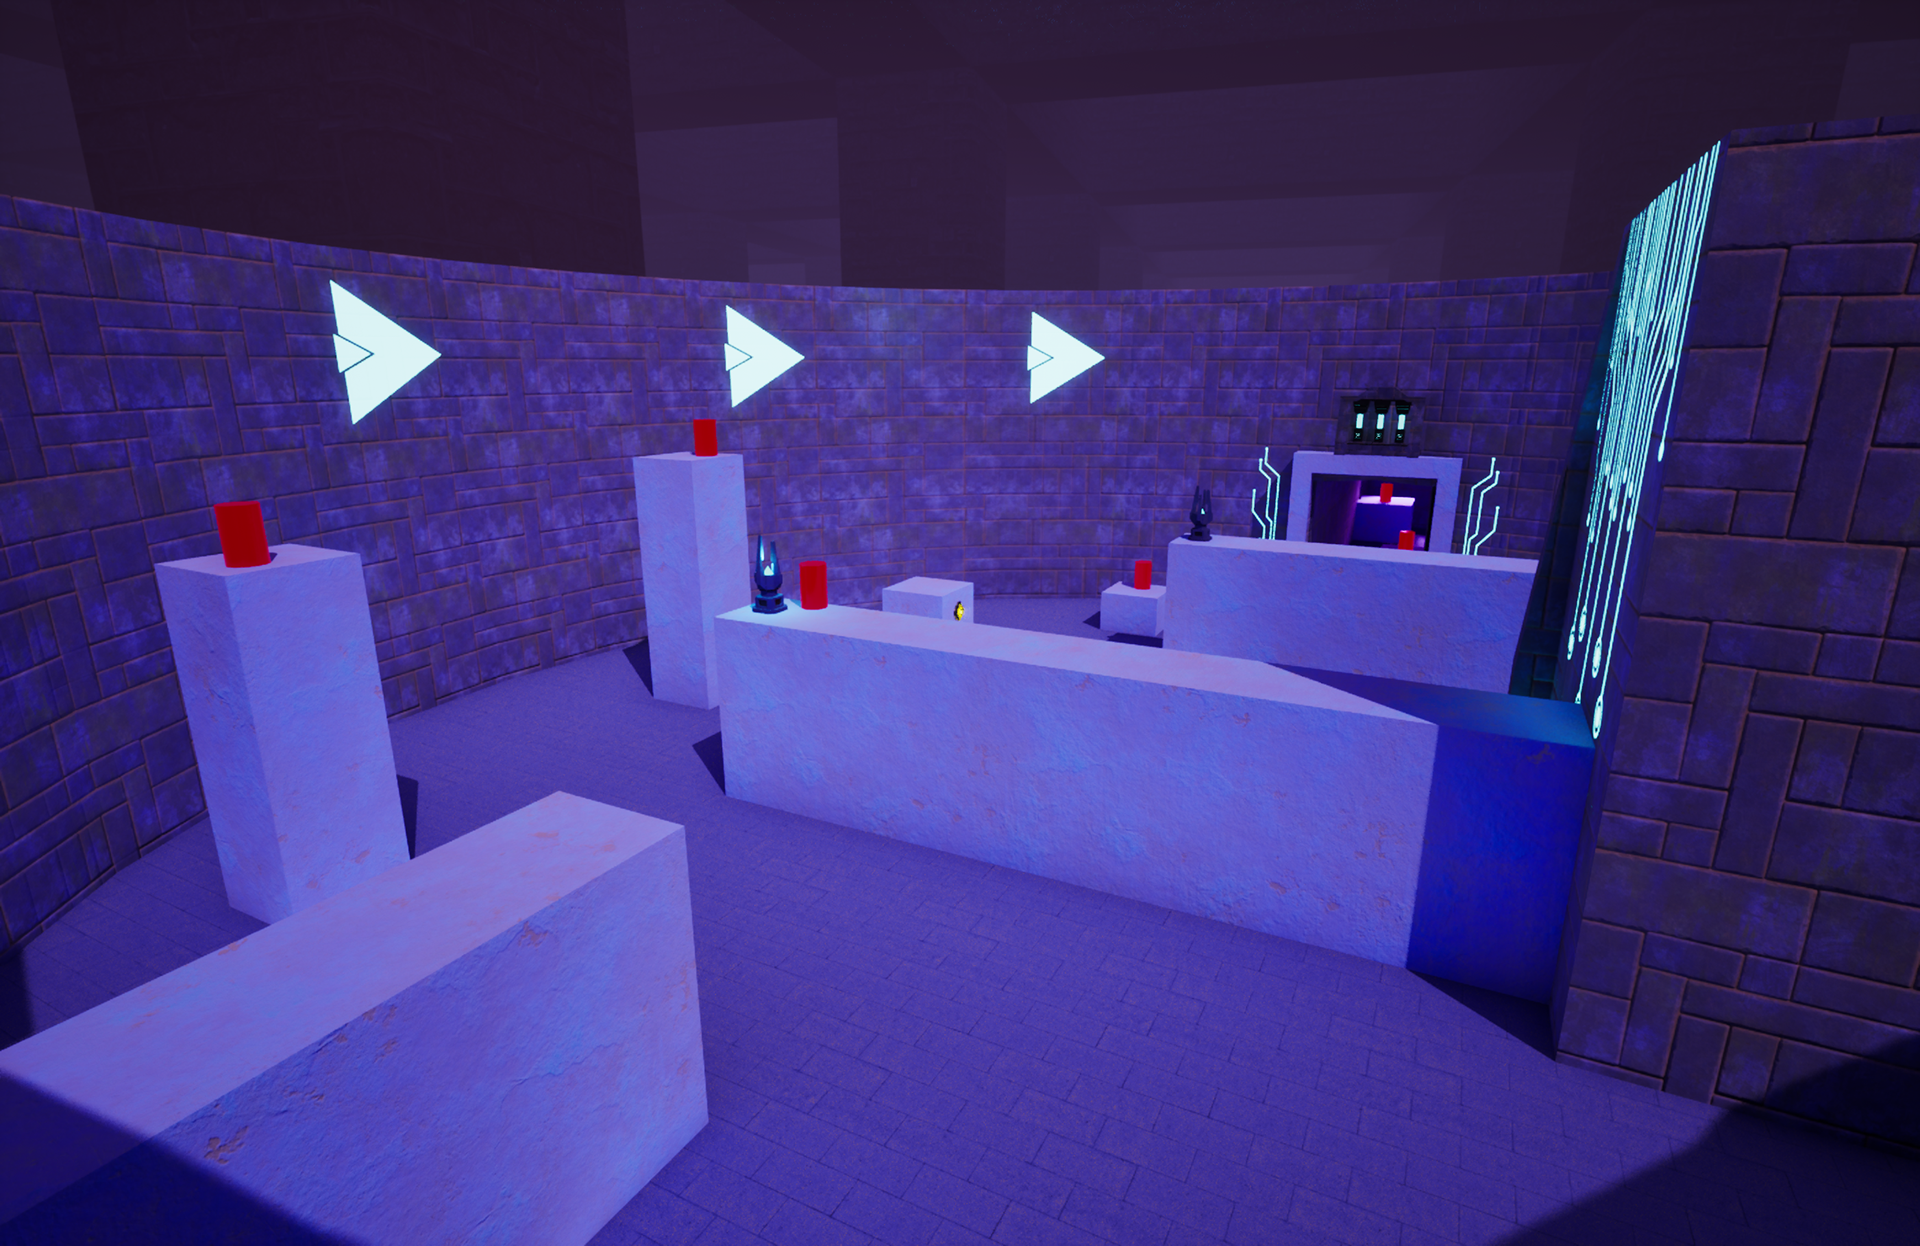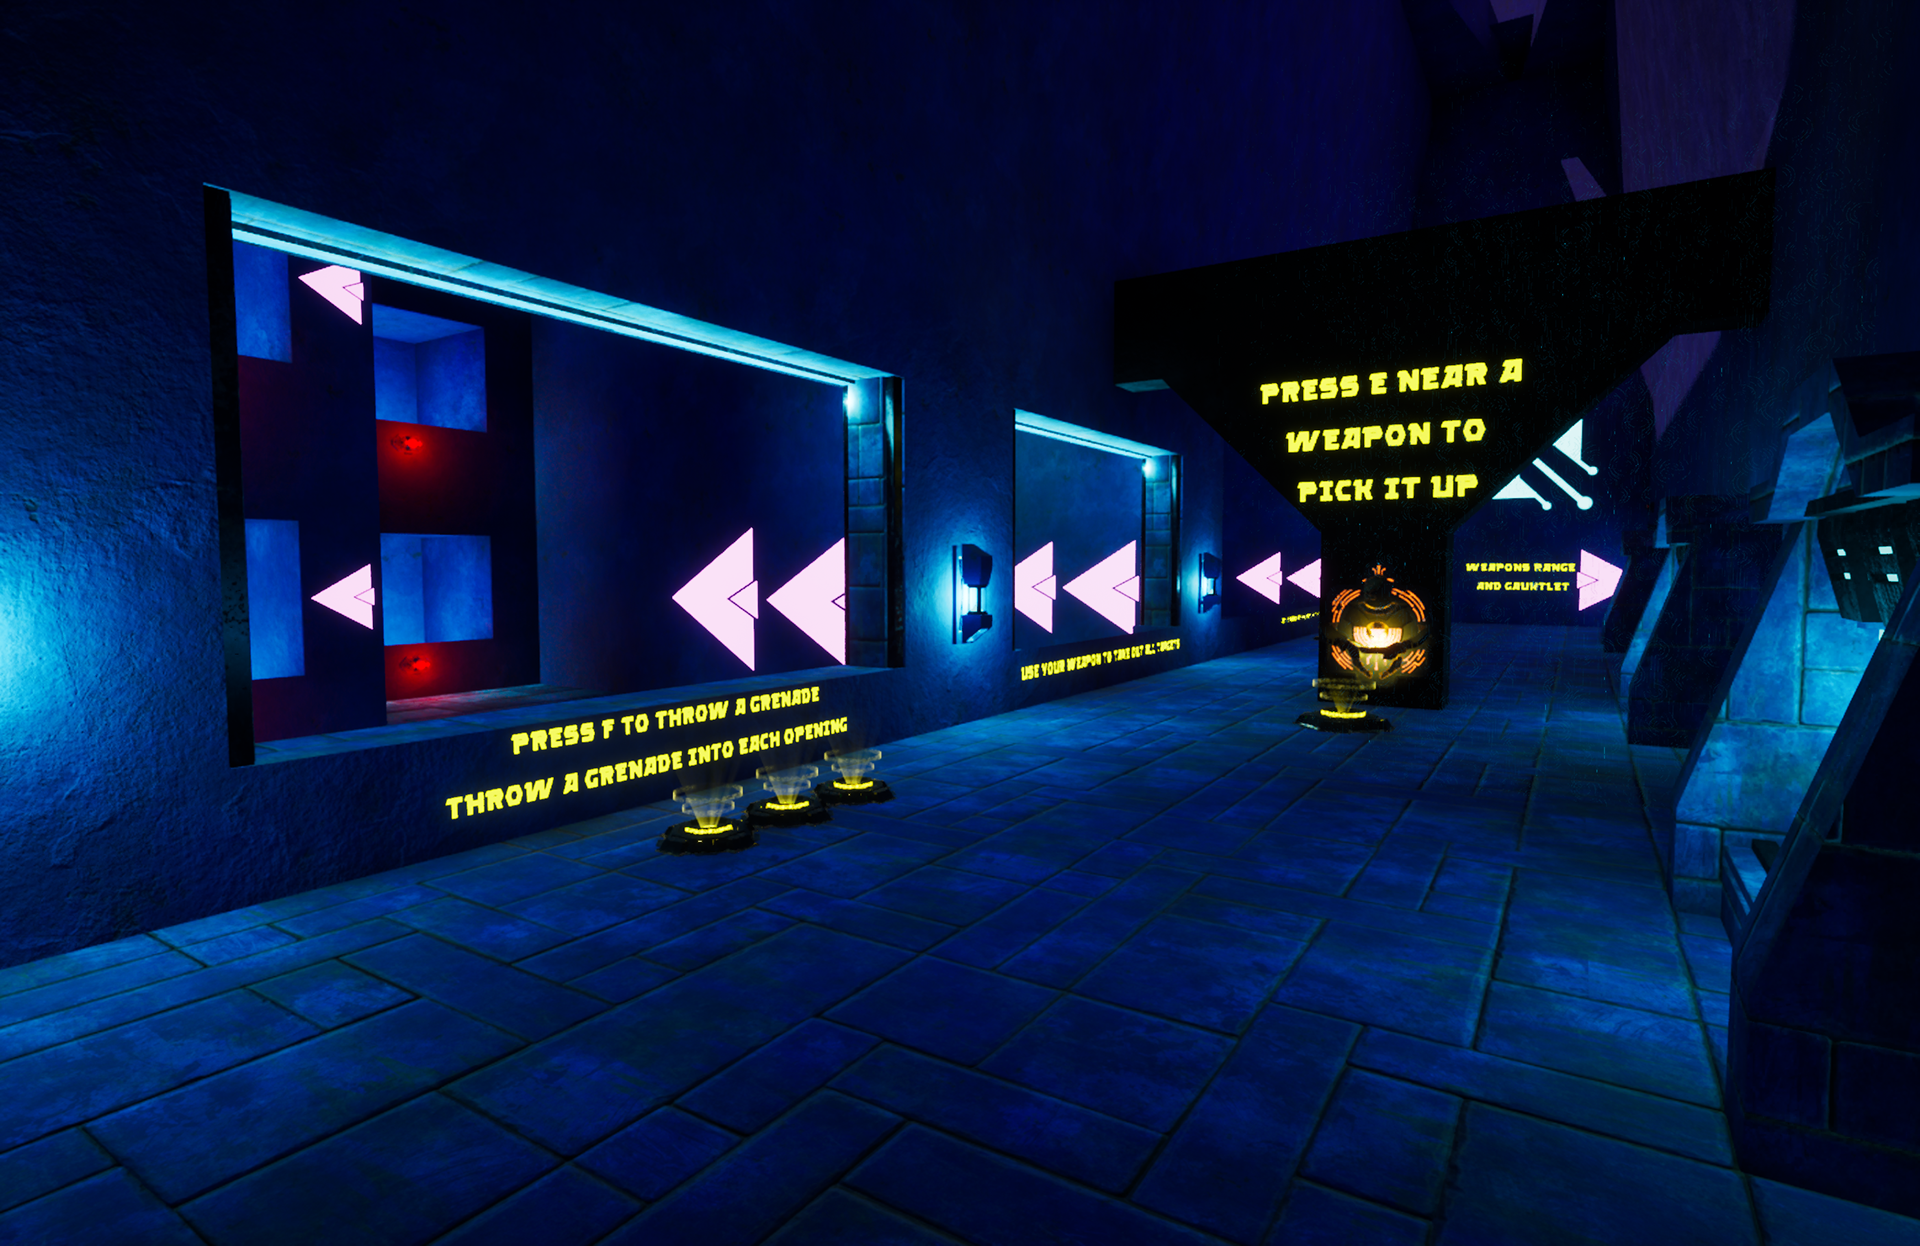
Pryizm is a third-person arena-shooter created in Unreal Engine 5 and developed for PC by Sickware Studios.
Sickware Studios is a small studio of less than 10 developers based in Canada.
Work on the project started in 2024 where the primary gameplay and systems were created before I joined the team as a level designer in 2025 where I created the tutorial, multiplayer maps, environment & material pipelines, and playtesting plans.
The main goal of the project was to create an arena shooter inspired by classics like Unreal Tournament, Halo, Quake, and Titanfall; with its own identity and separation stemming from the horror and dark science-fiction genres.
___________________________________________________________
- Project Information -
Early Access Available on Steam
Game and Level Design Project
Professional Full-Time Level Design Position
Dedicated 14 Months of Development
2026.
See the steam page below!
- Preface -
All 5 multiplayer maps were developed alongside each other and largely had the same development path from that process, therefor this page will be going more into the 14 months of development to avoid too many duplicate discussions. Most of the images taken from the development of the levels will be in the gallery at the bottom of the page if they are not shown elsewhere. Additionally there will be separate sections related to the development of the tutorial and some other things that I couldn't quite fit into the sections about the main 5 maps closer to the bottom of the page if you are interested in that (This includes use of UE Substrate, and PCG tools).
All 5 multiplayer maps were developed alongside each other and largely had the same development path from that process, therefor this page will be going more into the 14 months of development to avoid too many duplicate discussions. Most of the images taken from the development of the levels will be in the gallery at the bottom of the page if they are not shown elsewhere. Additionally there will be separate sections related to the development of the tutorial and some other things that I couldn't quite fit into the sections about the main 5 maps closer to the bottom of the page if you are interested in that (This includes use of UE Substrate, and PCG tools).
- Getting Started -
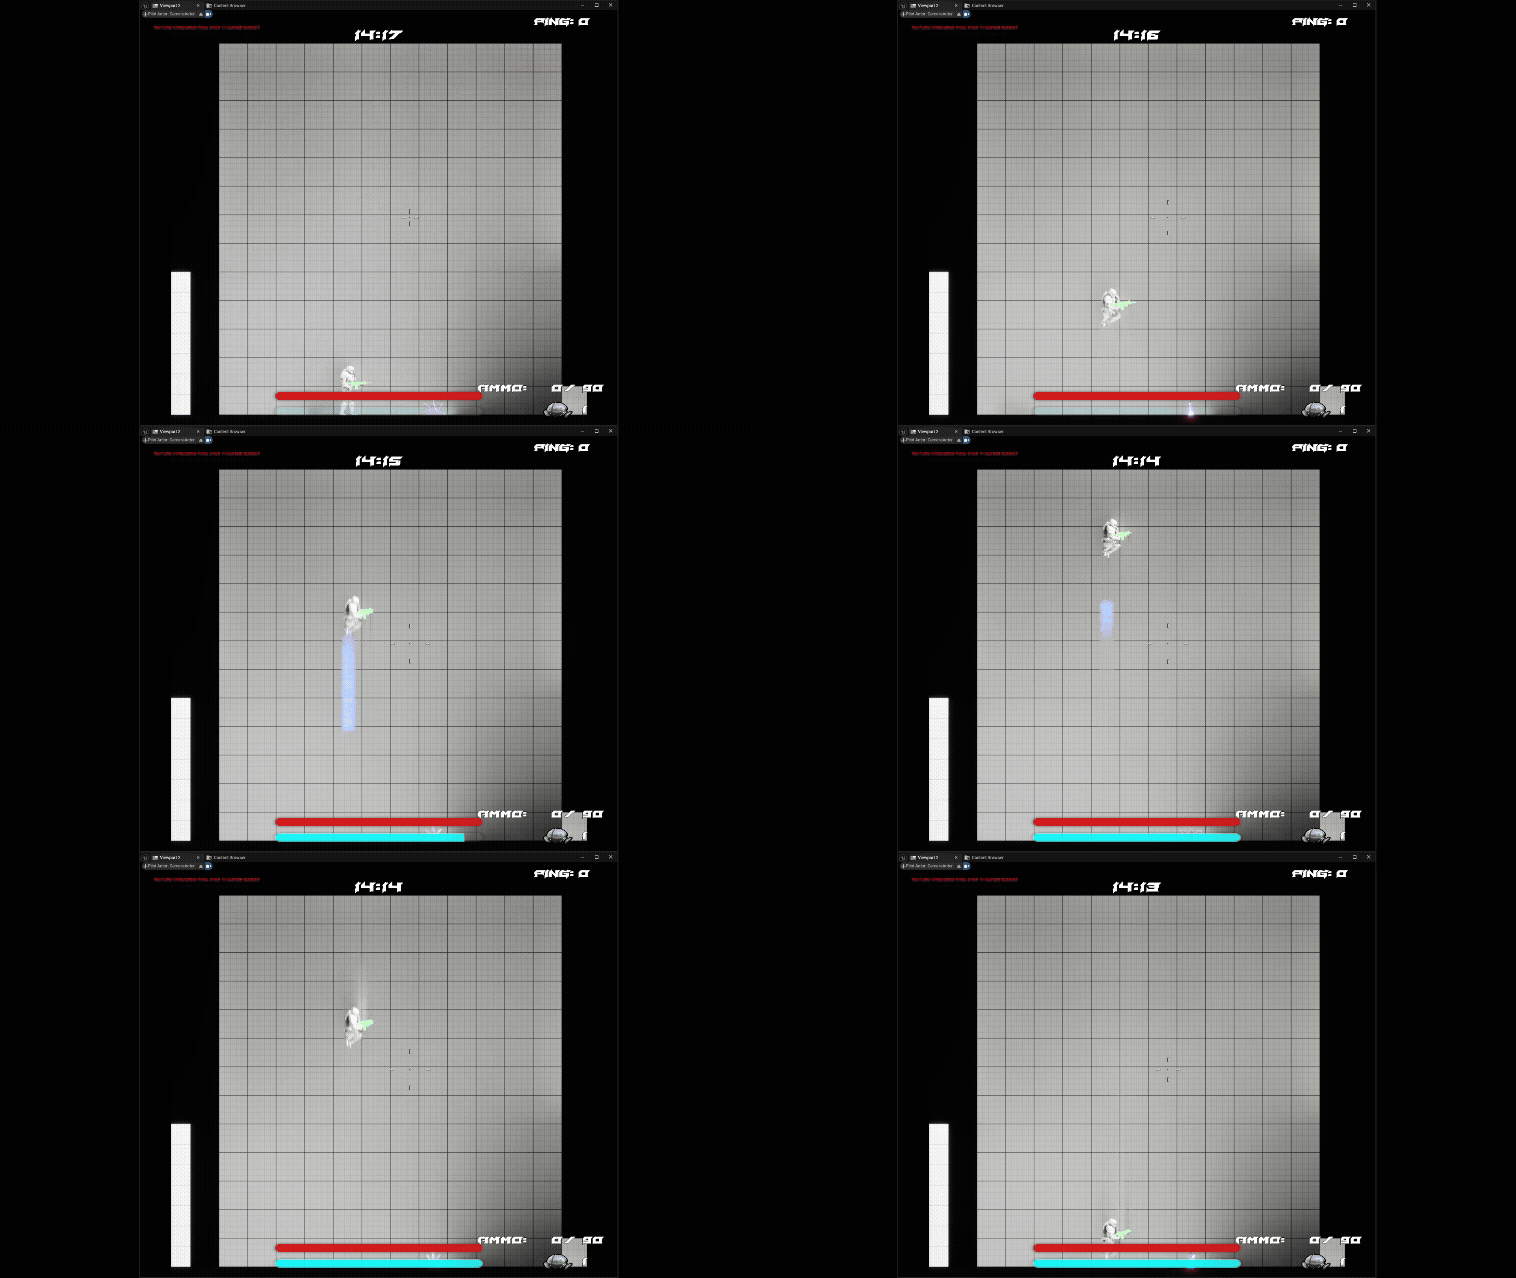
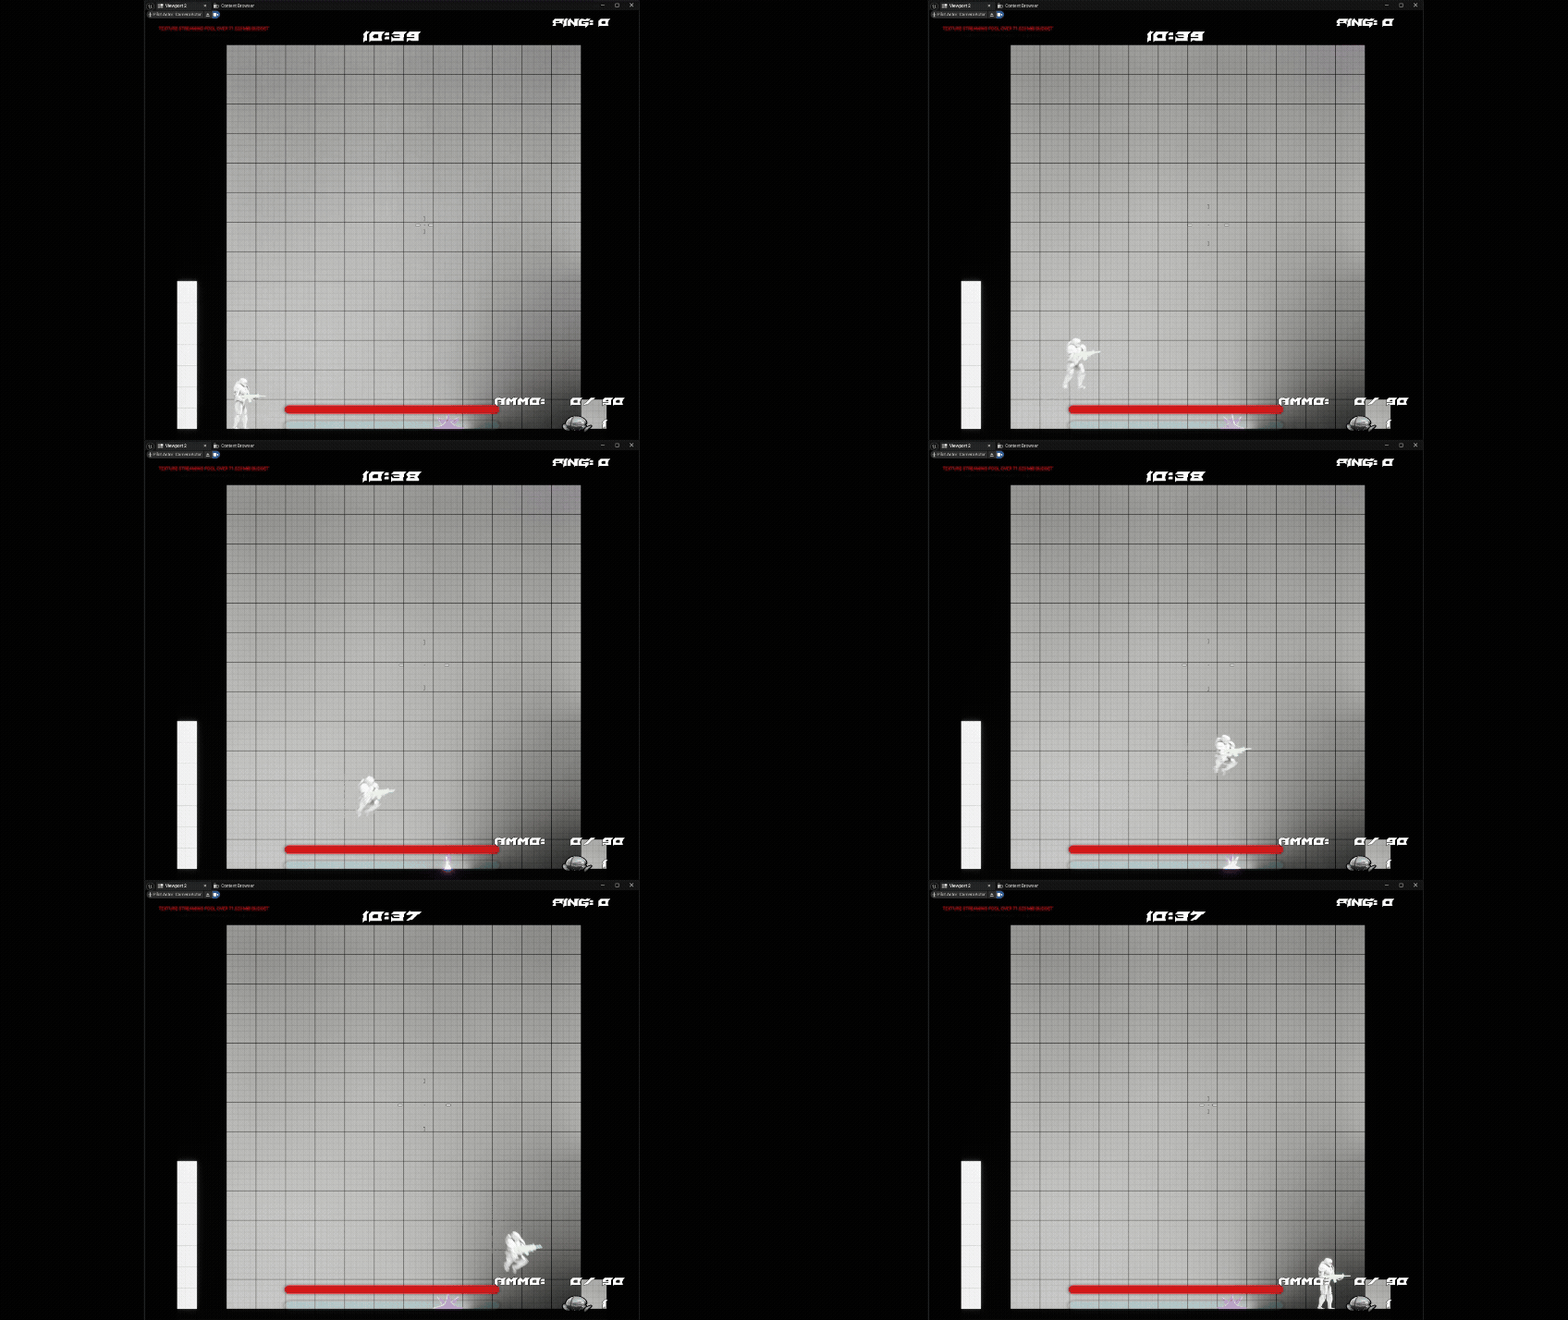
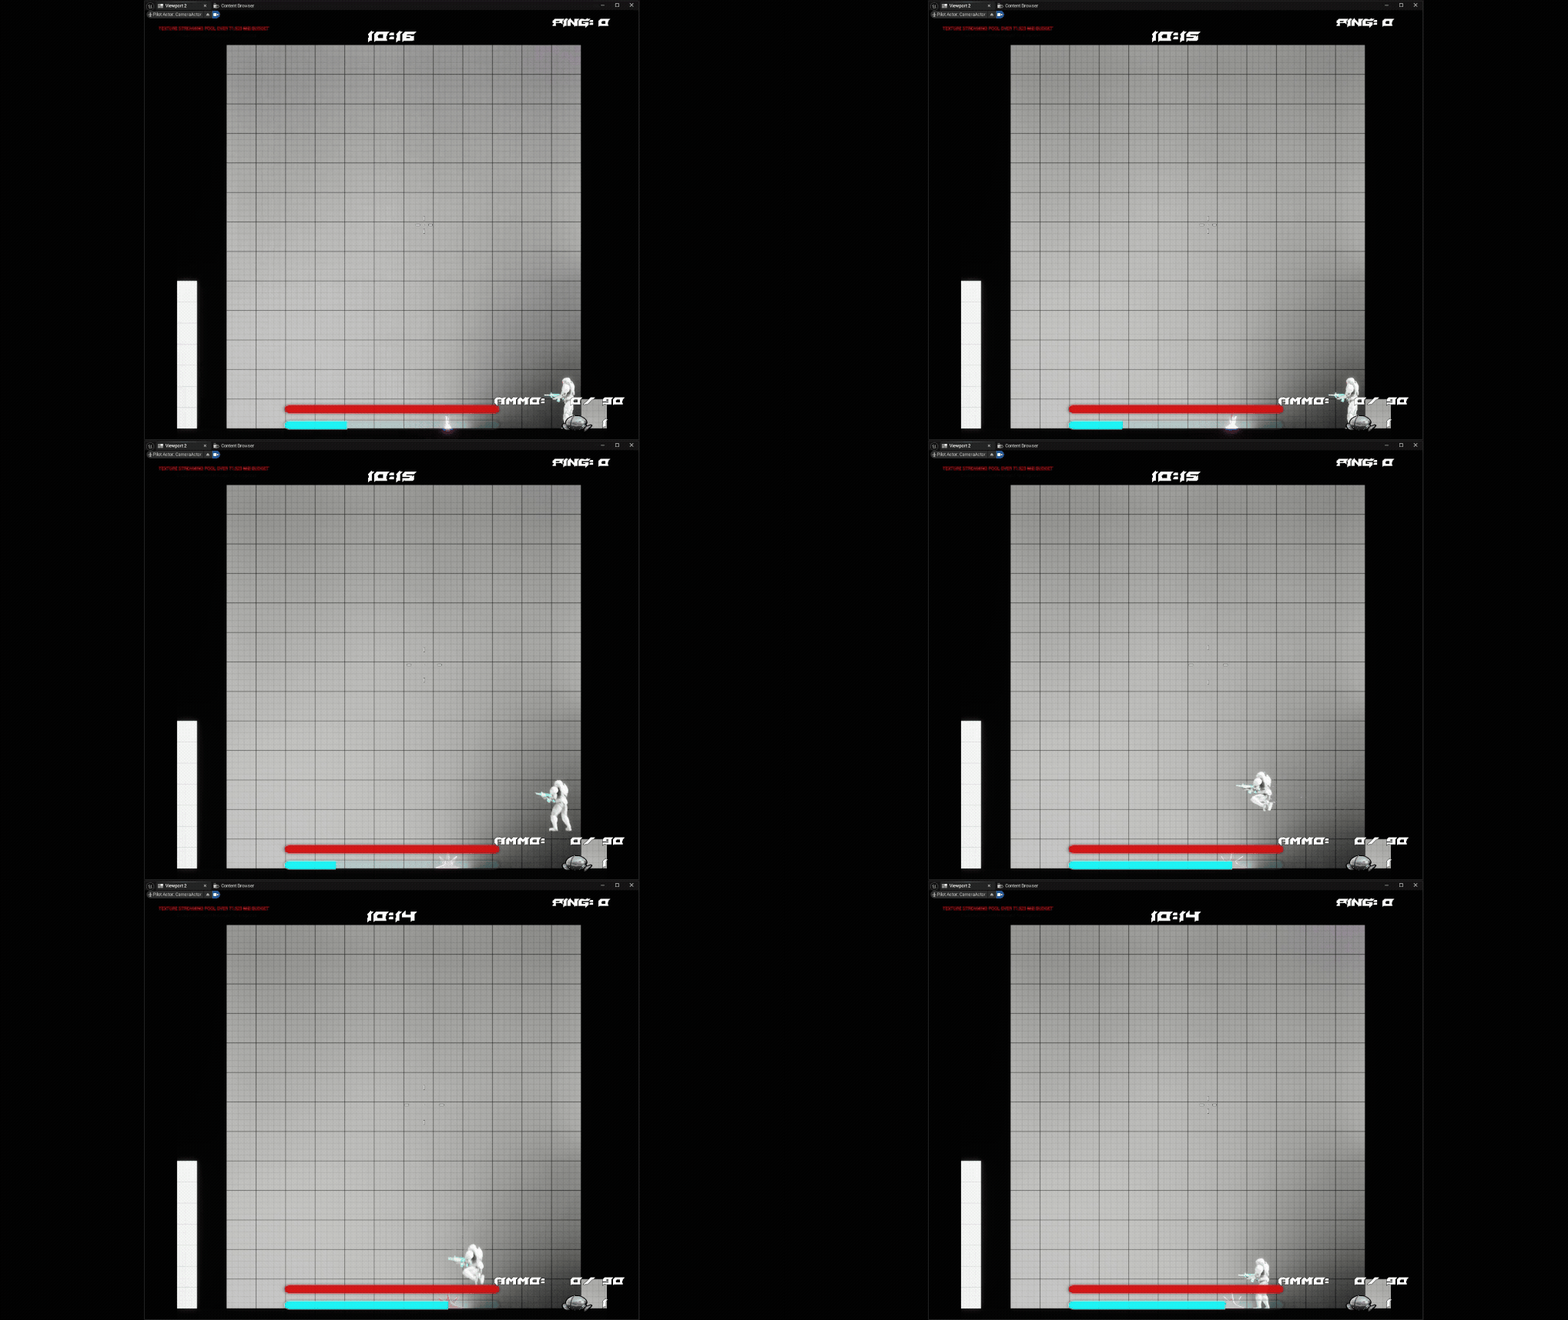
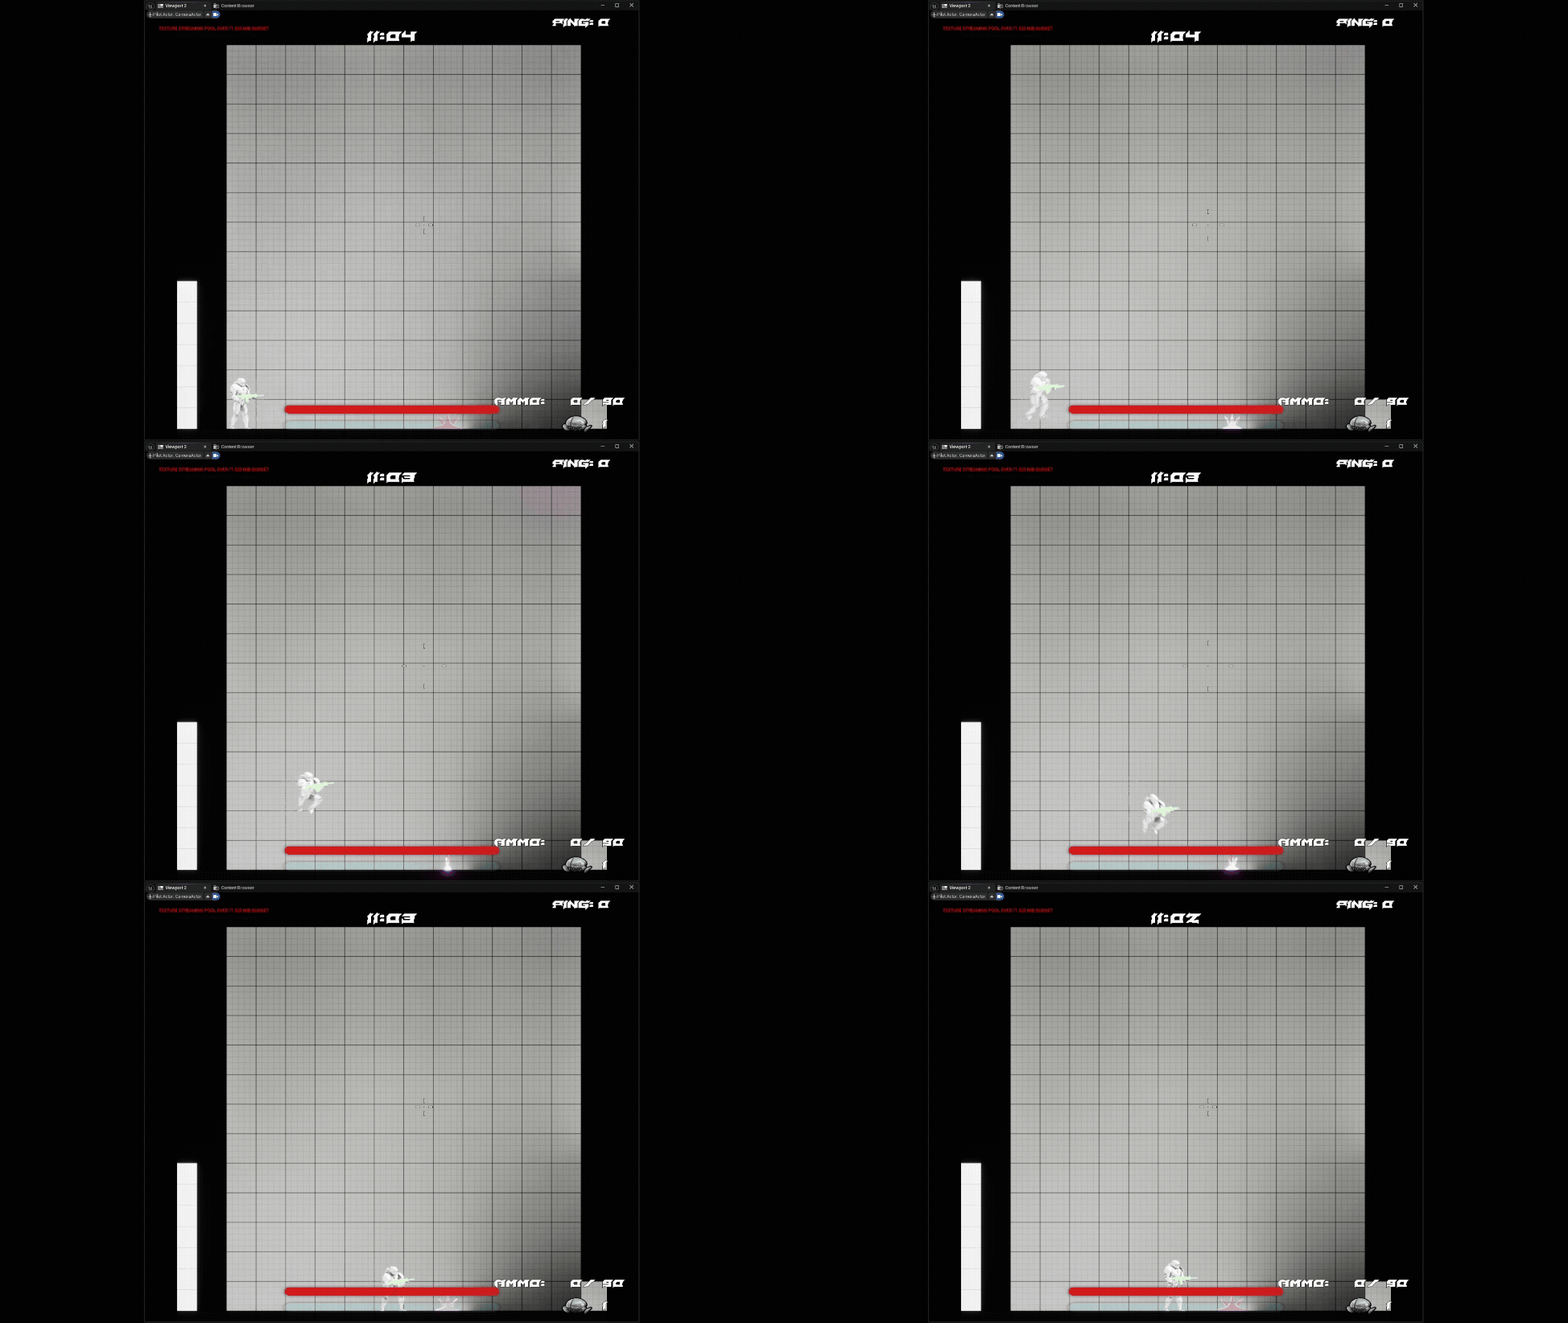
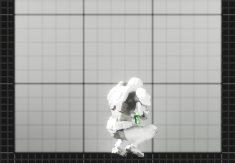
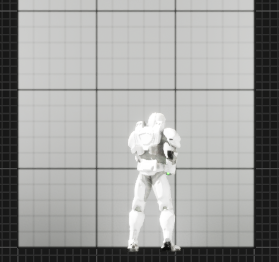
I joined the team as the only level designer on the project in May 2025. As the first level designer to join the project there was a lot to get done in regard to creating an implementation pipeline to get the levels organized as well as create them. I started with the basics and first got familiar with the then current gameplay mechanics and movement inside existing test levels. After getting acquainted with the main gameplay mechanics I gathered some metrics data and analyzed the player movement to get ideas for how I would create interesting spaces for the game. Through setting up a grid space and making an alternate camera to capture the player I was able to go through different movement actions and get relatively precise metrics that I could use in creating the space later on.
- Initial Concepting -
After gathering metric data, I began creation of seven concepts for levels, all meant to have varied layouts and facilitate an arena for four versus four PvP. These concepts were just to get an idea of the general layout, flow, and height variations for each level. When creating them I made sure to include visual references to depict the overall vision of visual themes and key features of the levels. To go alongside the inspiration for the gameplay, I looked at many of the same game sources, as well as other sources under the context of the themes of Pryizm to gather references for level layouts; while also creating the layouts based on what would suit the gameplay best with the metrics in mind. This lead to a wide variety of level concepts to work with.
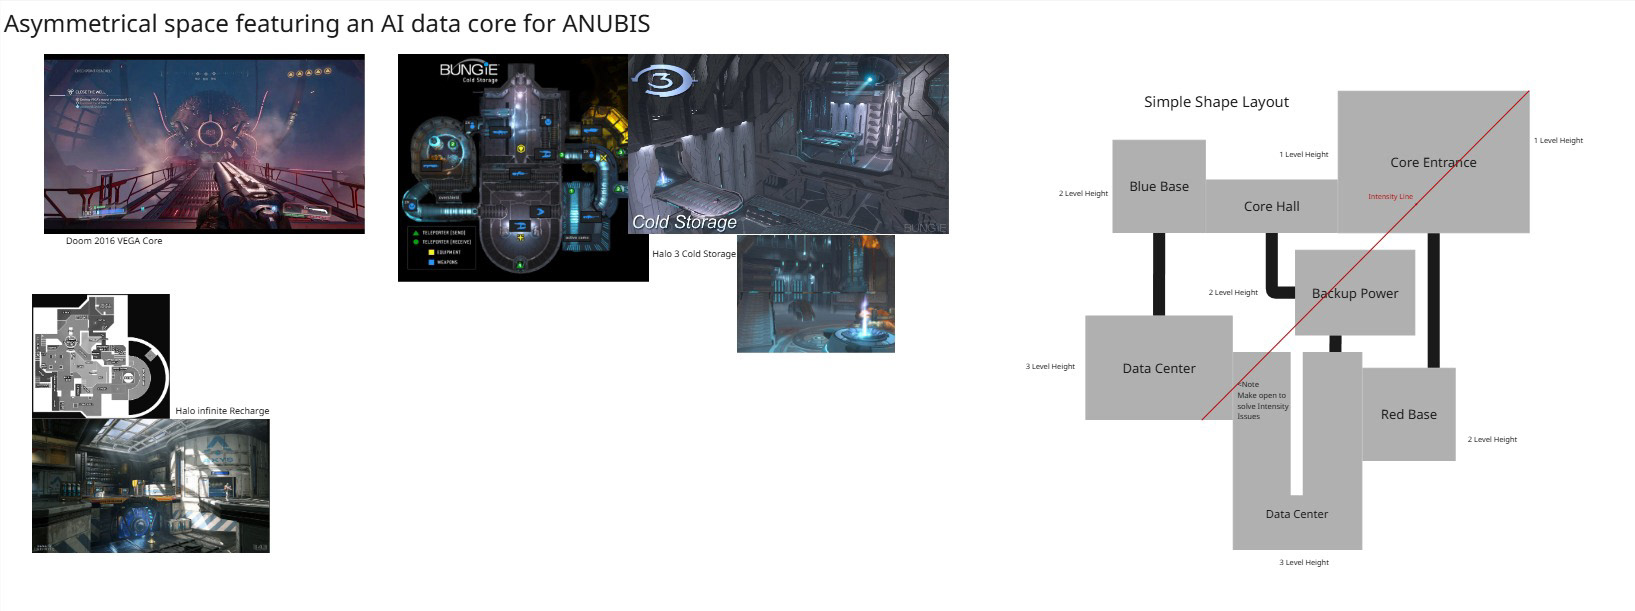
ANUBIS Core Concept
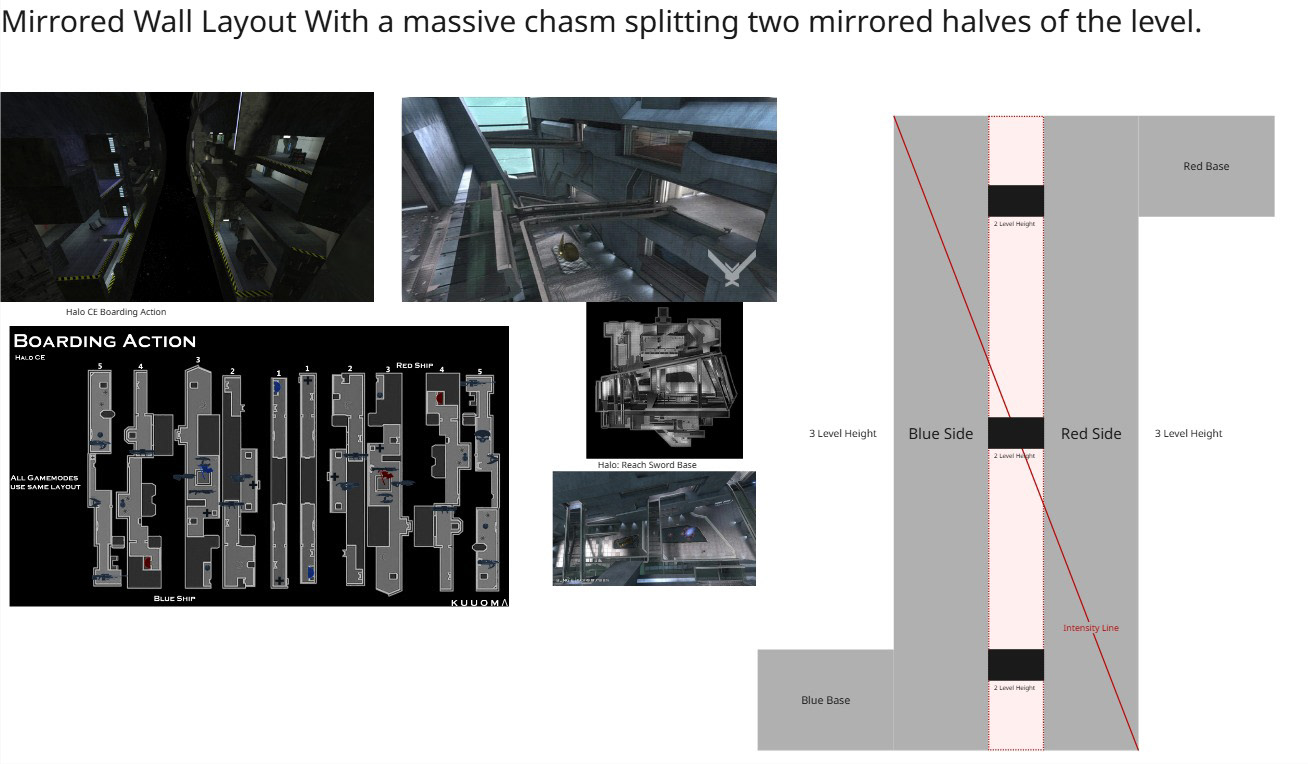
Chasm Concept
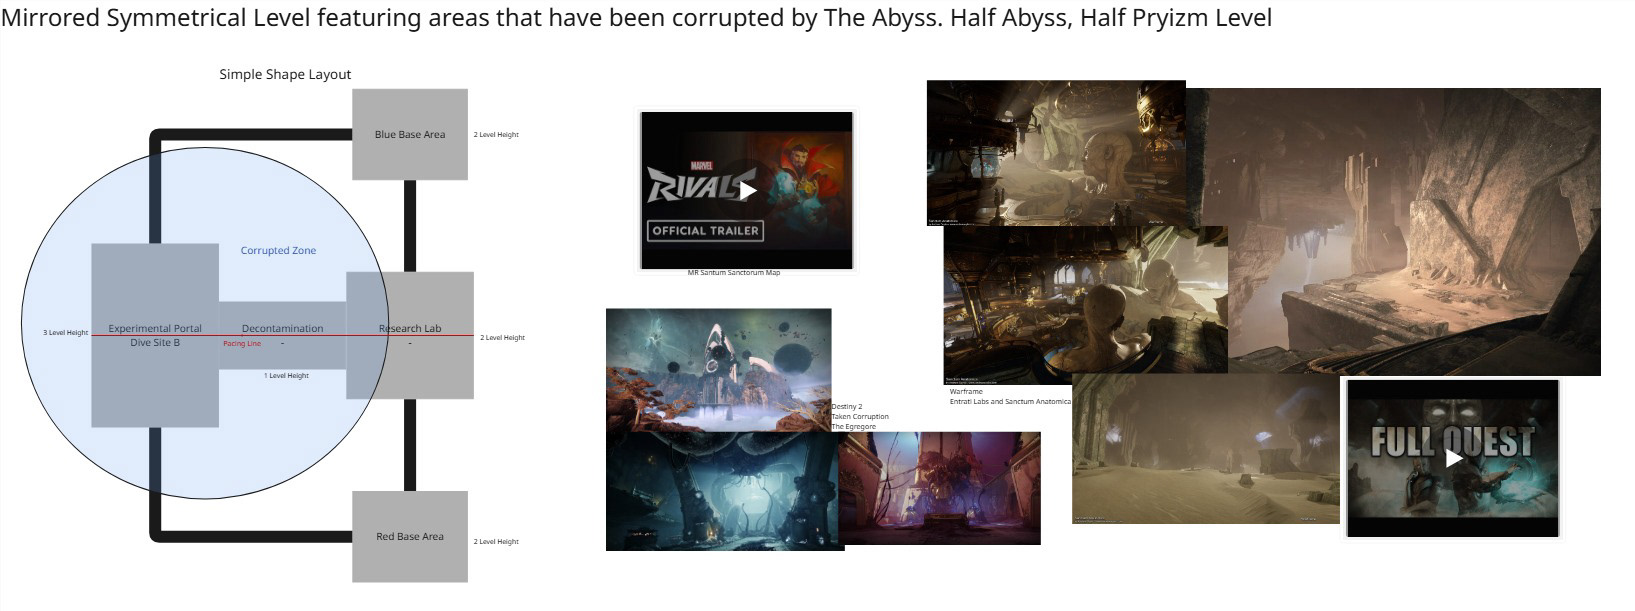
Divide Concept
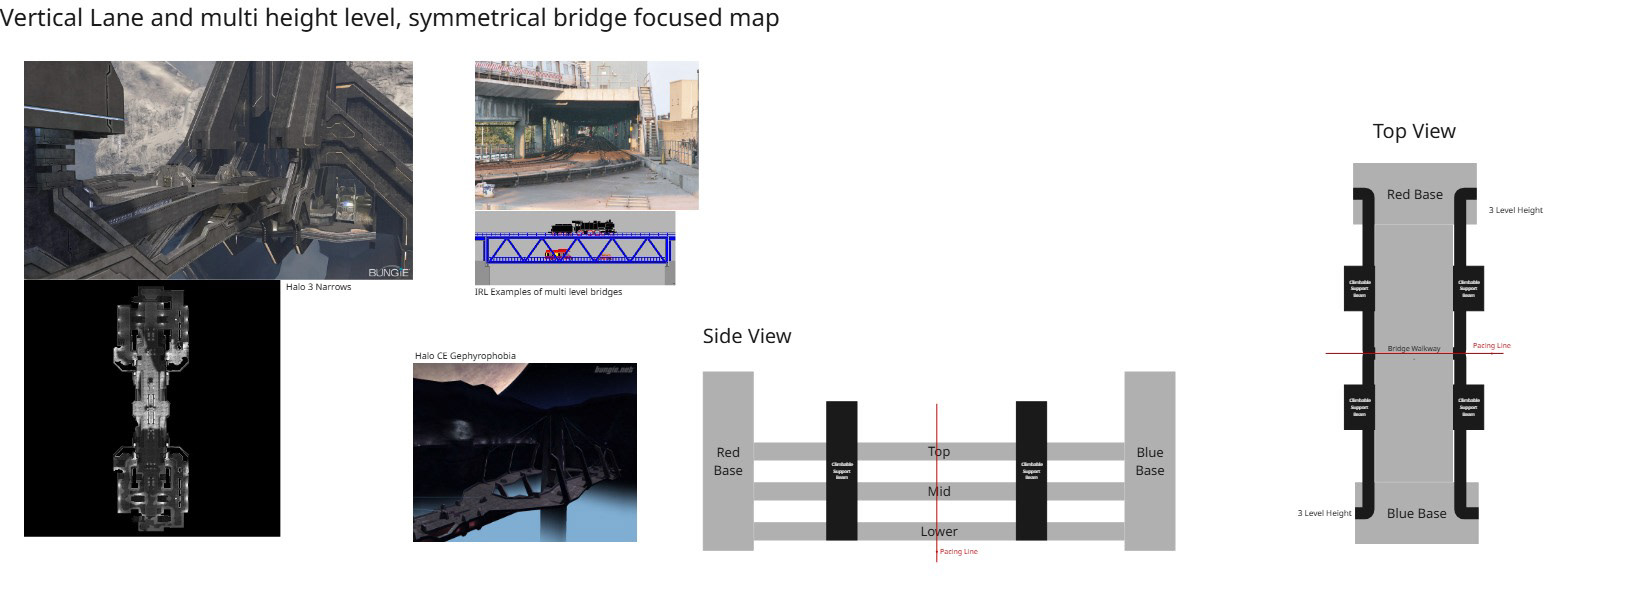
Bridge Concept
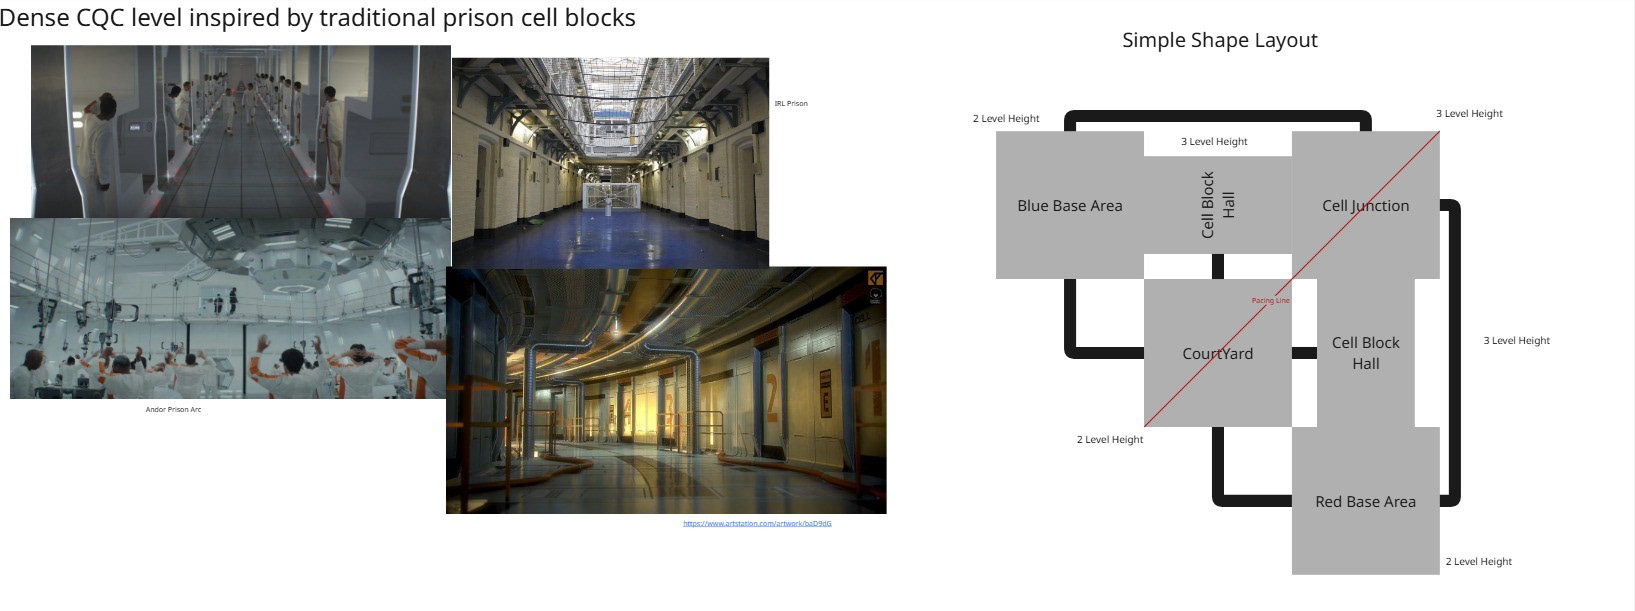
Cell Block Concept
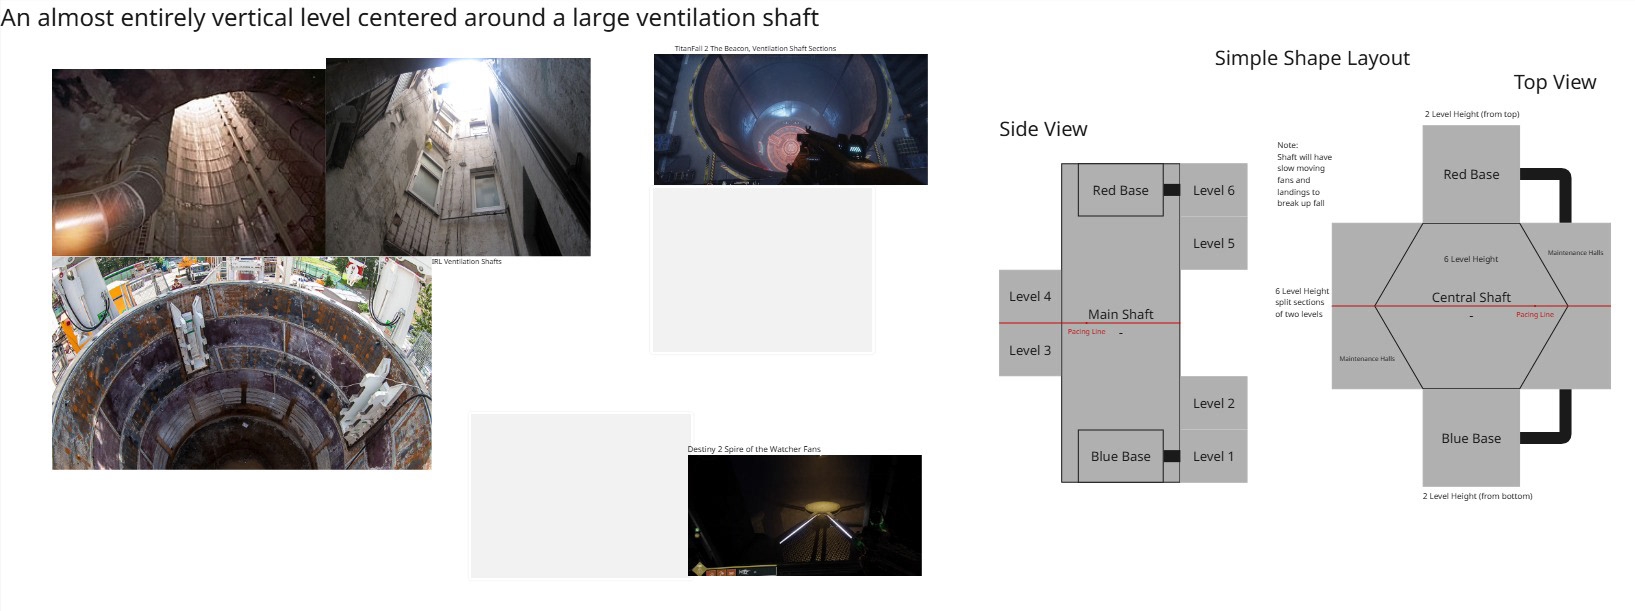
Megalophobia Concept
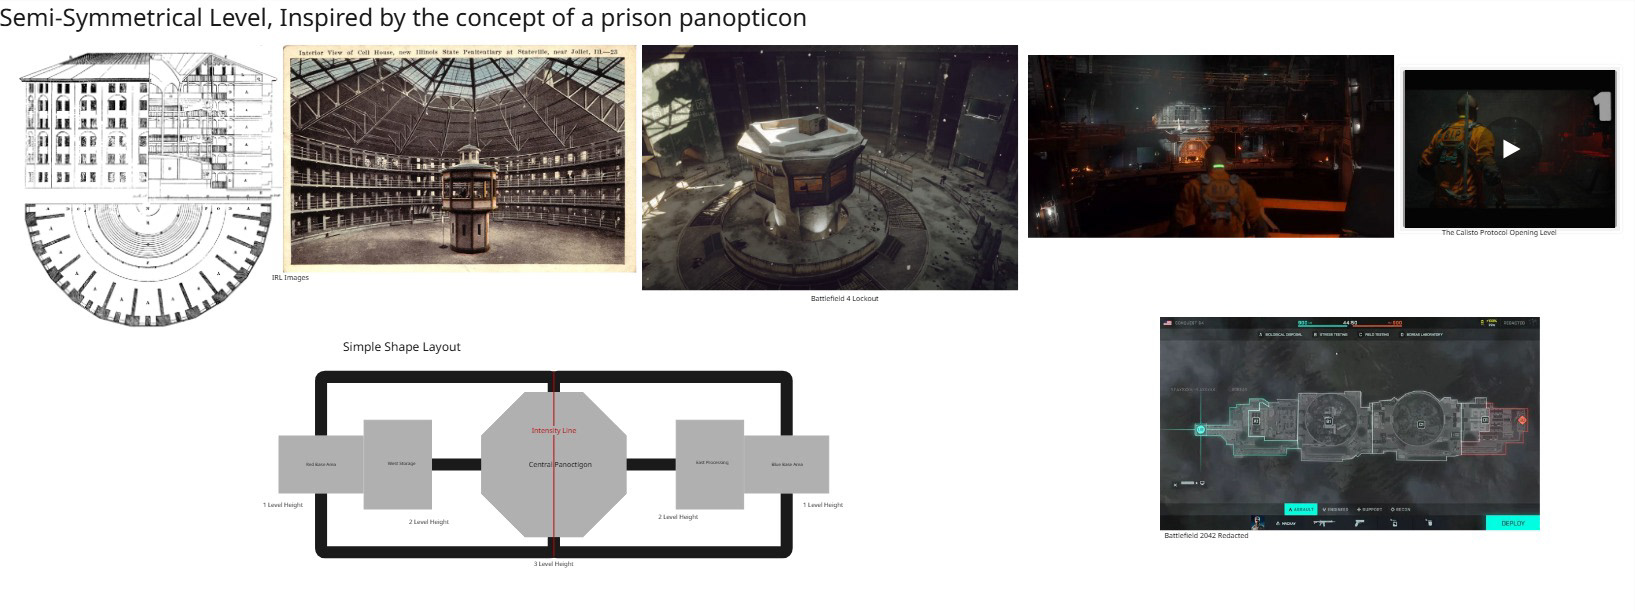
Panoctigon Concept
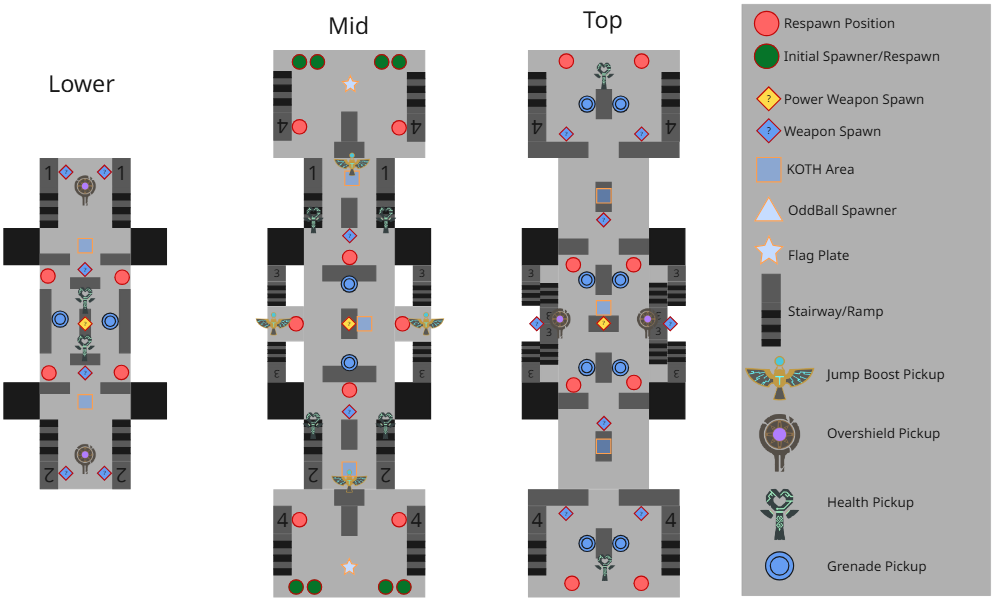
Out of the seven initial concept levels, it was decided we would move forward with developing these five. I created a more detailed layout to place important level objects in a 2D version of the space before moving to the greyboxing stage and working in engine.
Bridge Layout
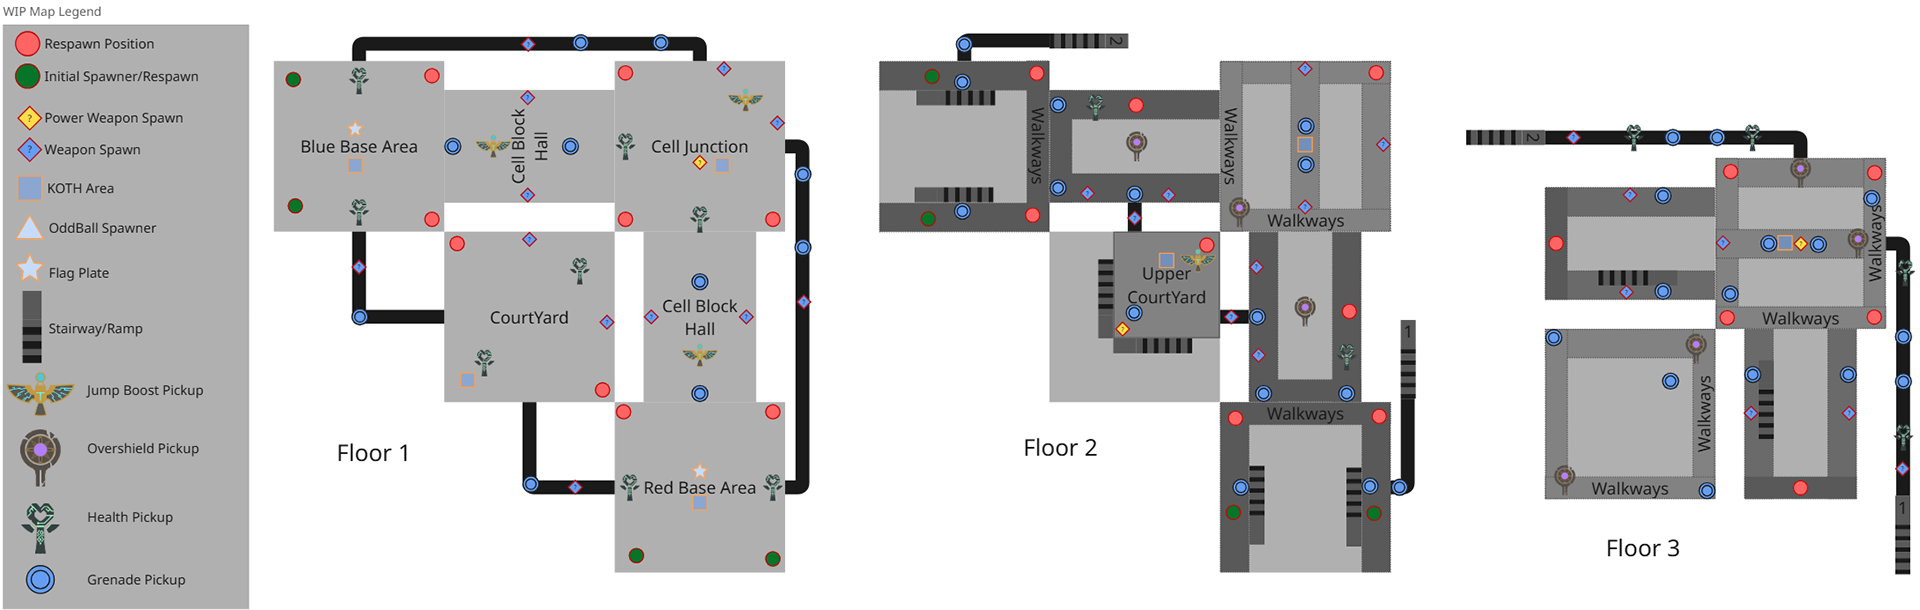
Cell Block Layout
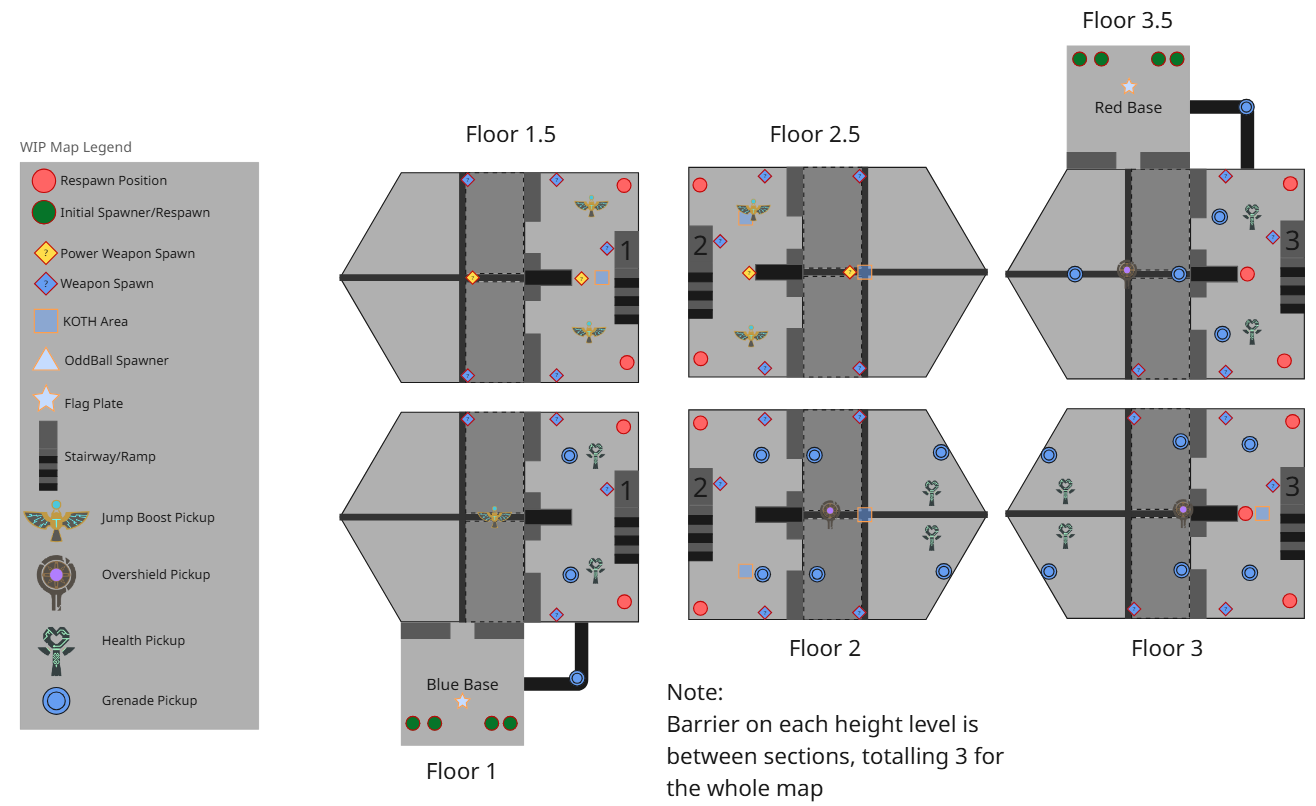
Megalophobia Layout
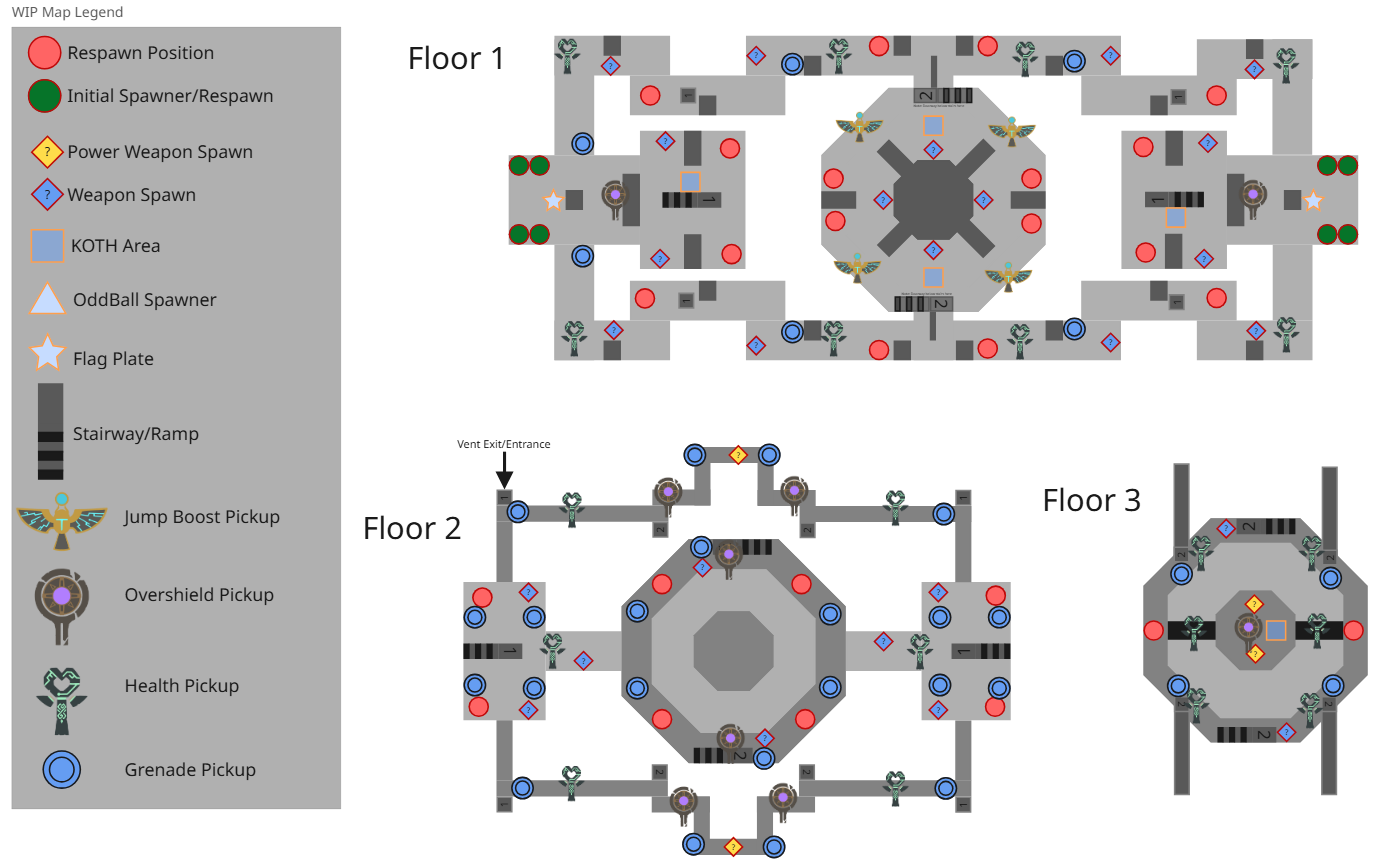
Panoctigon Layout
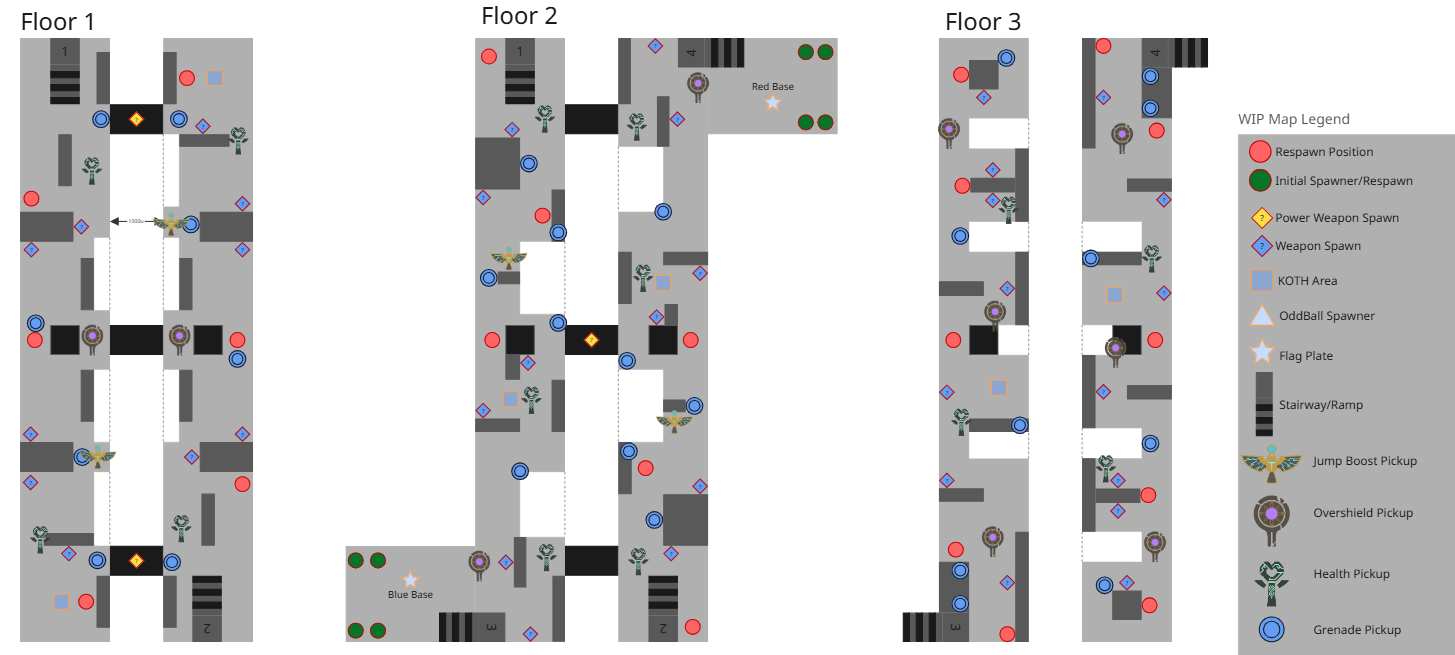
Chasm Layout
- Greyboxing -
Moving to working within the engine was when collaboration with the teams artists began as we started implementing art into the levels. Together, we deemed that the "Cube Grid" tool within Unreal Engine 5 would be used to generate the base floor and walls of level geometry on my end. With these being easily modeled for simple primitives and to have world aligned materials applied on any surface. Using this tool for the level geometry would also allow for much needed flexibility to make changes to the level even after a lot of art would be implemented. This flexibility allowed for large geometry changes later in development, but ill get to that later on.
Custom props would only be created to act as the cover, wall details and lighting props. This allowed the small art team to focus more on the player character and weapon art, rather than worrying about custom environment props. Under the same design reasoning, the props for the level were made to be very flexible and simple in implementation, allowing for easy scaling and mesh changes in engine, using the same world aligned textures as the rest of the level to save time creating custom UV's and textures. Additionally, more detail to the Cube Grid mesh could be added as needed to keep art cohesive between levels.
To get an idea for the type of design language and visual style that the team was looking for, in collaboration with the team artists I created a proof of concept in engine based on a piece of concept art of the environment, with some simple props that were made. This helped get an idea of exactly what kind of scale, lighting, and prop usage would look like for the actual gameplay spaces.
Once the concept work, and plan for implementation was done, it was time to work on creating greybox versions of the levels using the layouts and visual proof of concept for the design and visual style of what the levels would look like.
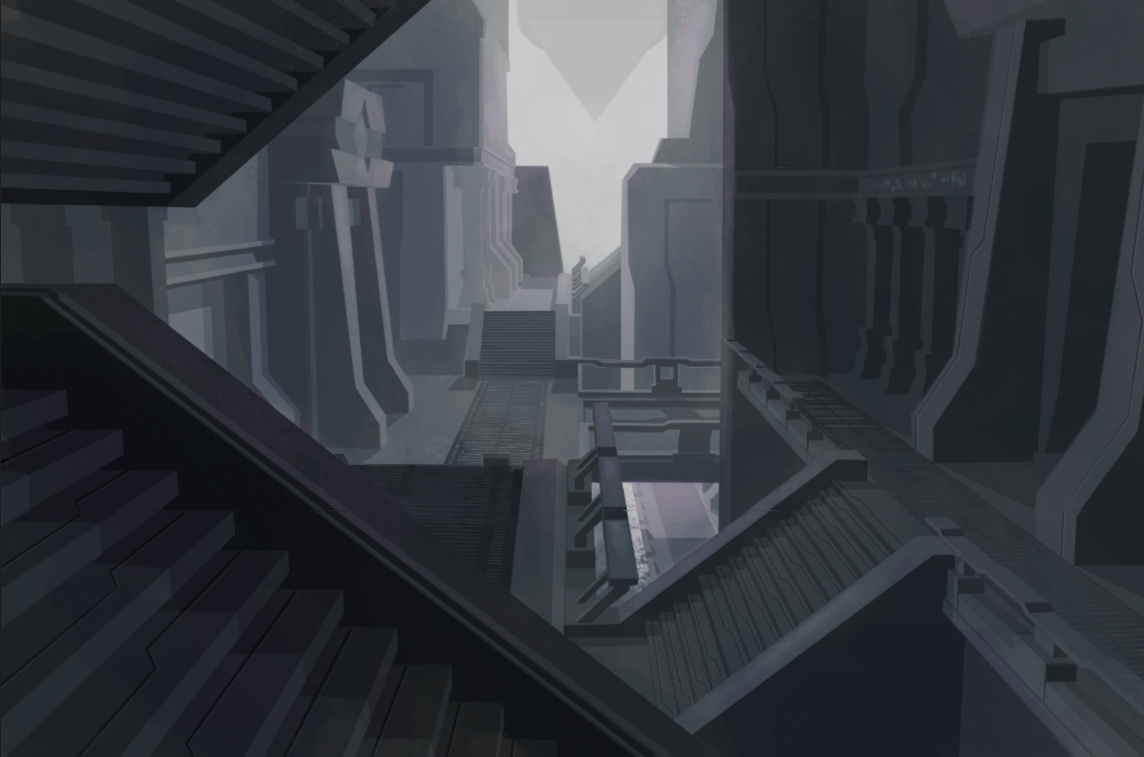
Artists Concept Art
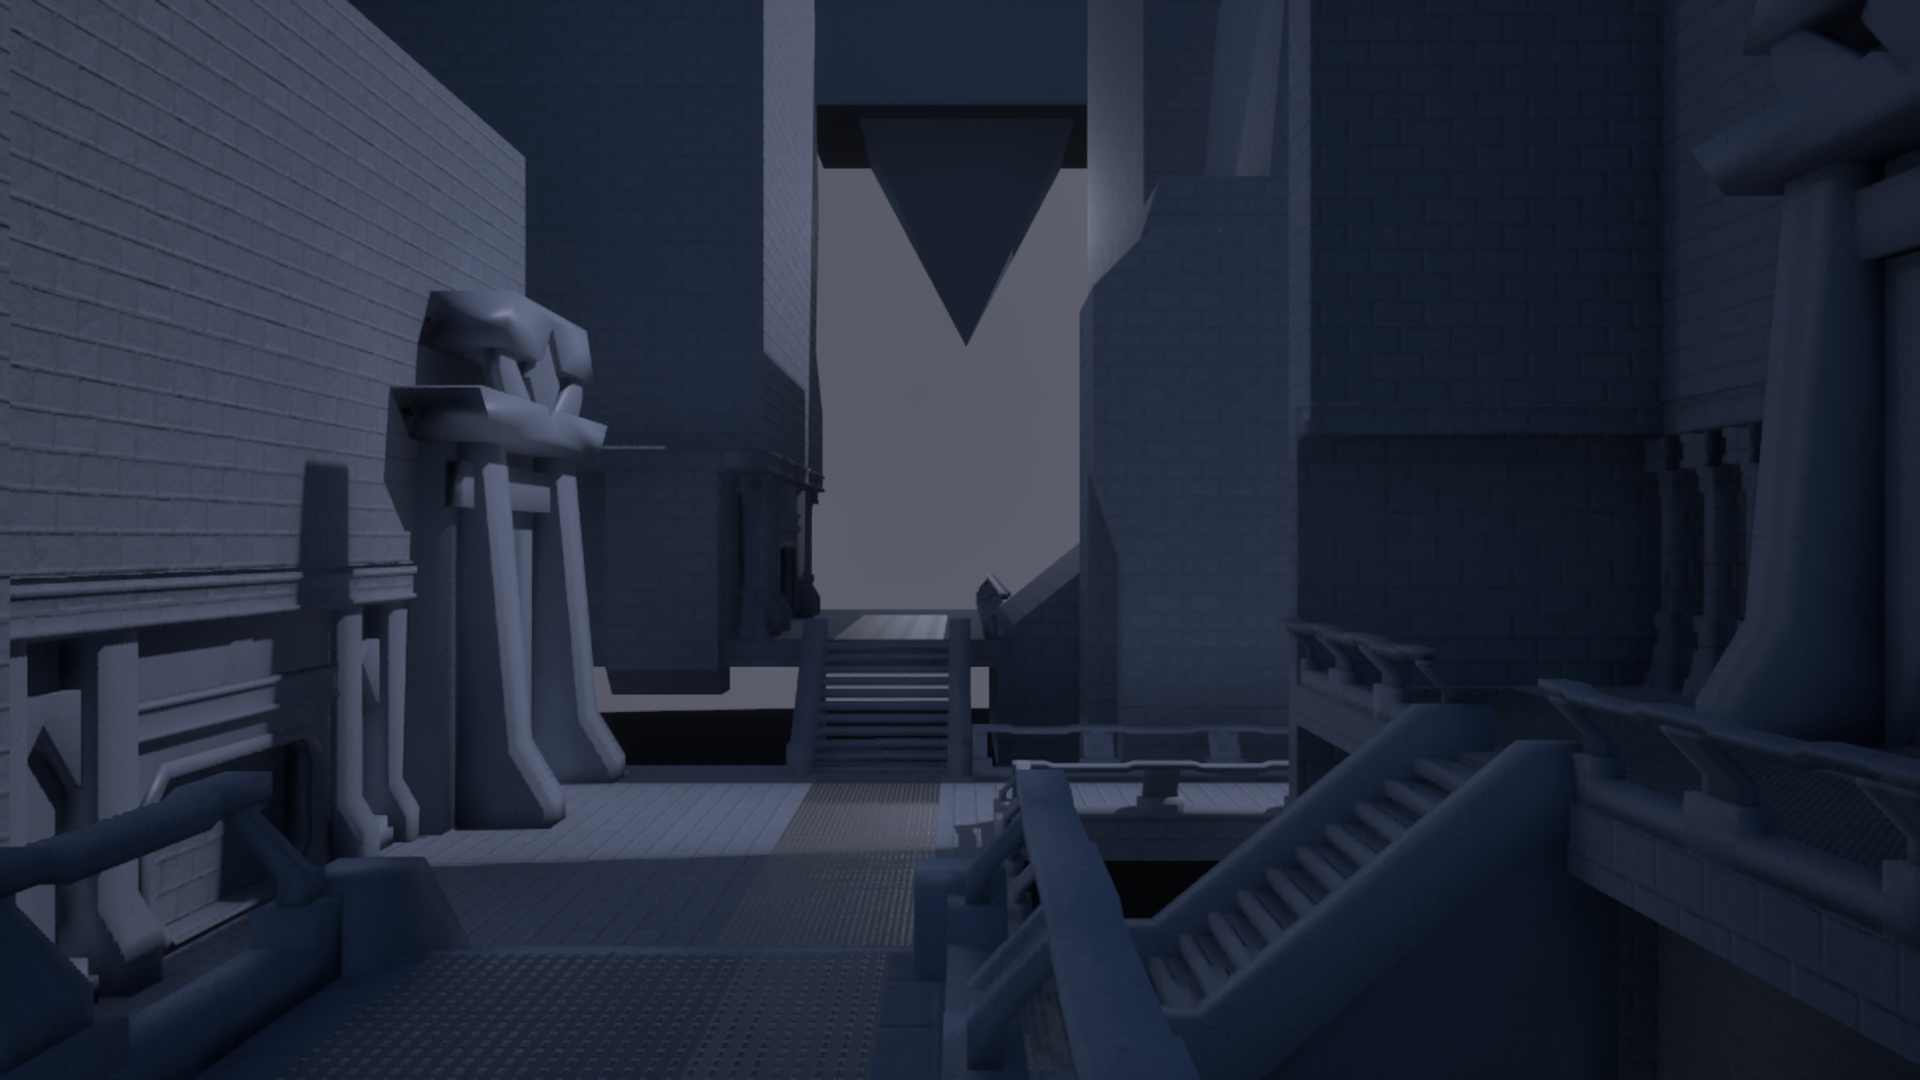
In engine proof of concept
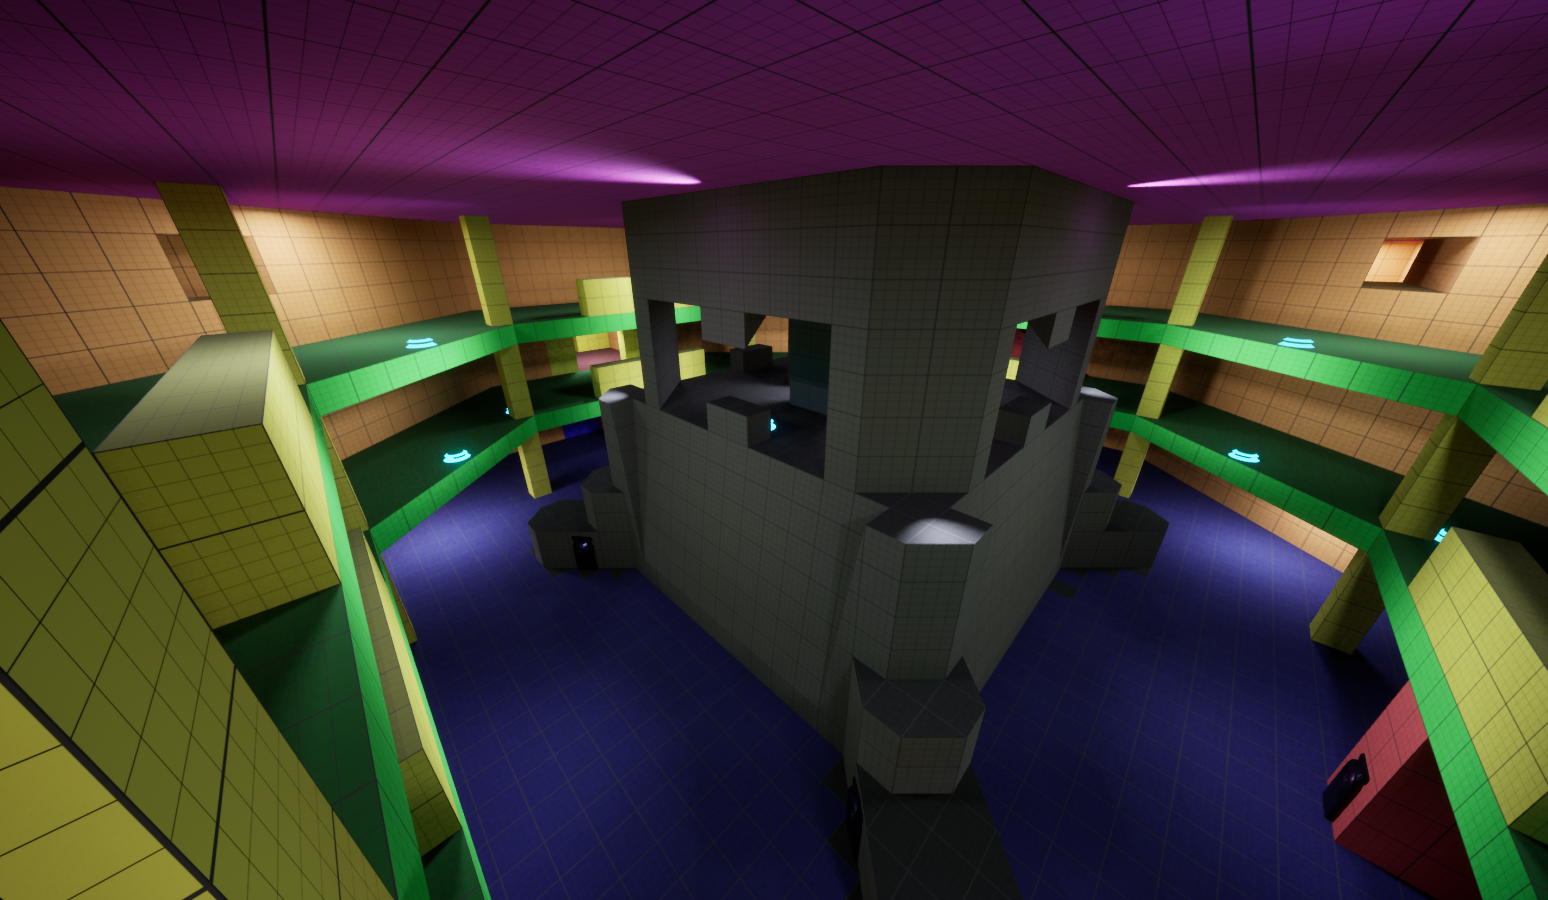
Panoctigon Central Room
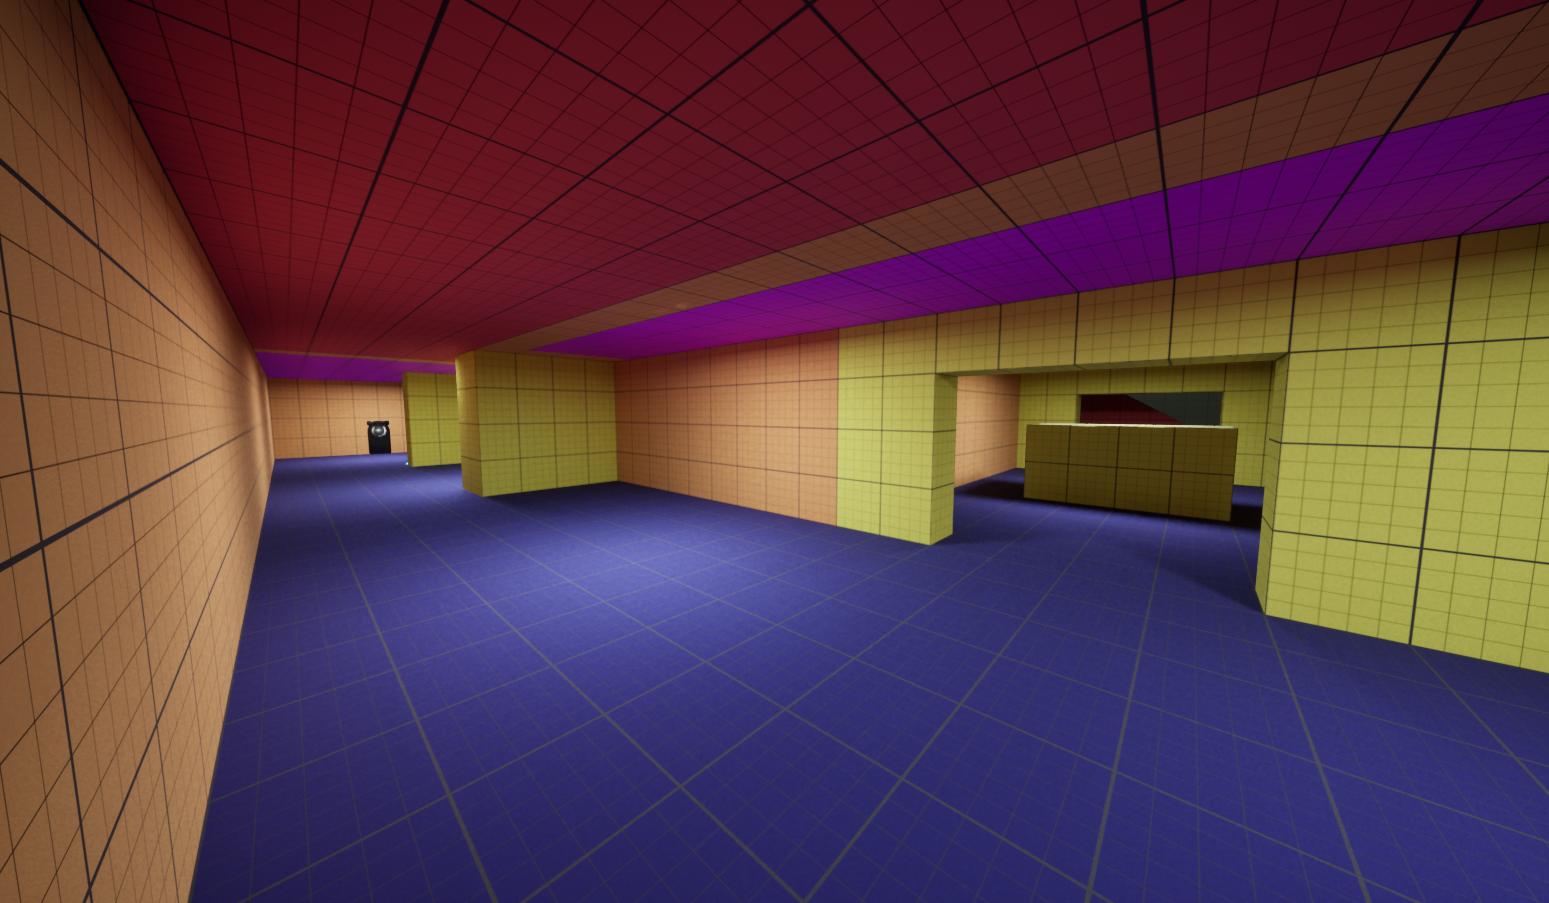
Panoctigon Side Hall
As mentioned previously, greyboxing was done using the cube grid tool for the entire level initially, as well as creating multiple material instances of the unreal grid material all with different colours to signify separation between sections of the level, as well as general prop placement to get functional sightlines throughout.
The level I will be showing examples of from this point onward will be Panoctigon. As mentioned near the top of the page, all of the levels had similar development processes and were created at essentially the same time. I structured this process by alternating what level was being actively worked on while levels were being tested at each stage, applying changes from testing before moving on to the next stage of development for each respective level.
- Initial Art and lighting Implementation -
Early art and lighting implementation was the longest of the stages in development due to the time it had taken to place props, tweak lighting settings, optimize for performance, and complete thorough testing.
This stage of the development had two phases to it. There was a material and low-poly prop pass with basic invisible lighting created just to illuminate the space, and later a more detailed pass with refined versions of all the props and improved lighting from key props.
During the first of these phases I developed a master material alongside the art team, as well as sourced textures and modified them to fit both the level and art needs for world aligned textures. Additionally, this is where the prop placement was laid out and simple test versions of each prop would be put in place.
During the first of these phases I developed a master material alongside the art team, as well as sourced textures and modified them to fit both the level and art needs for world aligned textures. Additionally, this is where the prop placement was laid out and simple test versions of each prop would be put in place.
For the second phase it was more about lighting and implementing the props that emit light to create the atmosphere of the level. I was in charge of the lighting settings to ensure optimization and good framerates were present throughout the level while balancing the look and quality of the lighting room to room. While I did have some difficulty initially in achieving an optimized lighting set up with Lumen, after a lot of research and testing I was able to find the right balance of quality and performance with Unreal Engine's Lumen system. Polished versions of previously placed props were implemented in this stage as well.
Once these two phases had been fully finished for all five levels, only then was it time to go and refine level details, this was the point where most of the geometry was initially locked in as playable for the main game branch and would be iterated based on additional testing and feedback.
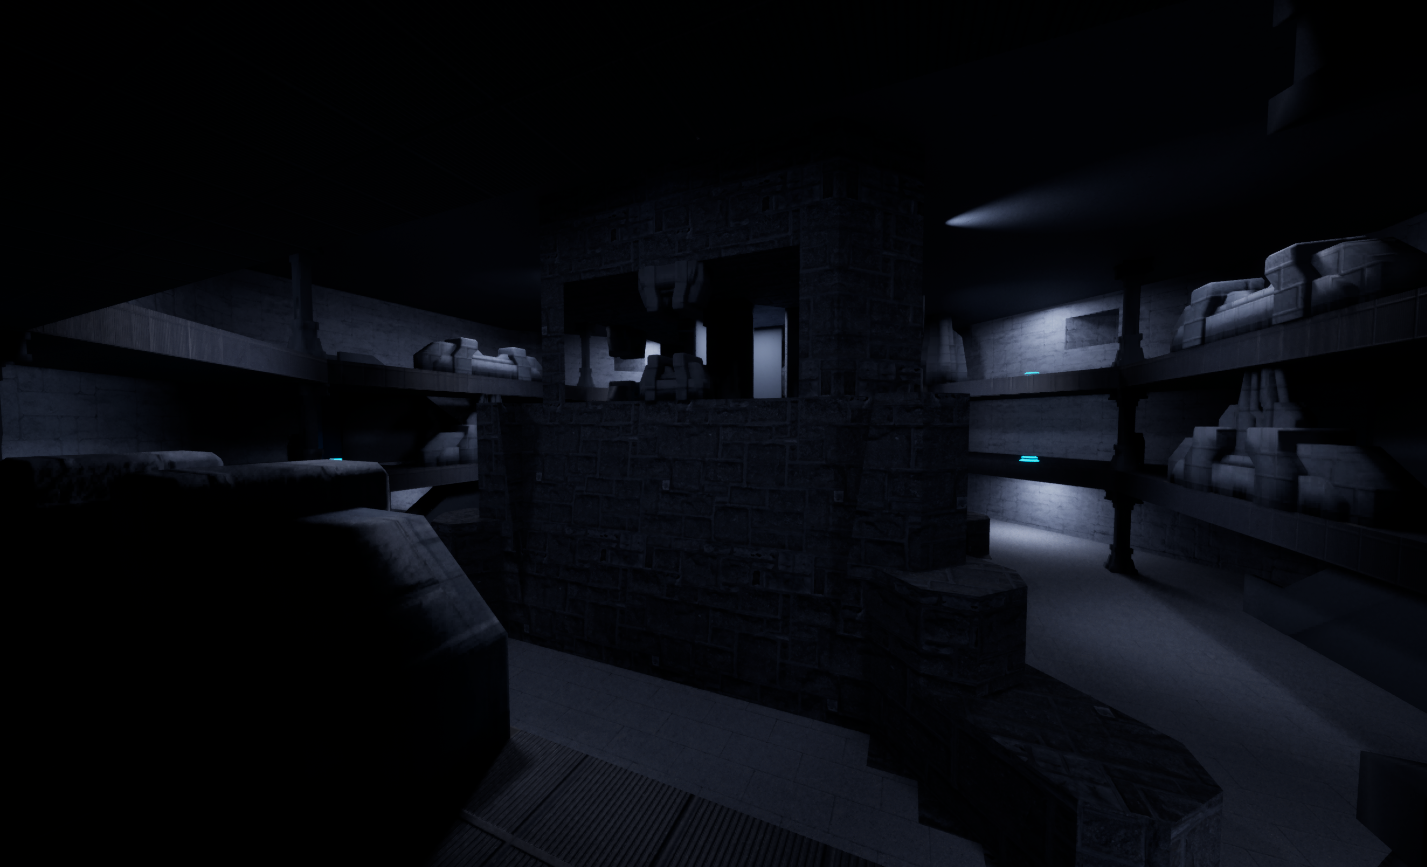
Initial Prop pass with basic lighting
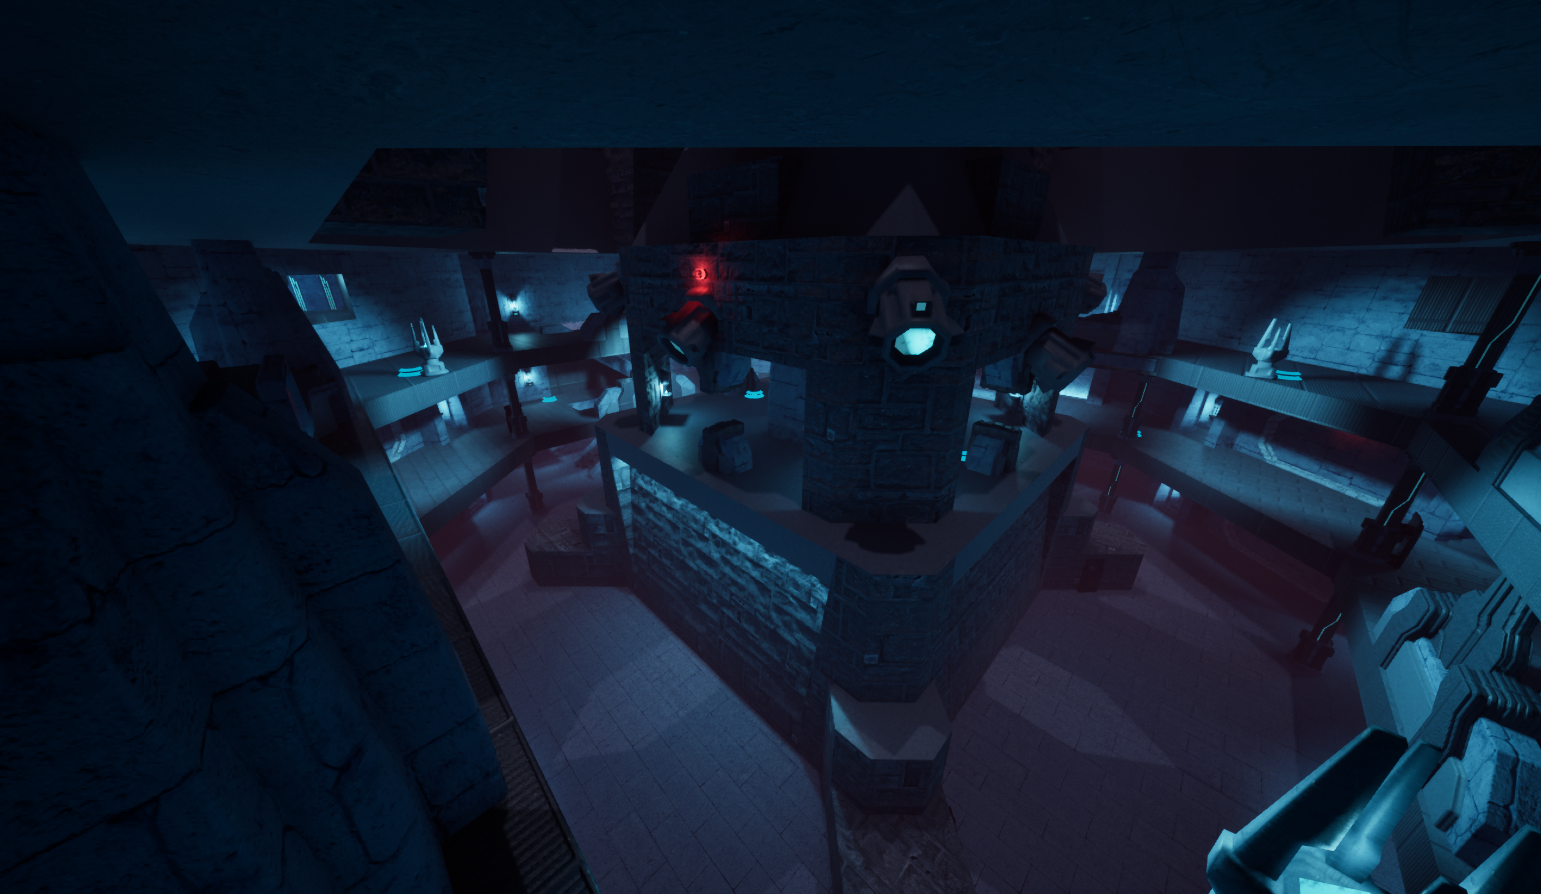
Detailed Prop and lighting pass
- Round One, Refinement and Iteration -
This stage of development was a focus on visuals, and a pass on the placement of weapons and pickups. Additionally this is the stage where I took top down slices of each level for documentation.
These top downs made it easier to make any changes to the placement of each level's weapons, powerups, and respawns on paper before making any changes in engine. It also greatly helped in getting an overall picture of each level and how everything was laid out without having to open the Unreal Engine and navigate around looking for specific assets.
These top downs made it easier to make any changes to the placement of each level's weapons, powerups, and respawns on paper before making any changes in engine. It also greatly helped in getting an overall picture of each level and how everything was laid out without having to open the Unreal Engine and navigate around looking for specific assets.
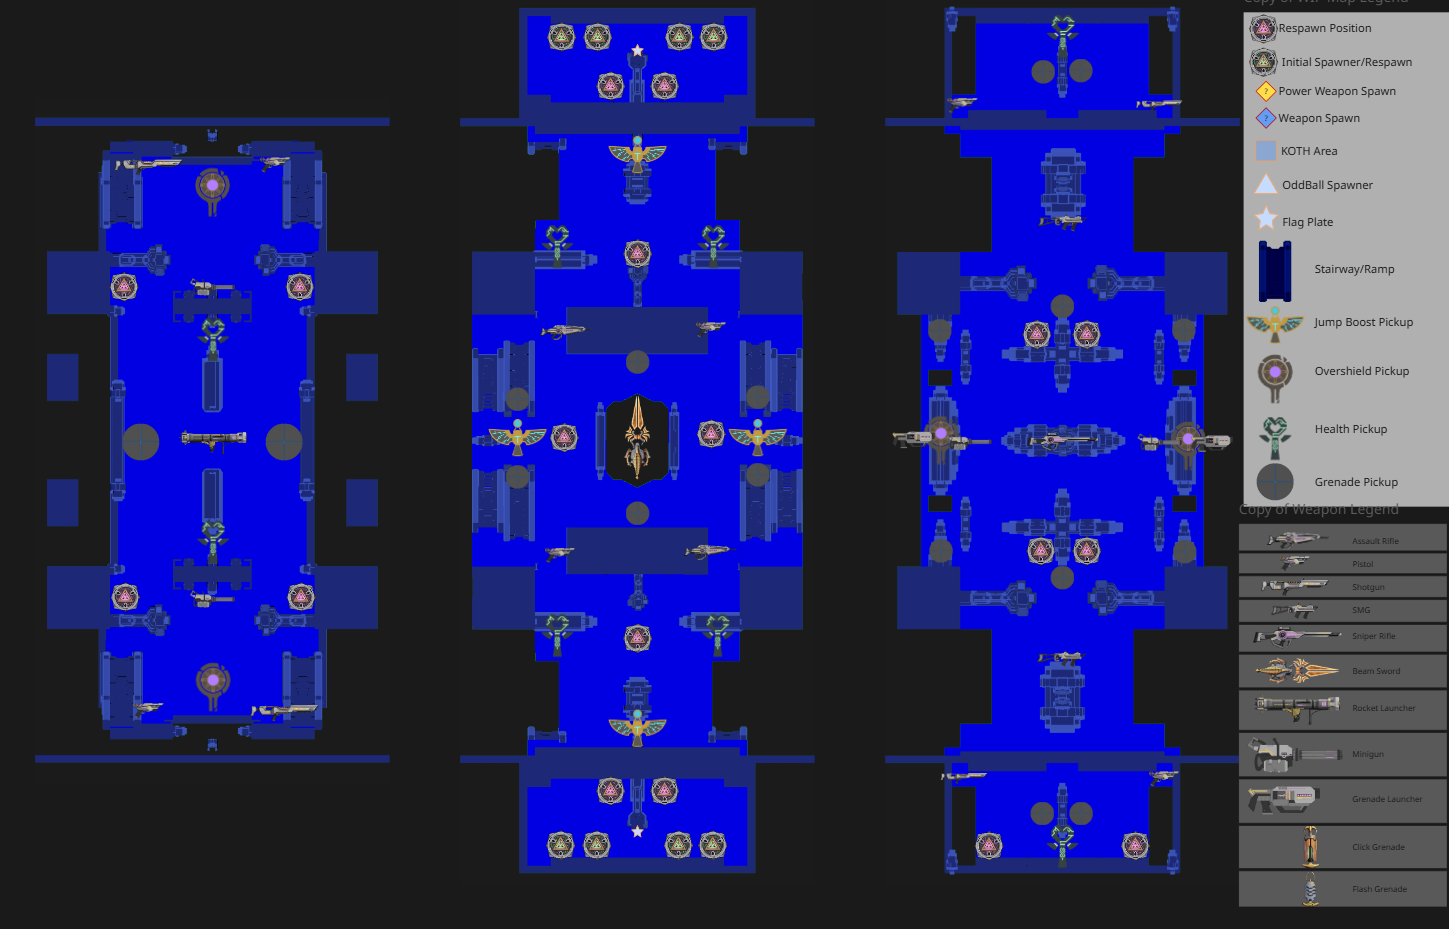
Bridge Top Down
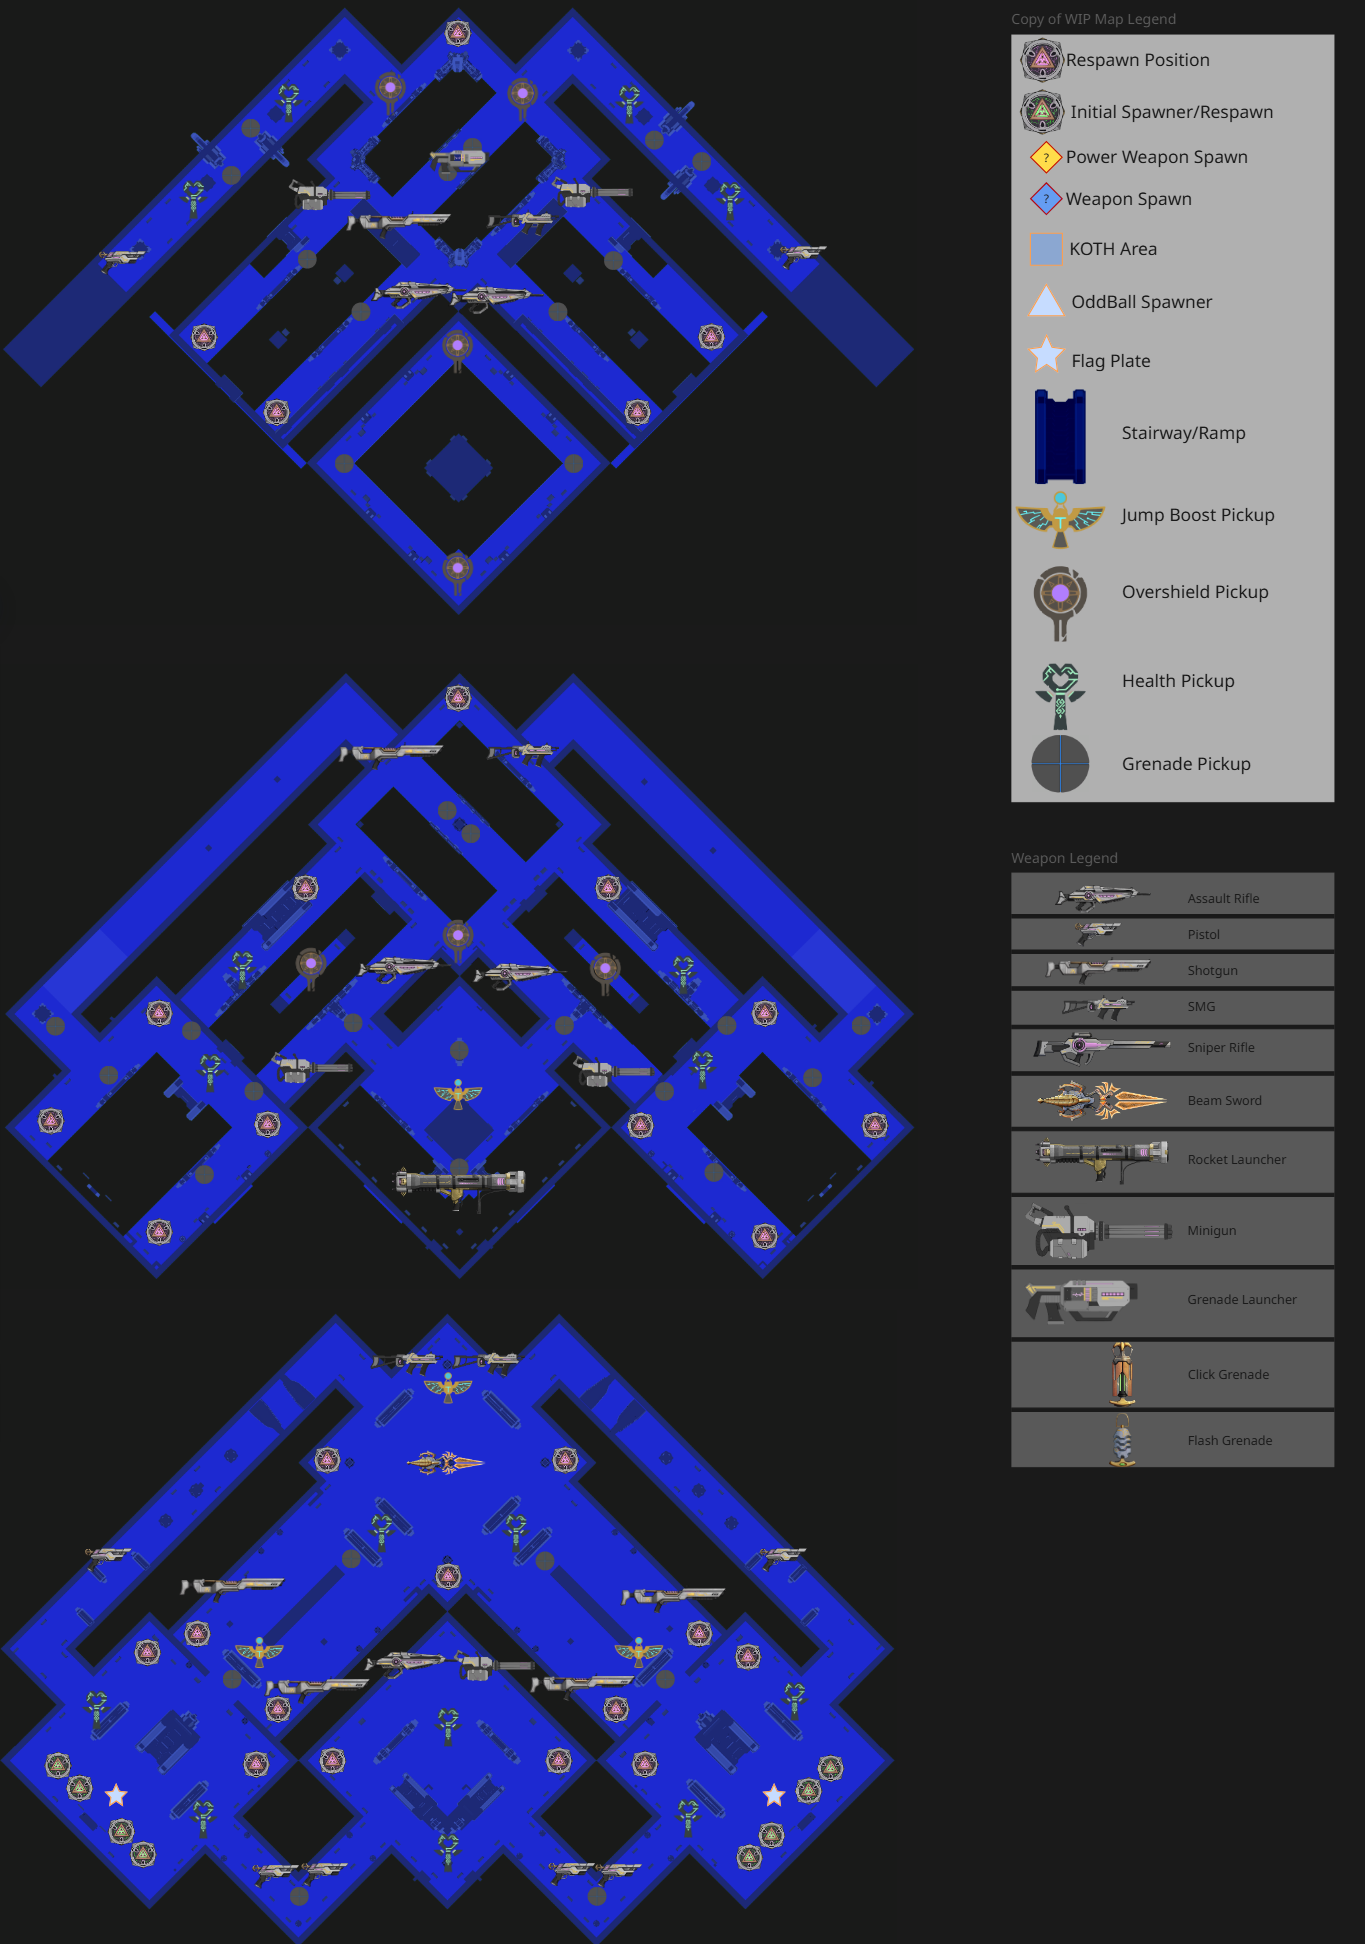
Cell Block Top Down
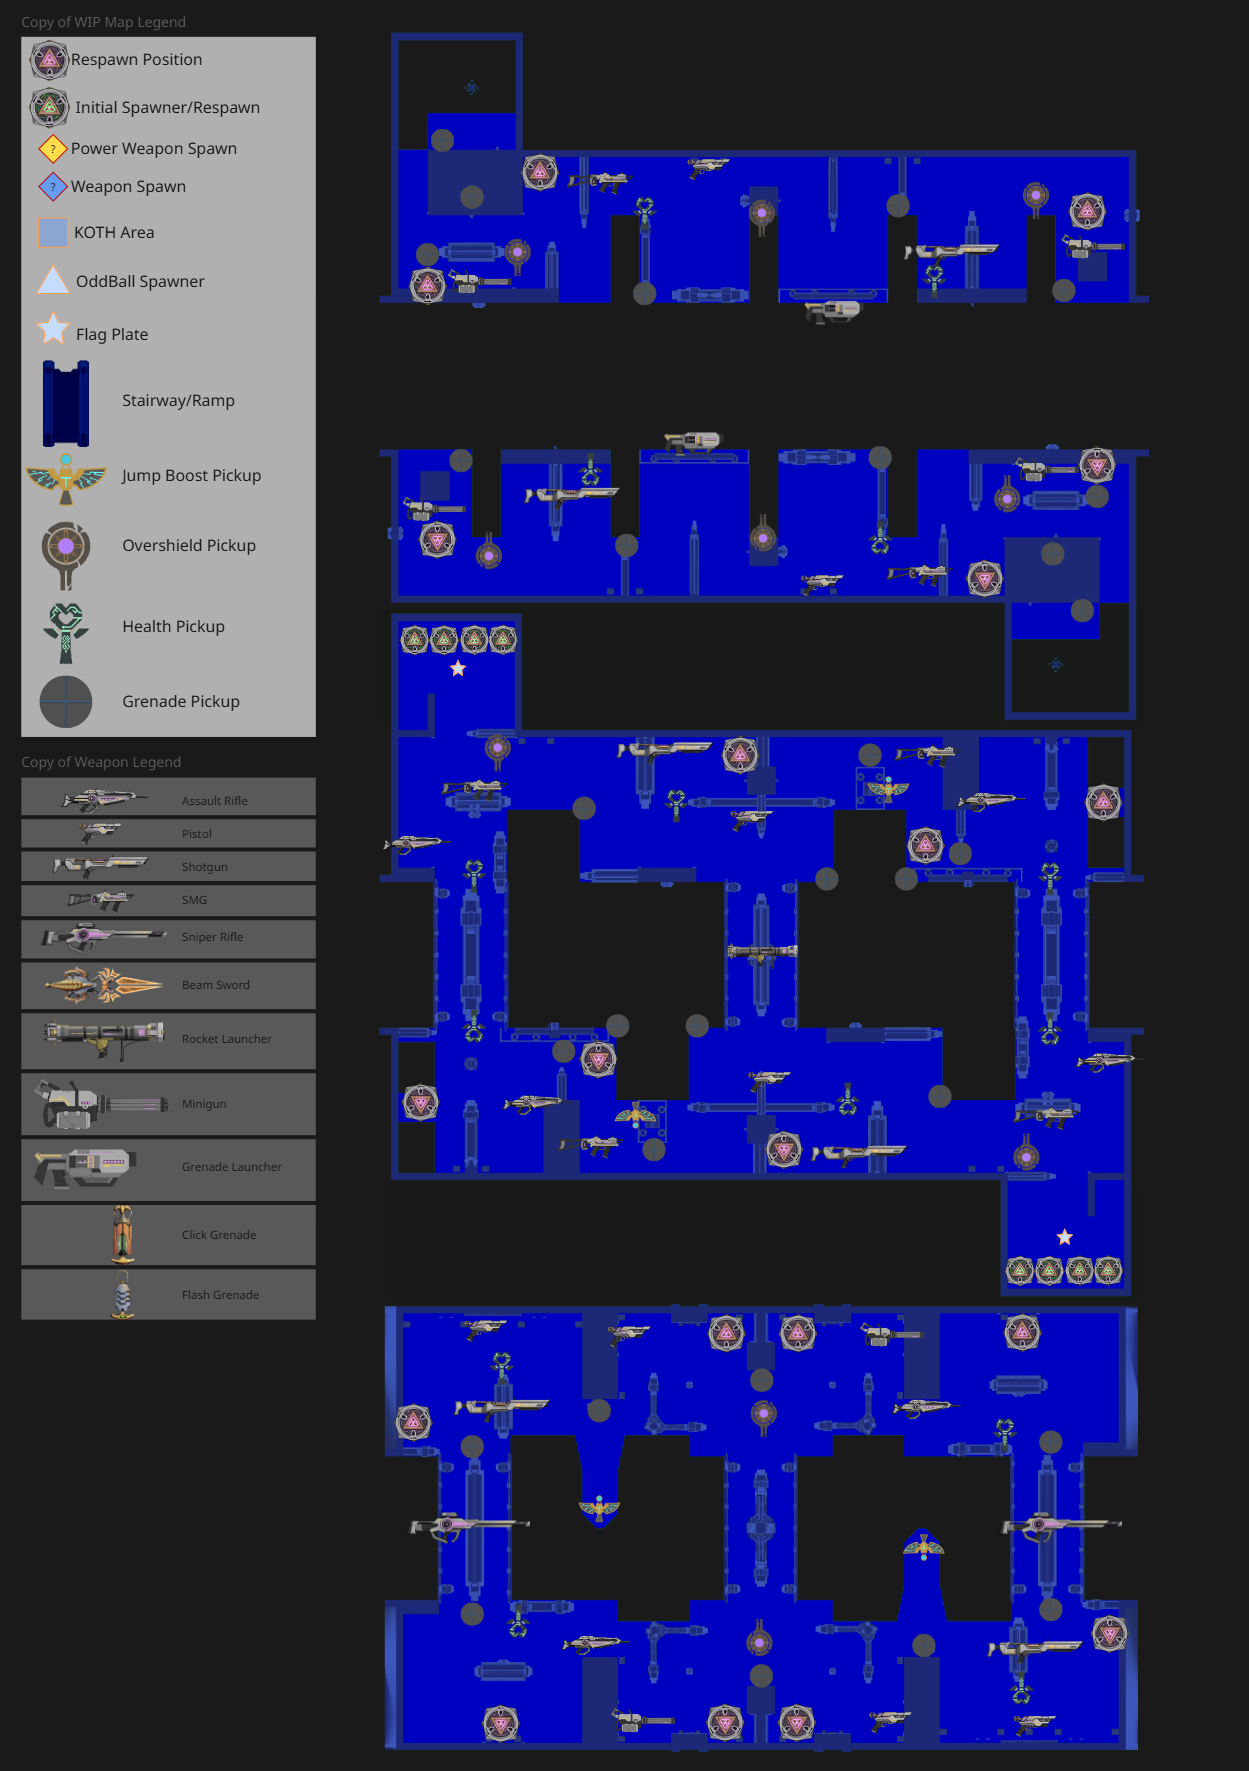
Chasm Top Down
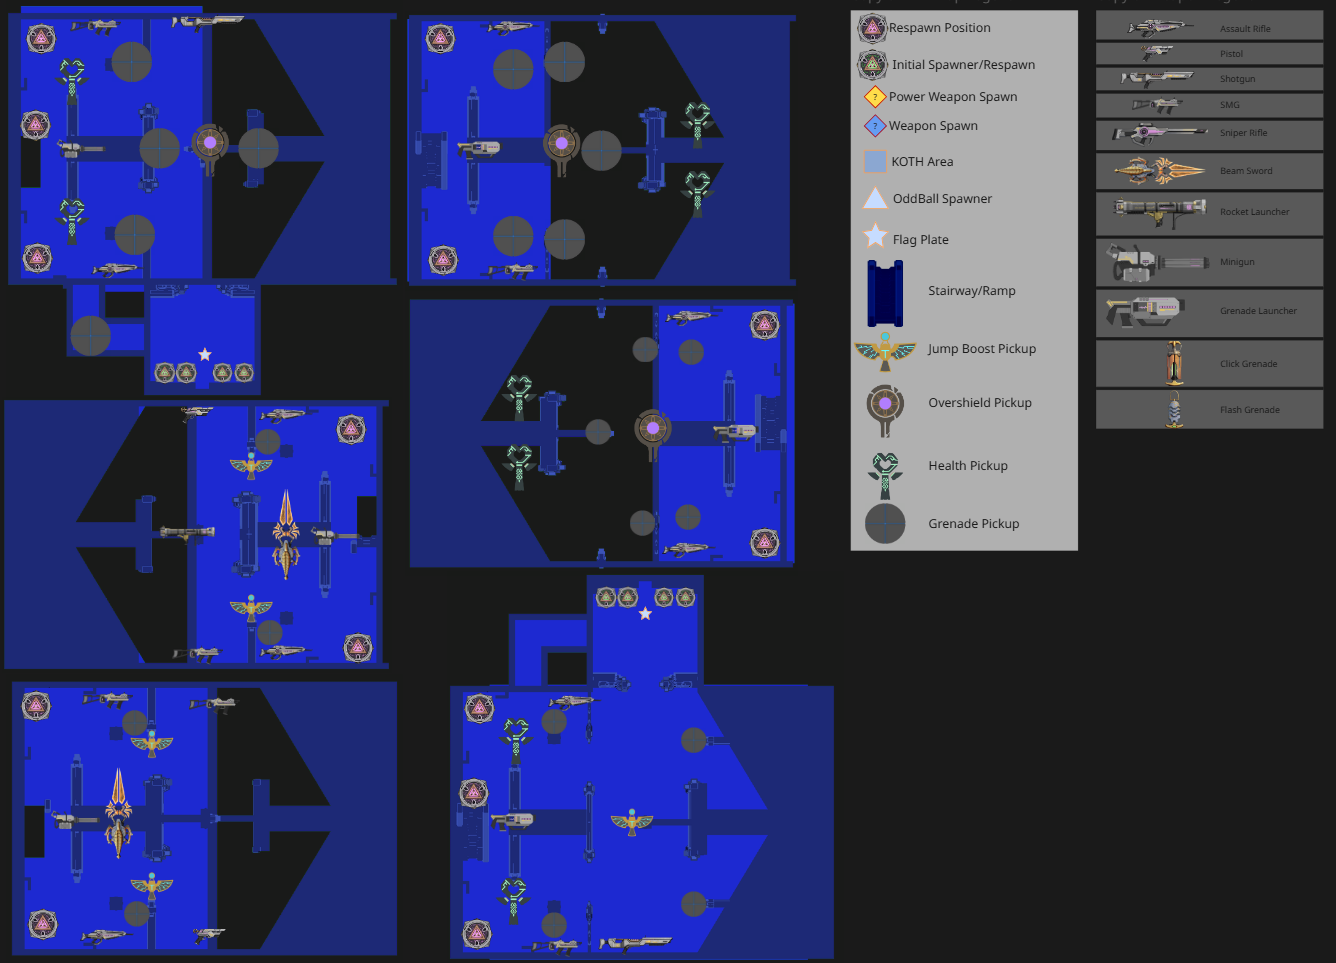
Megalophobia Top Down
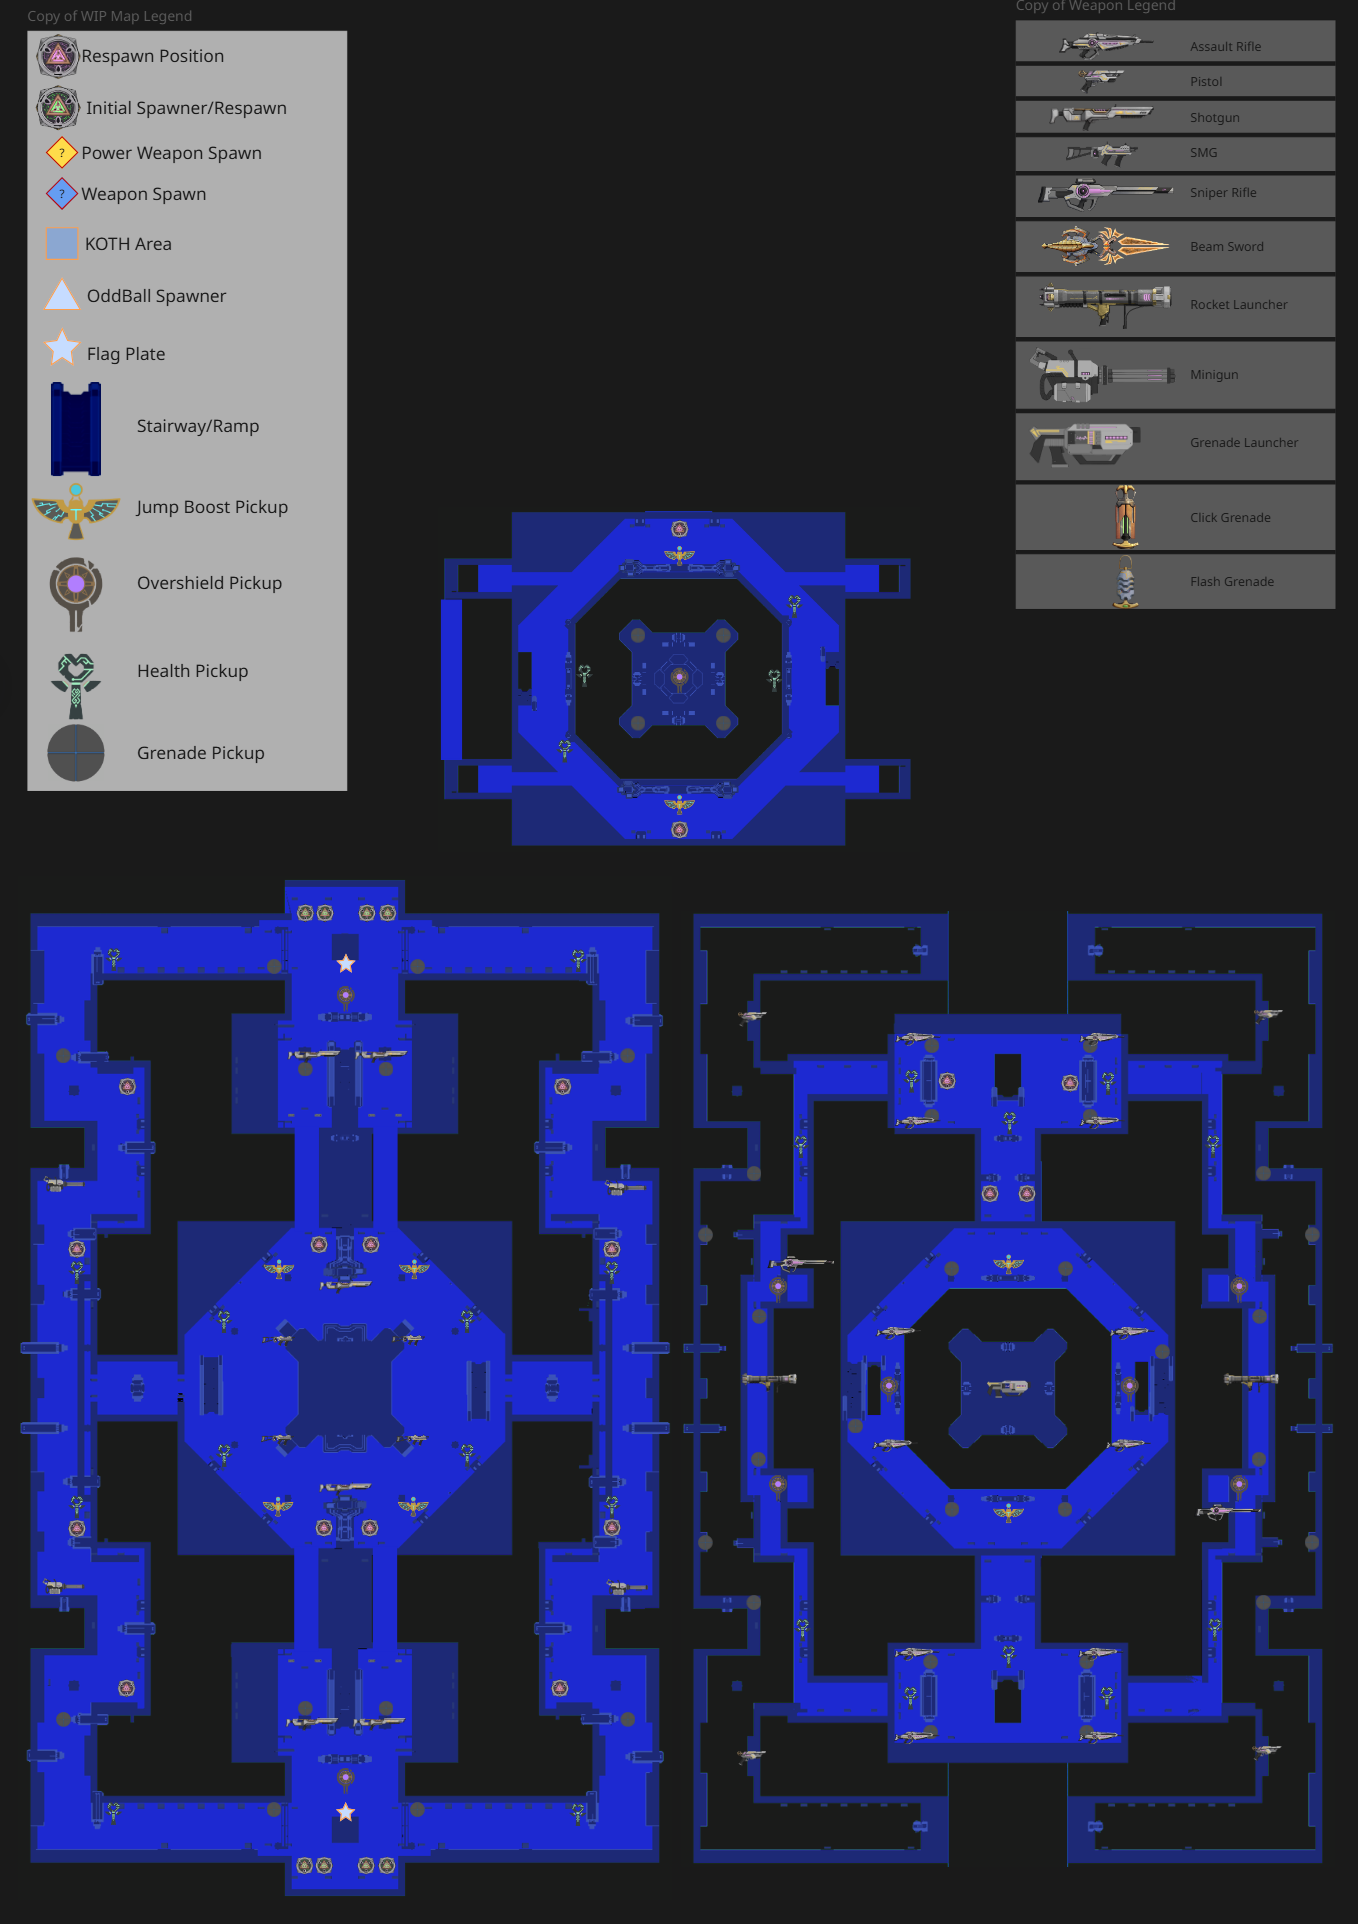
Panoctigon Top Down
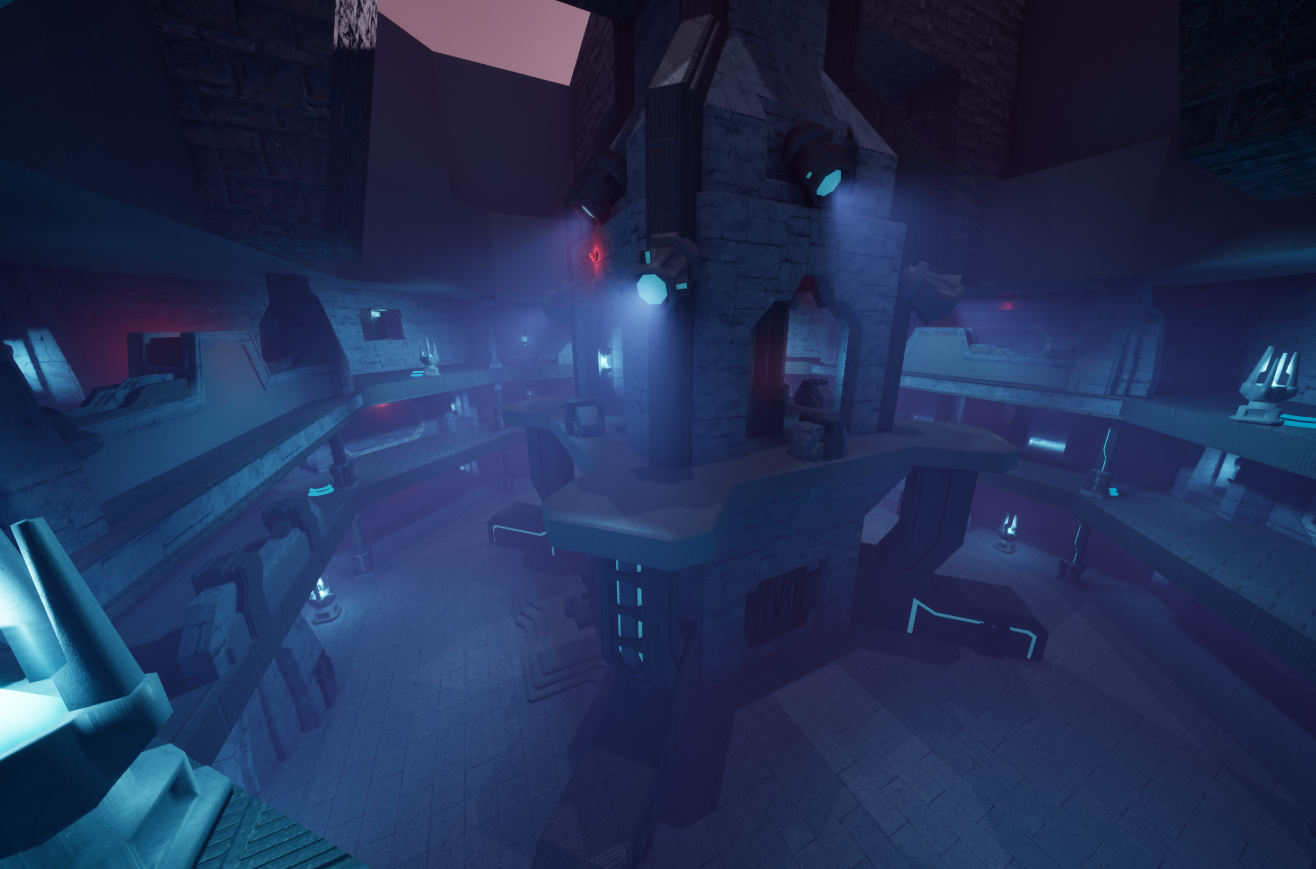
Panoctigon With Volumetric Fog and lighting improvements
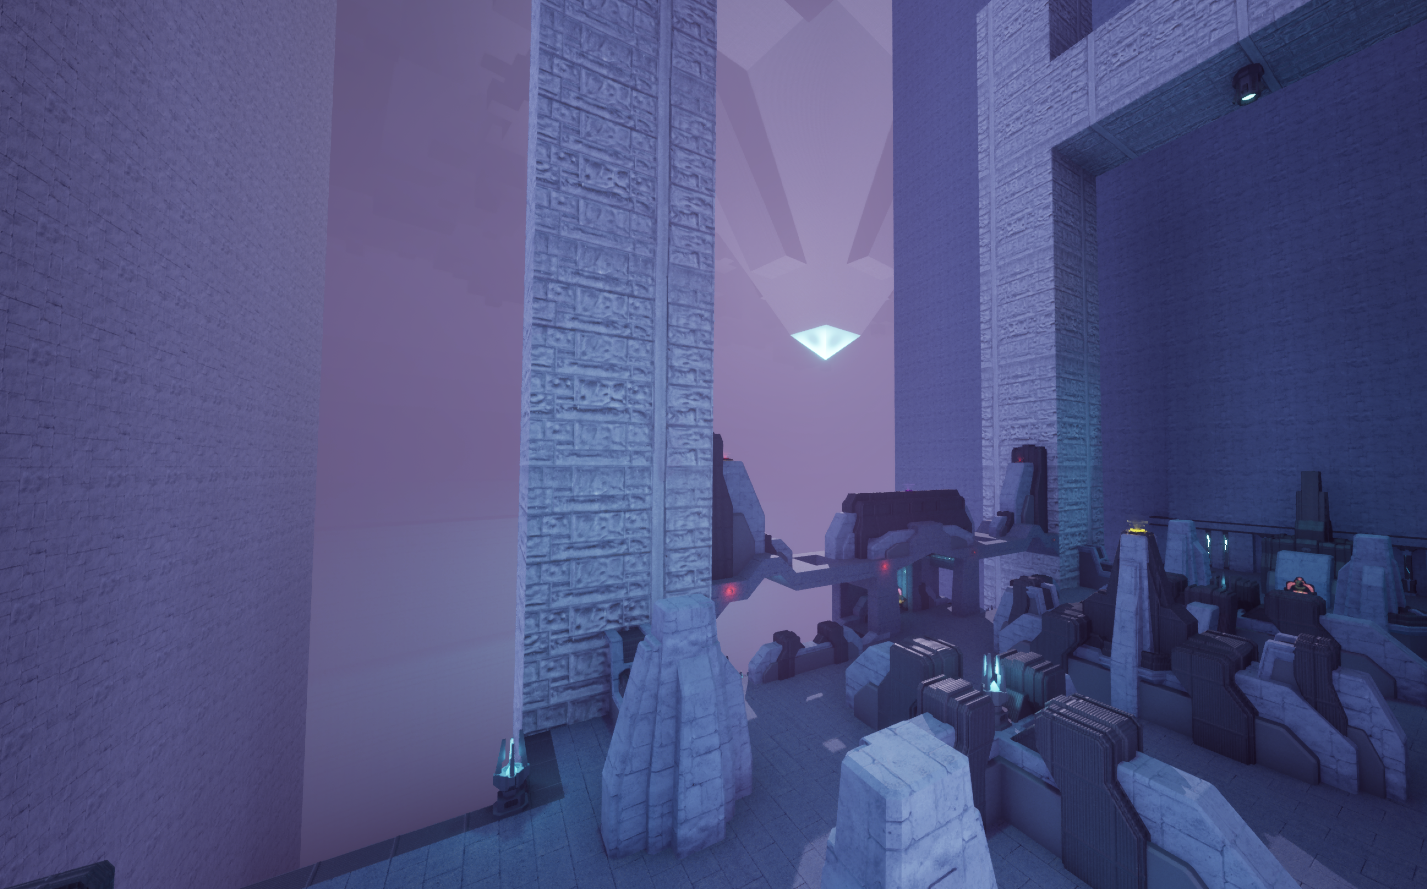
Skybox inside Bridge
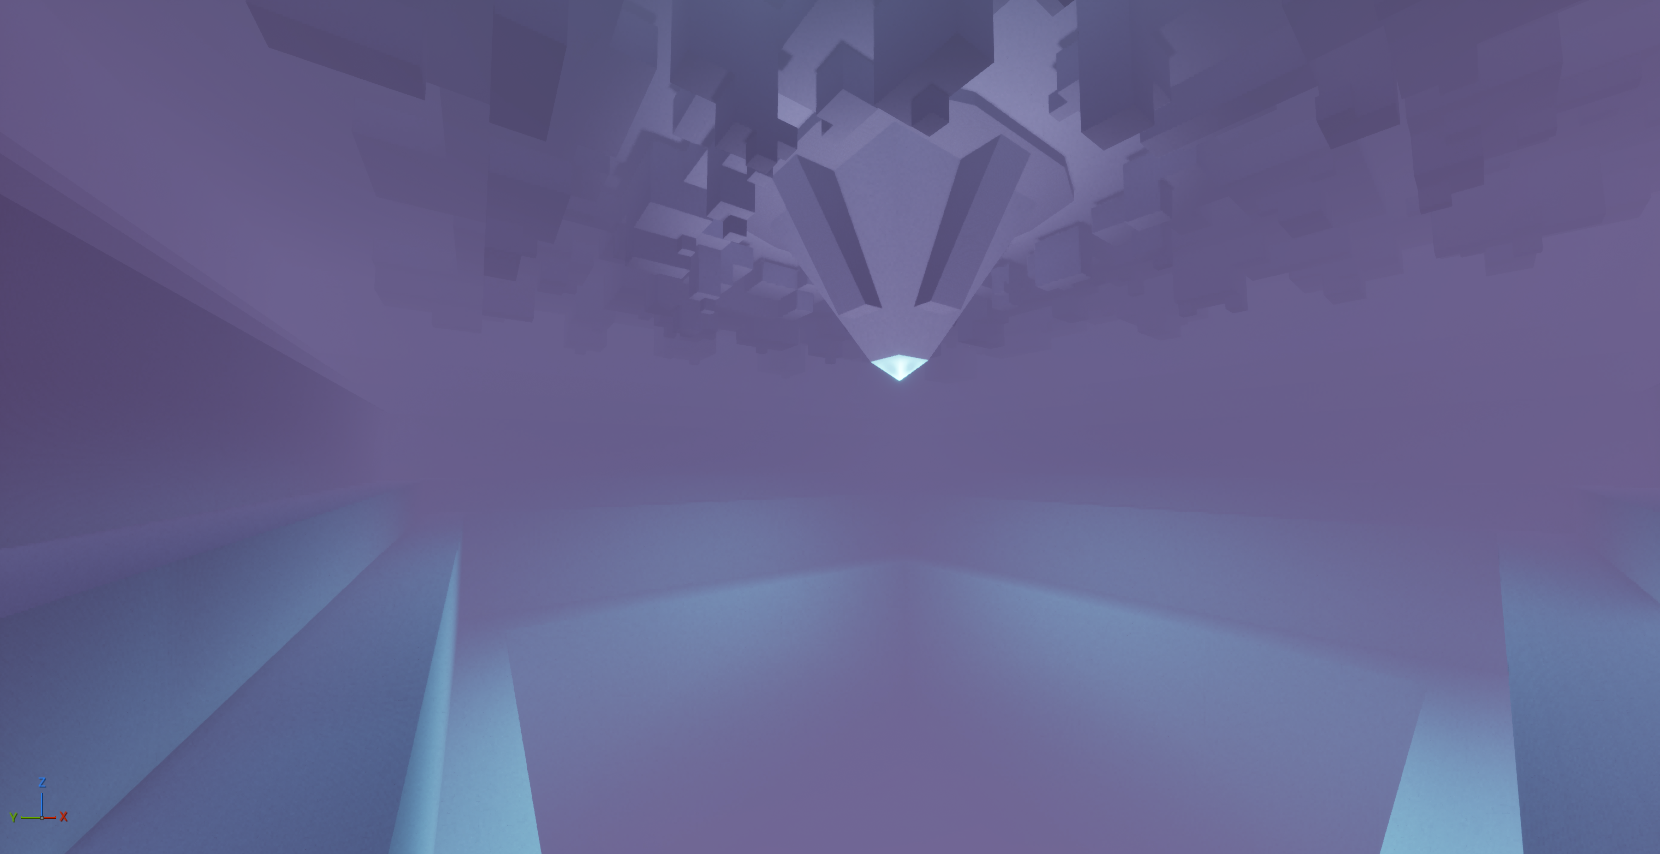
Skybox Capture level
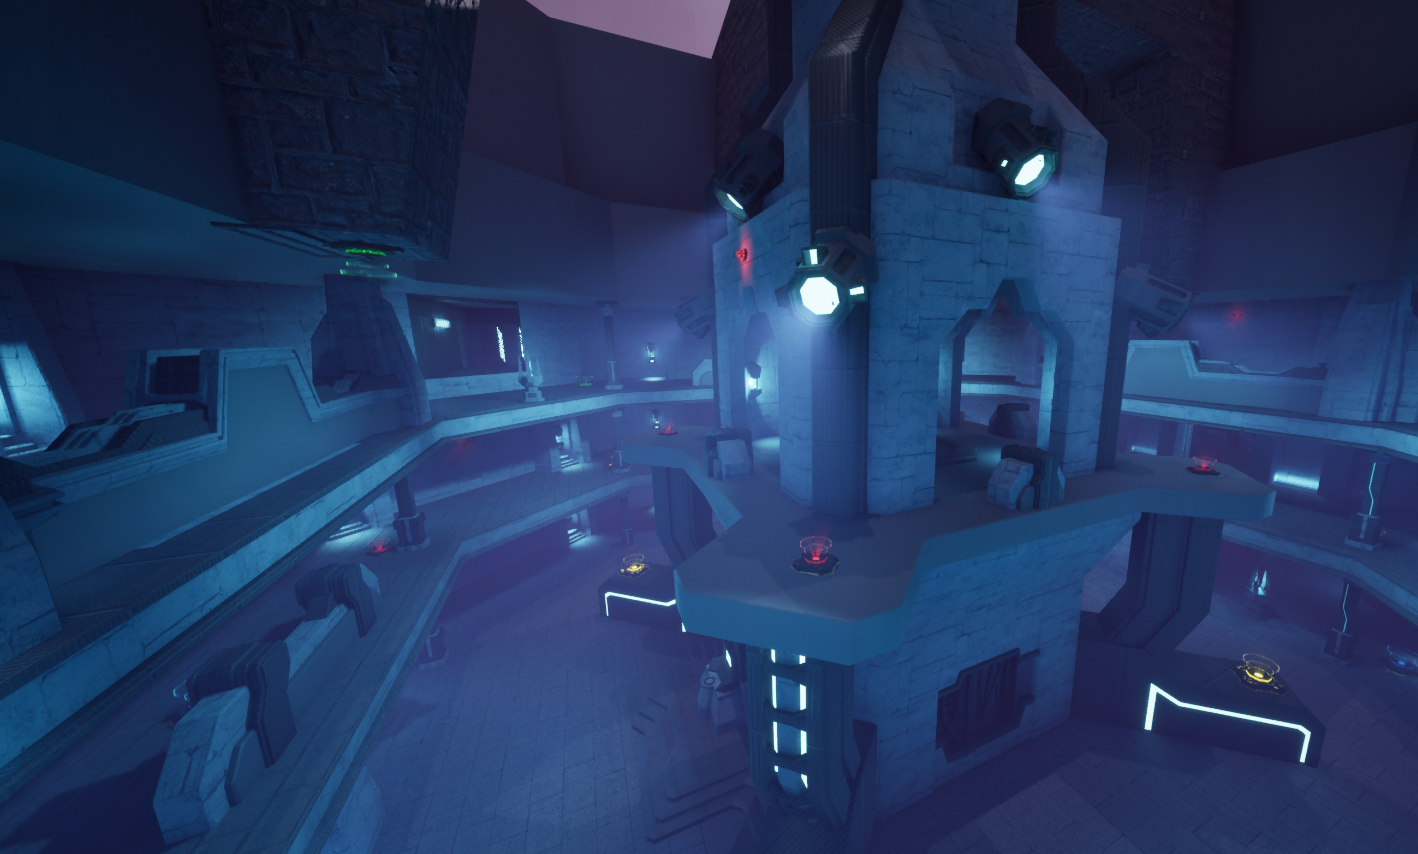
Panoctigon Spawner Pass
Implementation for this stage of each level's development featured volumetric fog, post processing improvements, additional lighting optimizations, and a skybox with a texture generated from a separate level that I put together specifically to capture as a skybox.
Weapons placements and Powerup spawners also had small adjustments and balancing changes alongside the addition of custom floor and wall spawner assets from the art team.
In addition to that there were some much needed adjustments to the verticality of Chasm, Panoctigon, and Bridge.
Testing had given us some insight that these spaces didn't have enough verticality to them and we found that these spaces didn't align with our goals of wanting to allow for use of the movement systems wherever possible as that was being refined by the team, rather than limit player from using those systems in certain sections of the level.
Using the flexibility of the Cubegrid that made up the base walls and floors of all the levels, I was able to rework these spaces incredibly quickly. These changes likely would have been a multiweek task had I not been using the Cubegrid system, but I was able to rebuild and improve all three of the maps mentioned and have them functional again in a single working week.
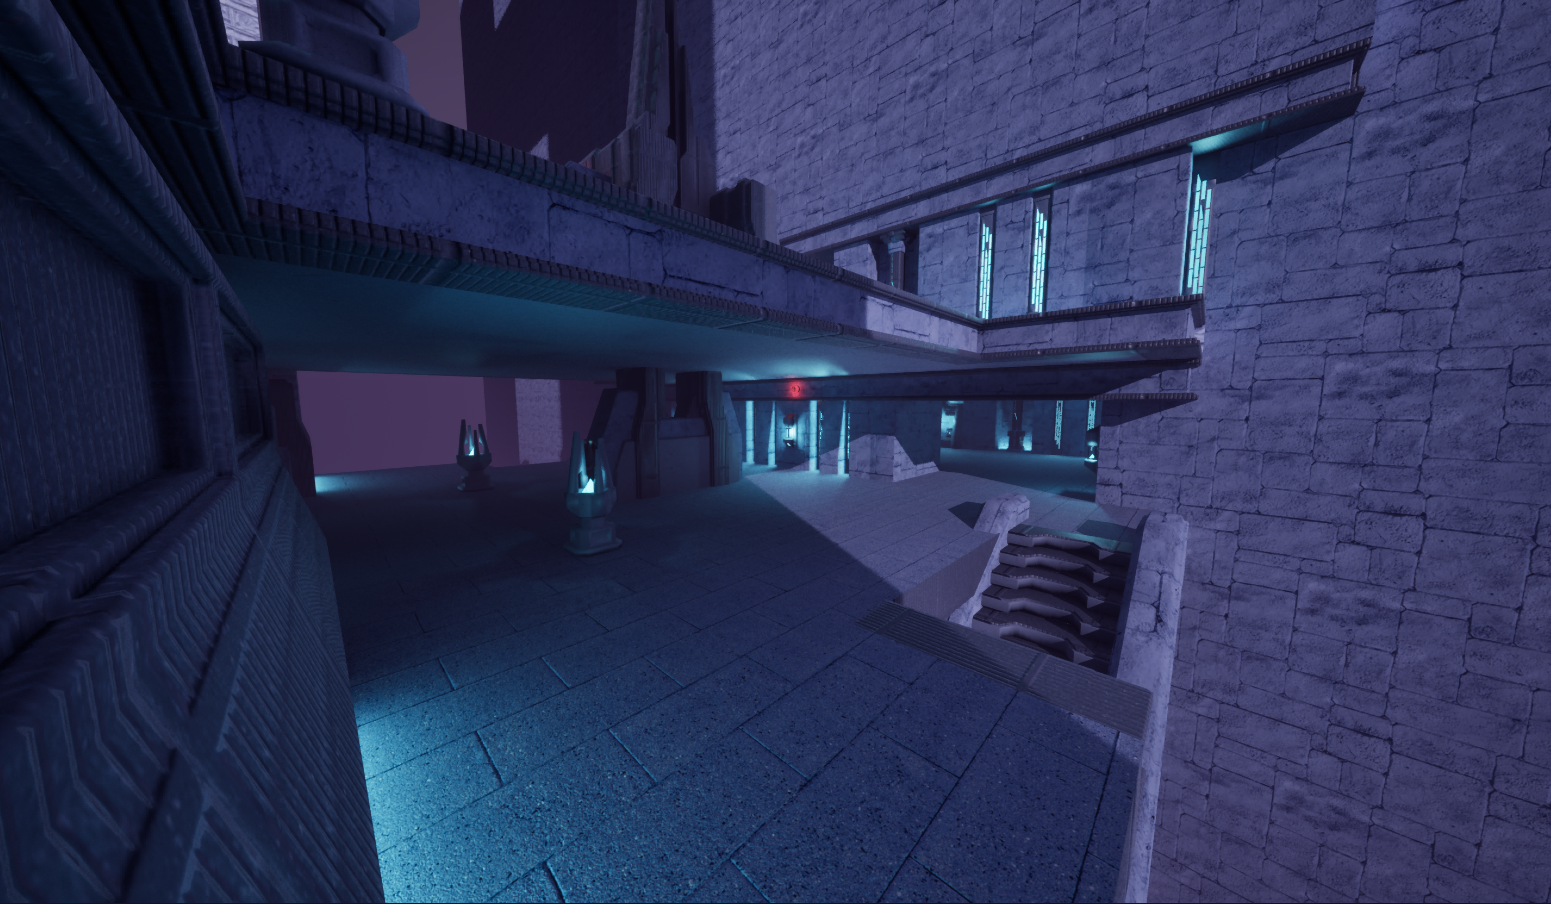
Bridge Old Height
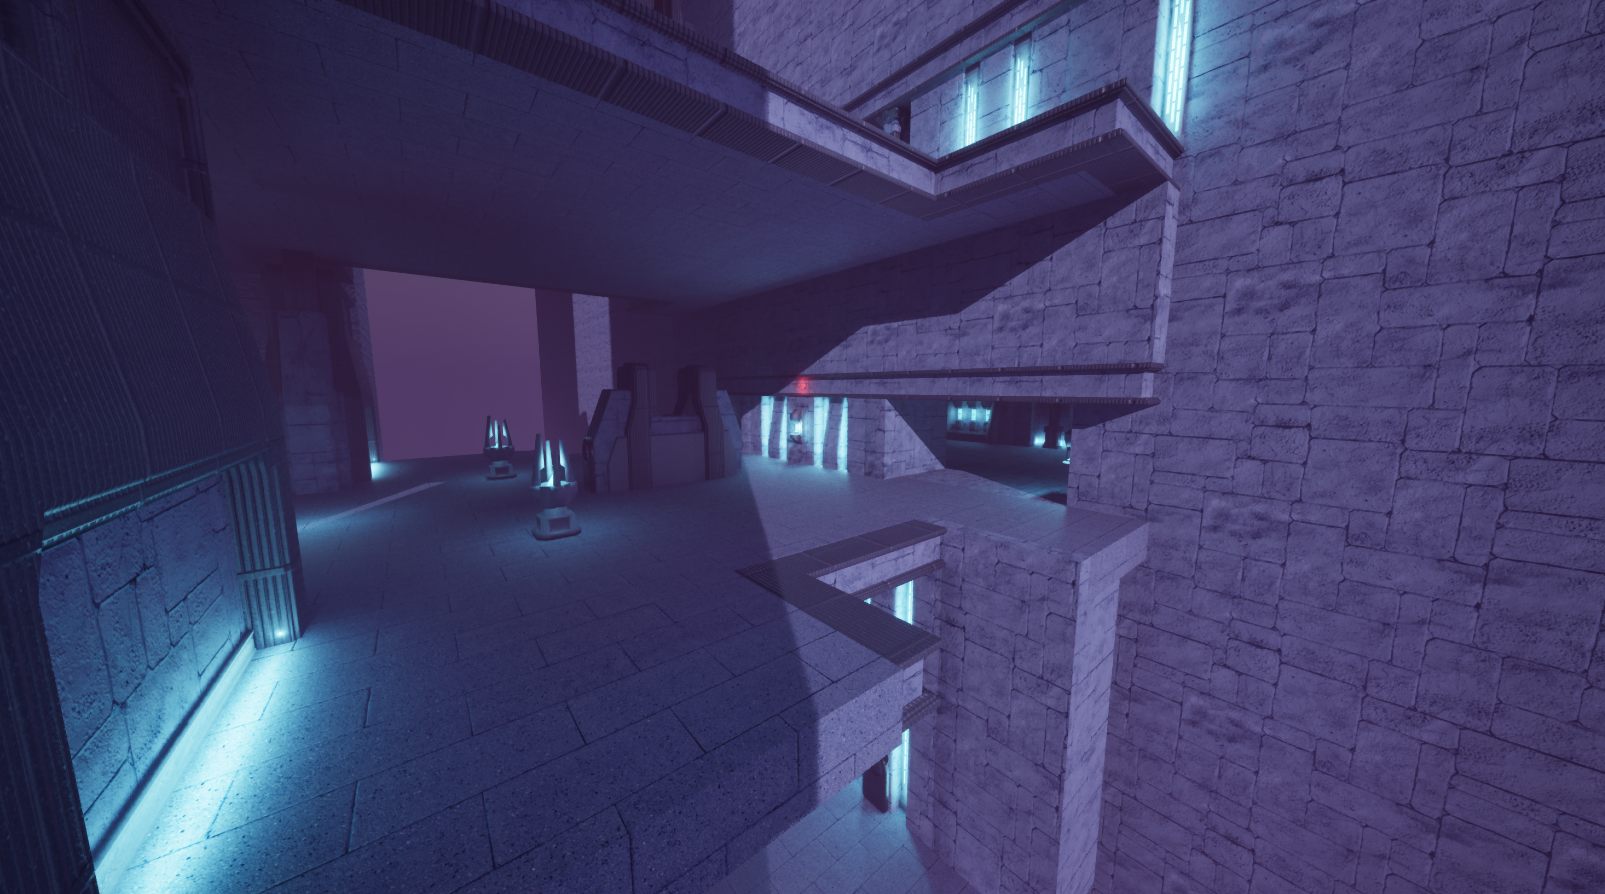
Bridge New Height
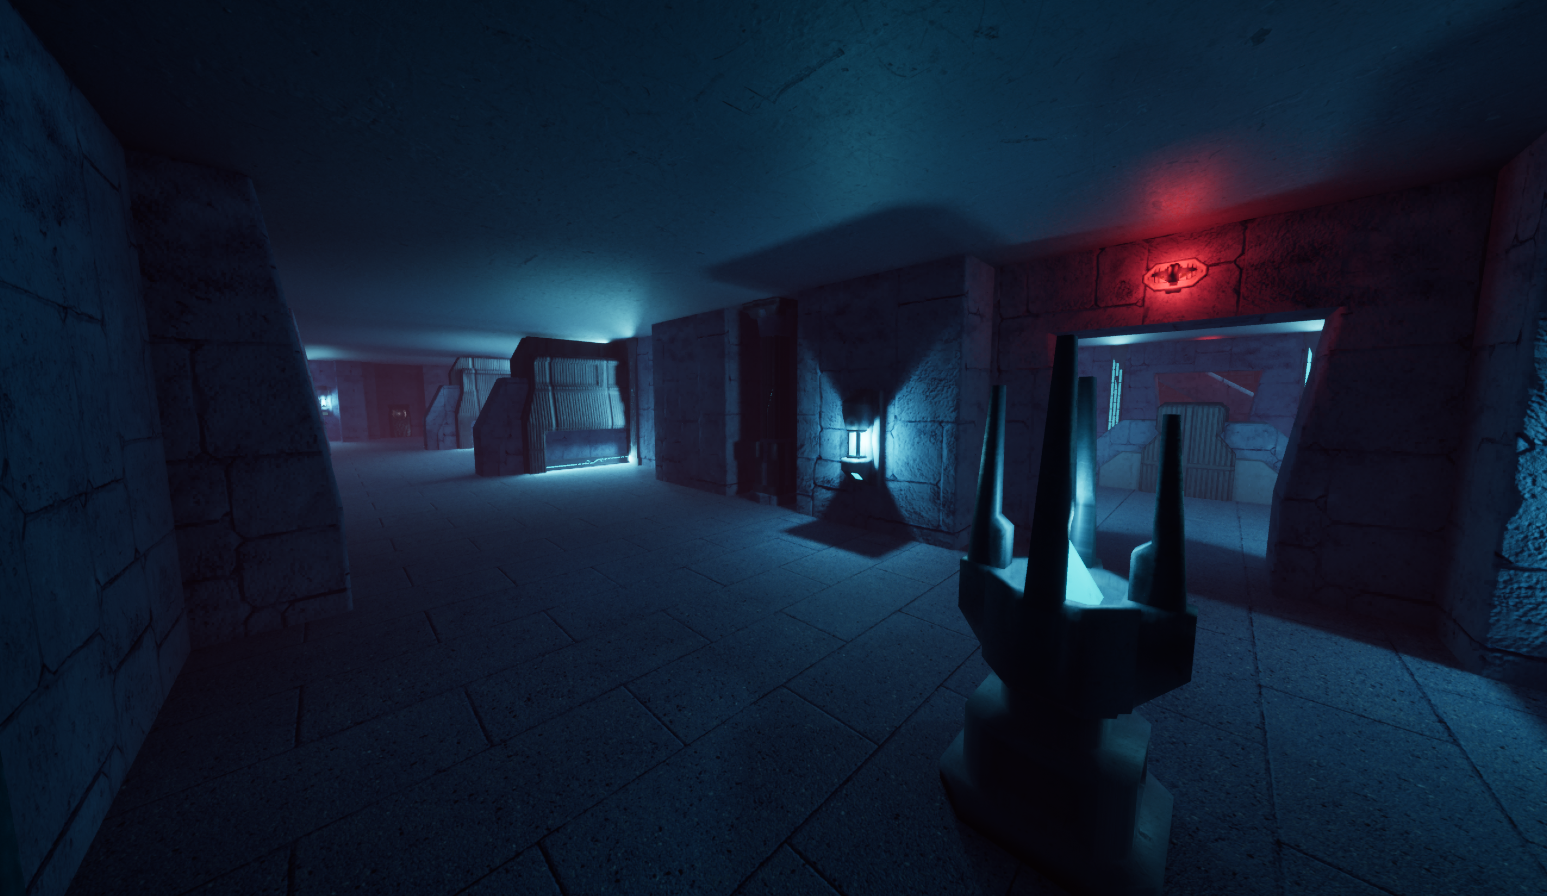
Panoctigon Old Side Hall
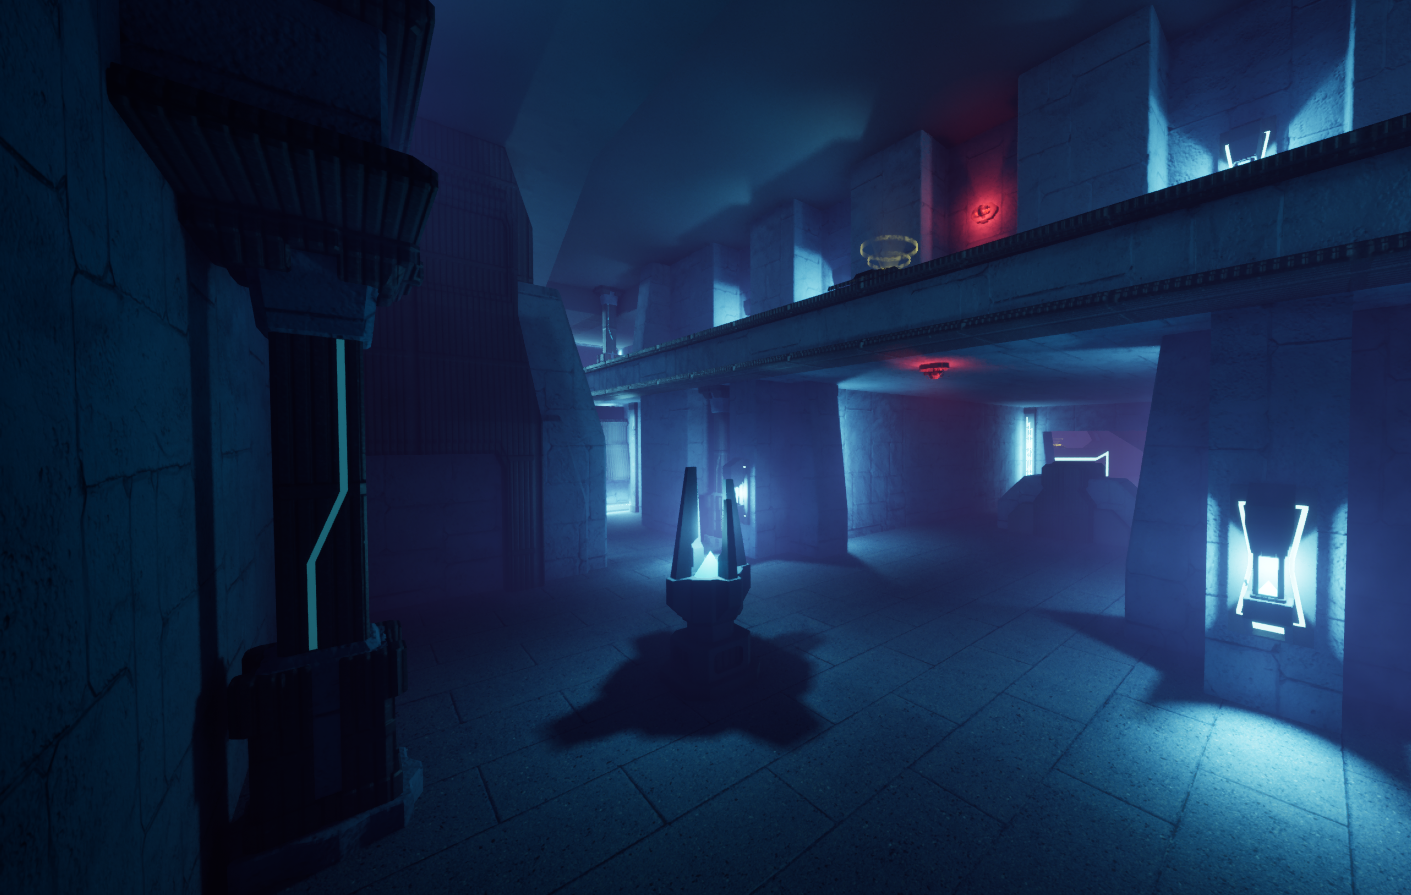
Panoctigon New Side Hall
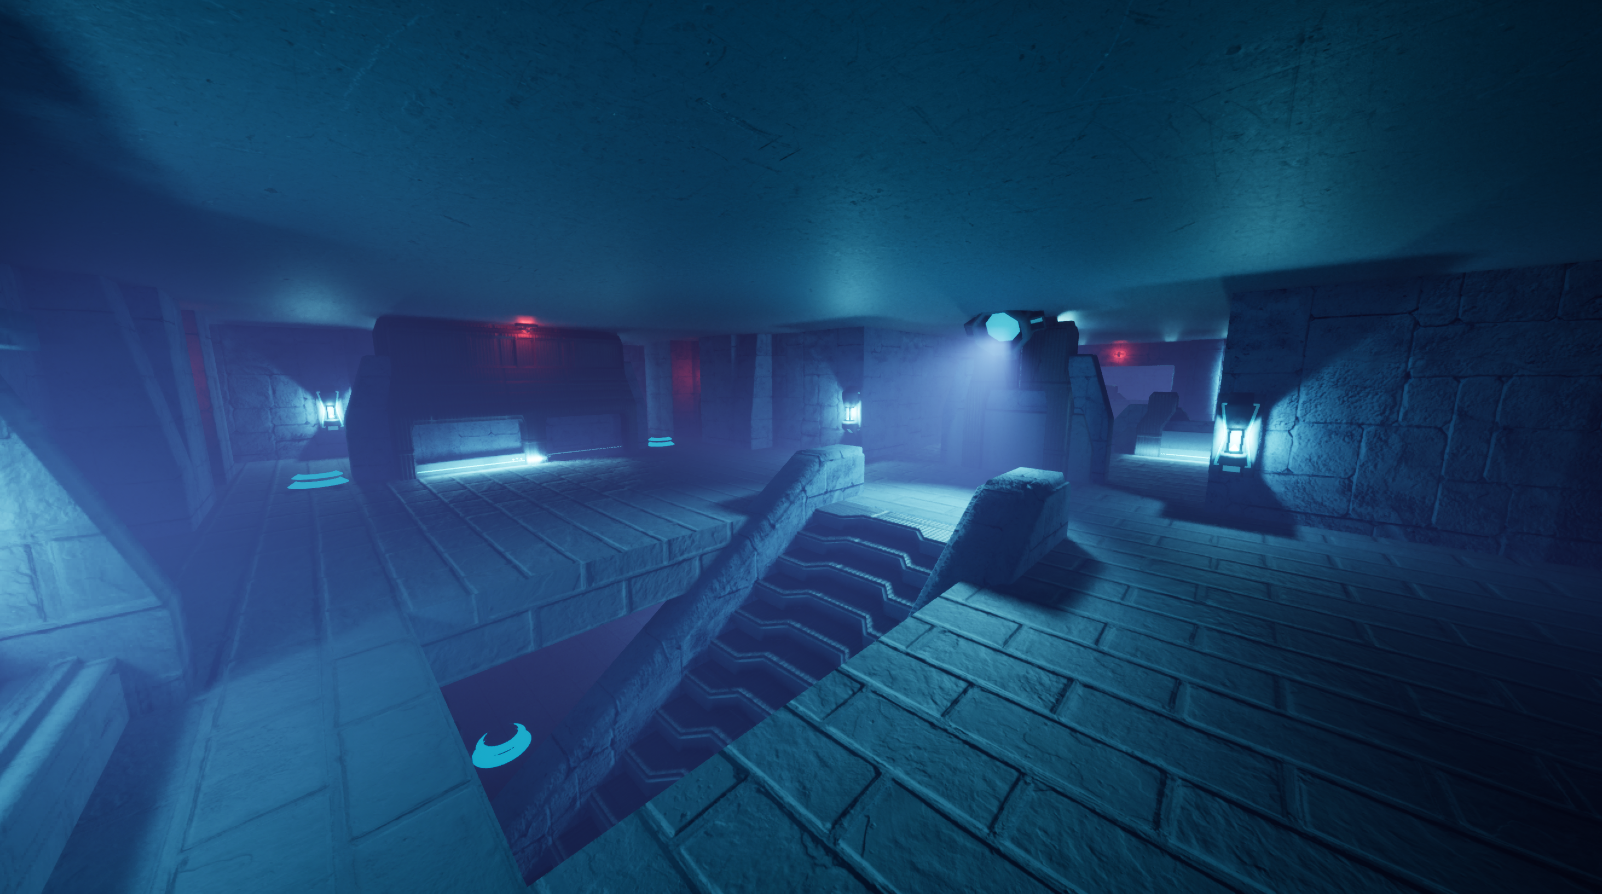
Panoctigon Old Spawn Stairs
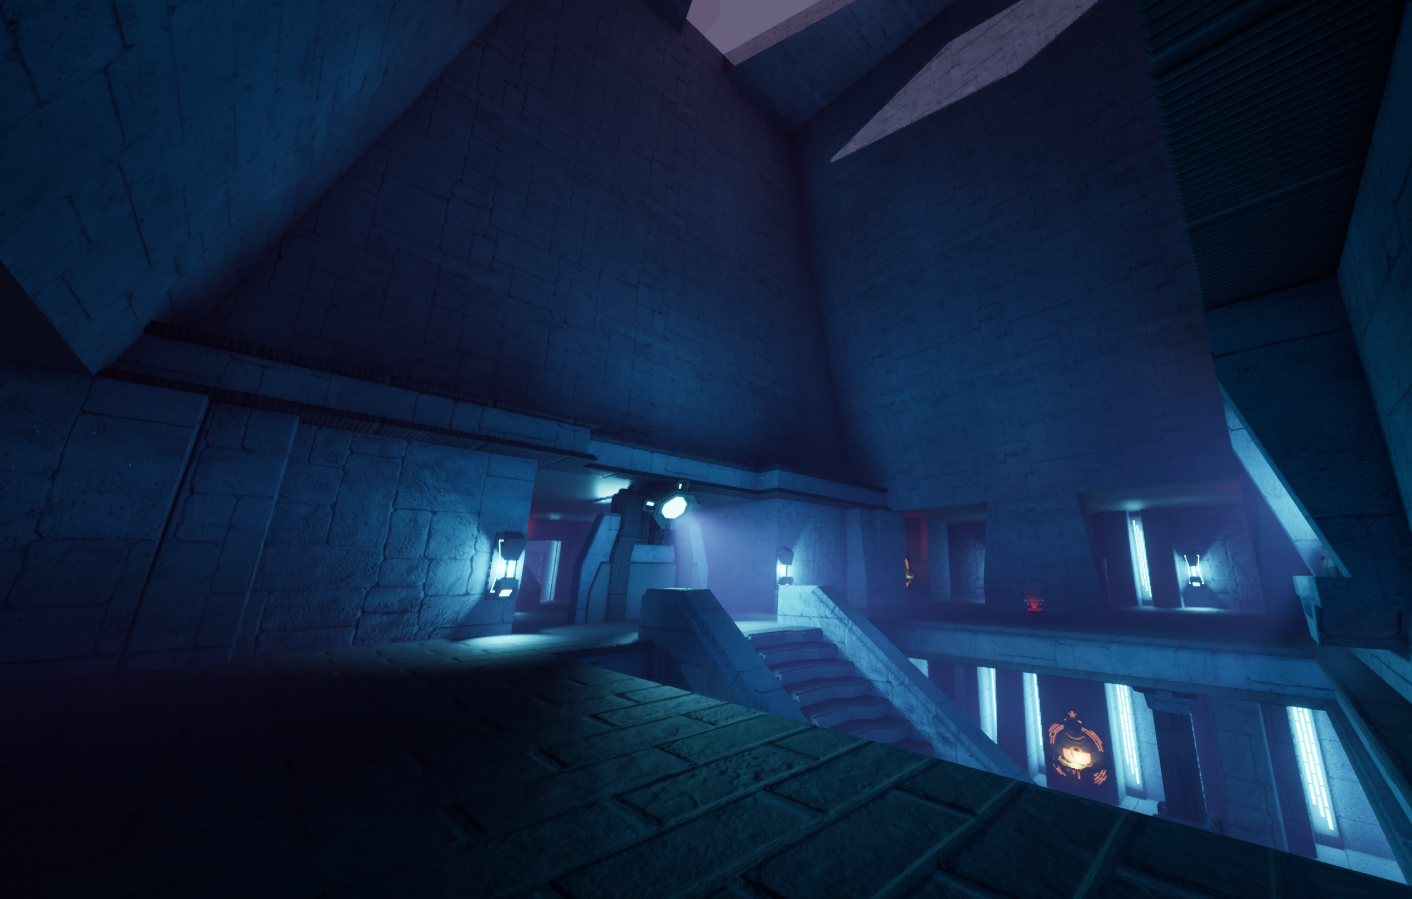
Panoctigon New Spawn Stairs
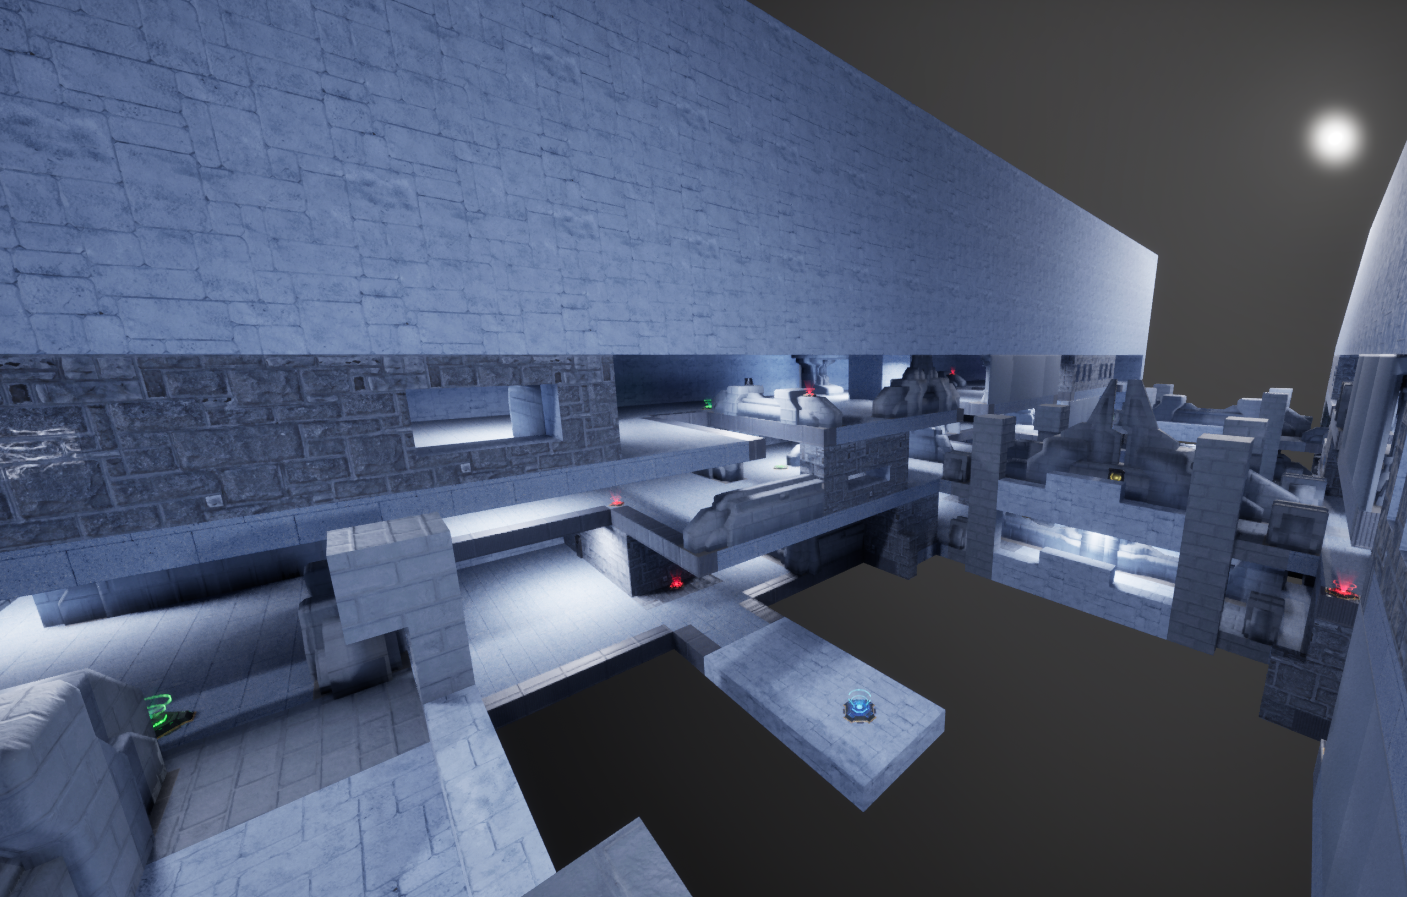
Chasm Old Height
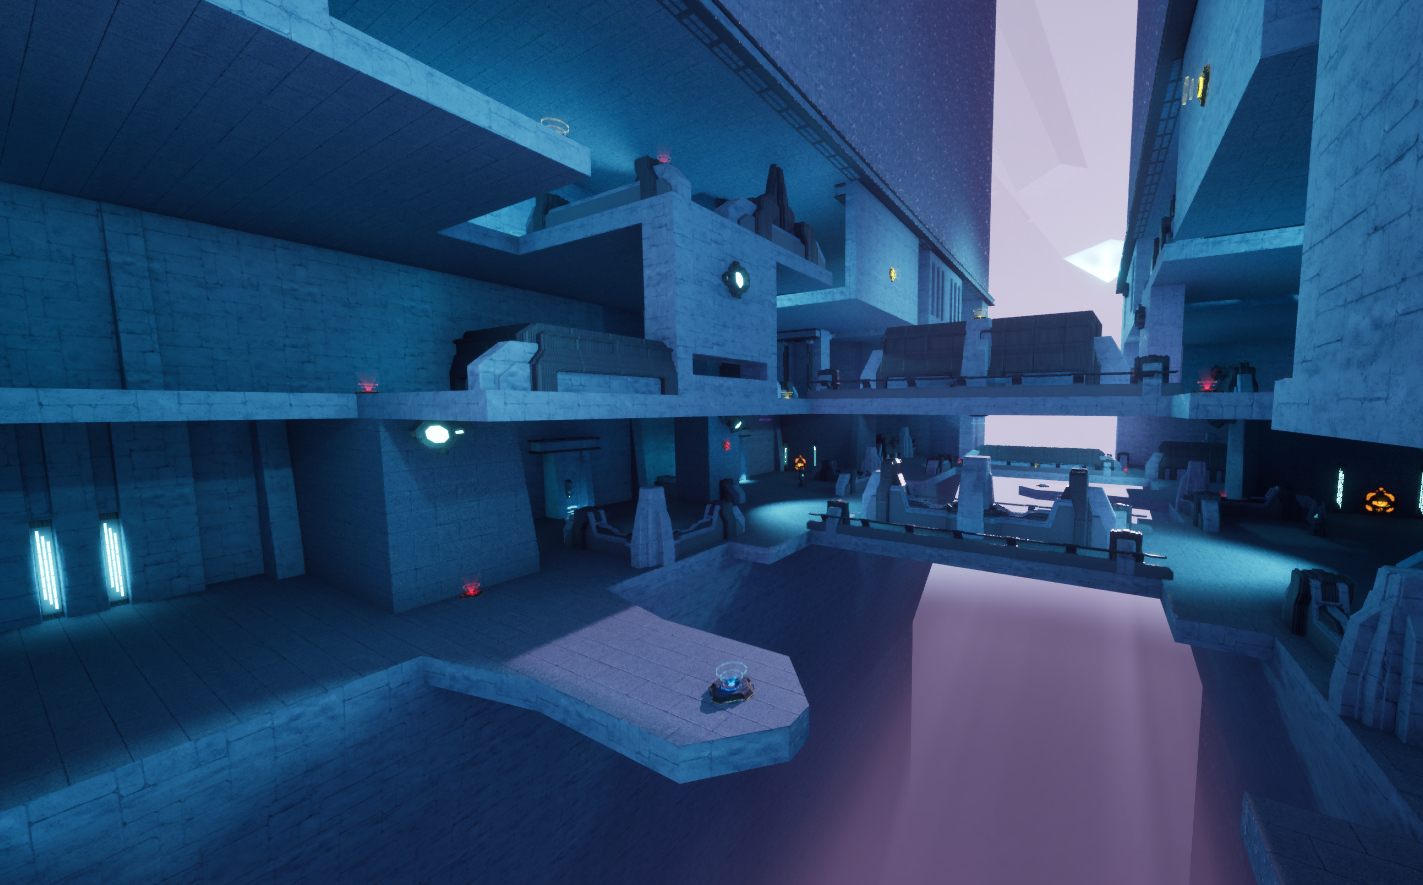
Chasm New Height
Here is a short video posted on the Sickware YouTube channel showcasing the progress around this point in development.
- Round 2, Lighting Improvements and Further Testing -
It was from this point that we had many aspects of the core game in a state we were comfortable to start testing in larger groups. I created a simple playtesting document to outline methodology and format for testing. I have always had the development philosophy of constantly playing the game I'm working on to avoid getting lost and to understand what players might be thinking and doing at any given time. With that in mind planned on hosting weekly playtests where anybody can join us at a designated time and play the game with us, after testing we had a survey to fill out as well. This allowed us to get immediate and direct verbal feedback and really to have a conversation with people outside the team about the game. Eventually our development cycle meshed well with regular testing and prevented stagnation of development time. Because we would be setting a new build every week to test what we had worked on, it gave everyone a development goal week to week and kept up momentum for the team.
We managed to have a test nearly every week for a over a full 4 months of development time, allowing the team to focus on what needed bug fixing. During this time we also upgraded our version of Unreal Engine. This allowed me to get some more insight into lighting optimization for our the game, and I worked on ensuring lighting was performant while looking at our weekly feedback and adjusting maps accordingly. Additionally, the team had some more art tasks finished by this time and I was able to apply that were much cohesive.
We managed to have a test nearly every week for a over a full 4 months of development time, allowing the team to focus on what needed bug fixing. During this time we also upgraded our version of Unreal Engine. This allowed me to get some more insight into lighting optimization for our the game, and I worked on ensuring lighting was performant while looking at our weekly feedback and adjusting maps accordingly. Additionally, the team had some more art tasks finished by this time and I was able to apply that were much cohesive.
While any changes based on our feedback form were largely made as development continued and our core gameplay improved week-to-week, in the background we were also collecting telemetry from every match played. With all of the data we collected using the telemetry tracking tool I created a telemetry report to parse the data gathered and then implemented changes based on the findings. Through the rigorous testing I managed to improve the flow, signifiers, pickup locations and navigation.
To better help players differentiate the side of the map they were on, and orient themselves after respawning the lighting colour throughout all maps were changed to represent each respective team side of the level. The Purple/Pink lights would be for the red team (actual red lights caused readability issues, and weren't comfortable on the eyes), and already existing white and blue lights for the blue team. I also created a number of emissive decal masks from some existing textures and assets we had from our artists, and these also had really helped with navigation, adding variety, and atmosphere to the visuals in each of the maps.
Area's where players were not utilizing were opened up and easier access was made so it was clear that players had routes to those area's in question. Some examples include the addition of a large open area in Panoctigon that links the side hallways, the central room, and spawns in a seamless way to open up options for navigation. Additionally, an easier route to the lower level of Bridge through an opening in the center between the middle and bottom floors was implemented.
Additional passes to the level pickup balancing were also made with the goal of having power weapons and powerful pickups in the places where players naturally gravitate towards for map control, as well as in side routes to lead players through flanking routes and prevent total control from one team over every point of interest.
It was at this point where the levels were in a state where both players and the team was happy with the state of each map and this is where they currently are at for their development.
(Click or Tap to enlarge GIF's)
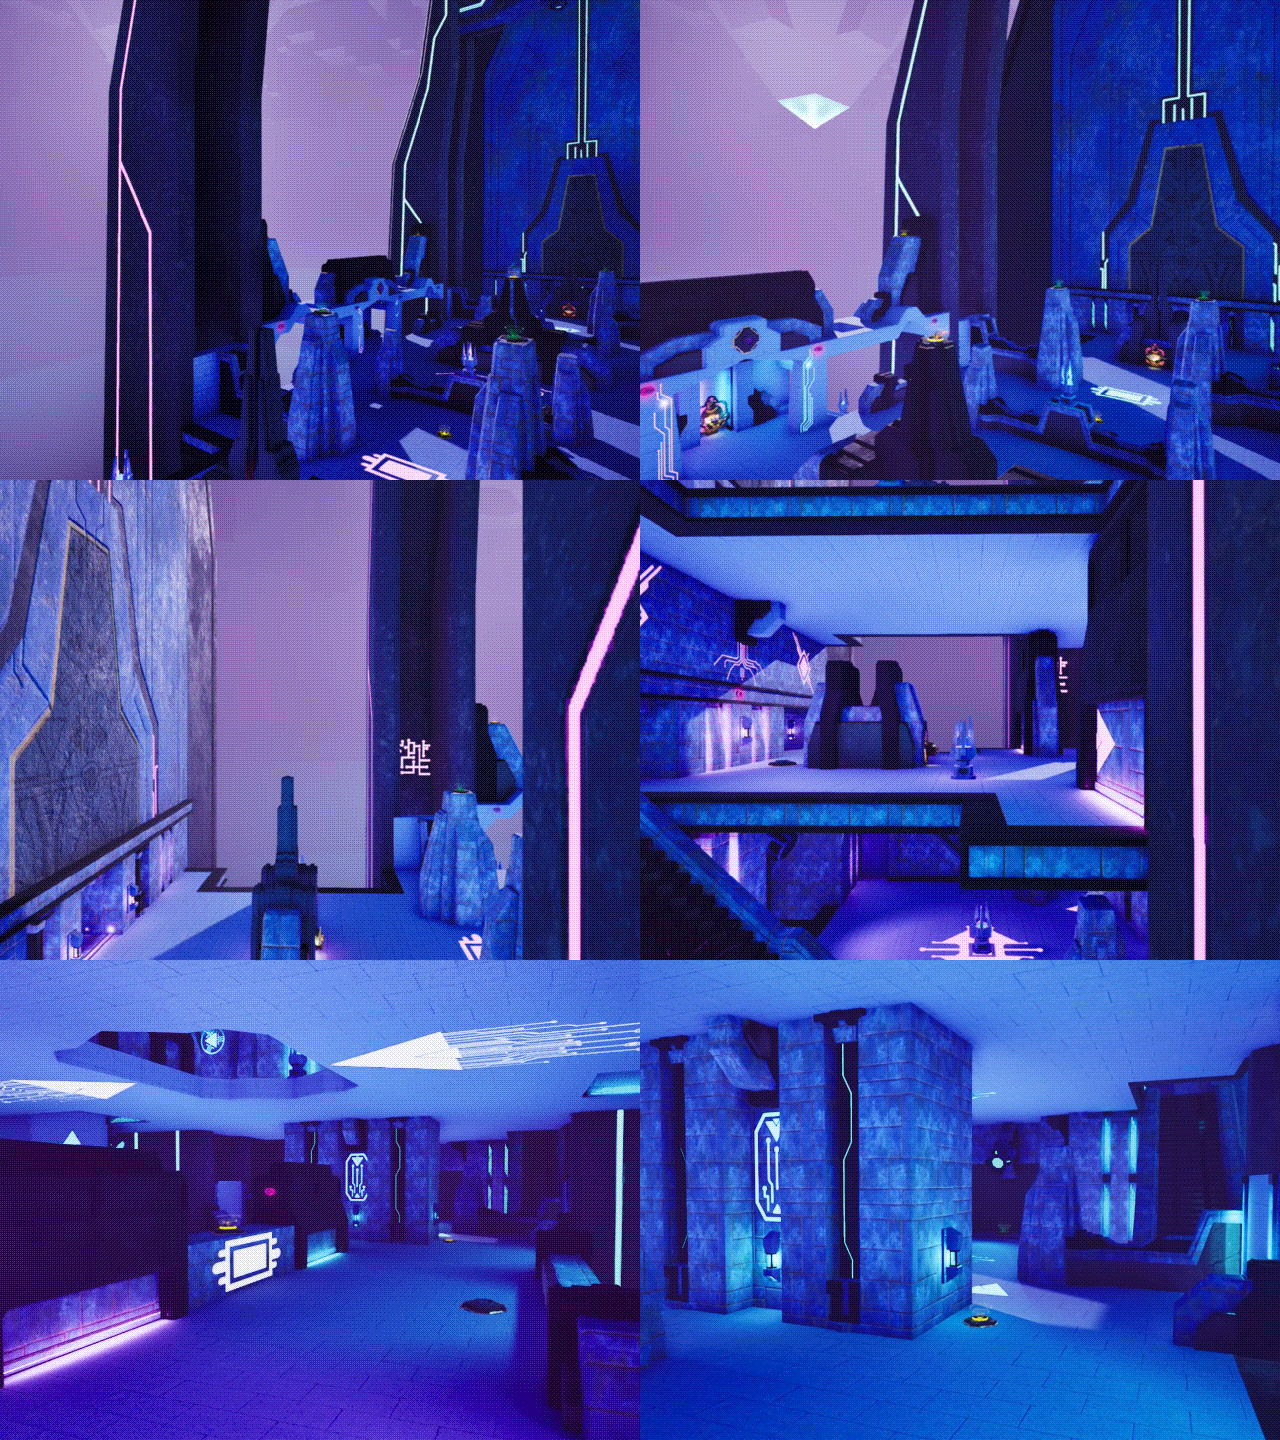
Bridge Level
Chasm Level
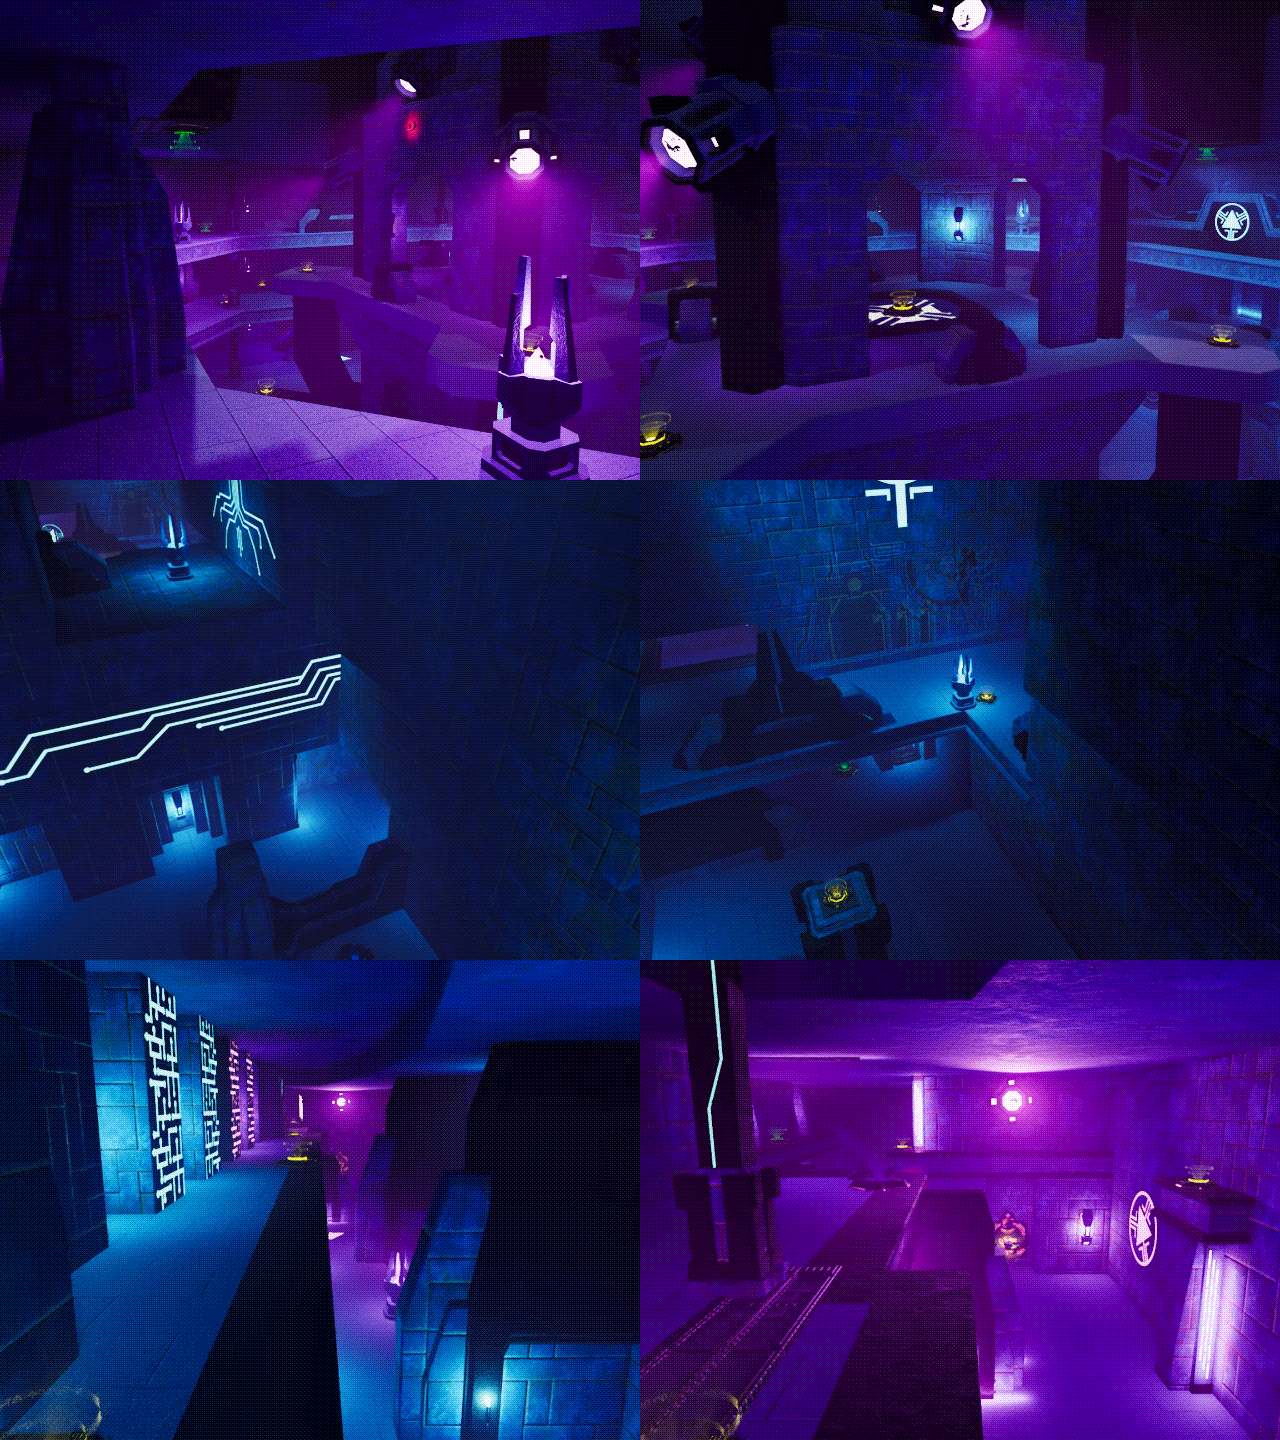
Panoctigon Level
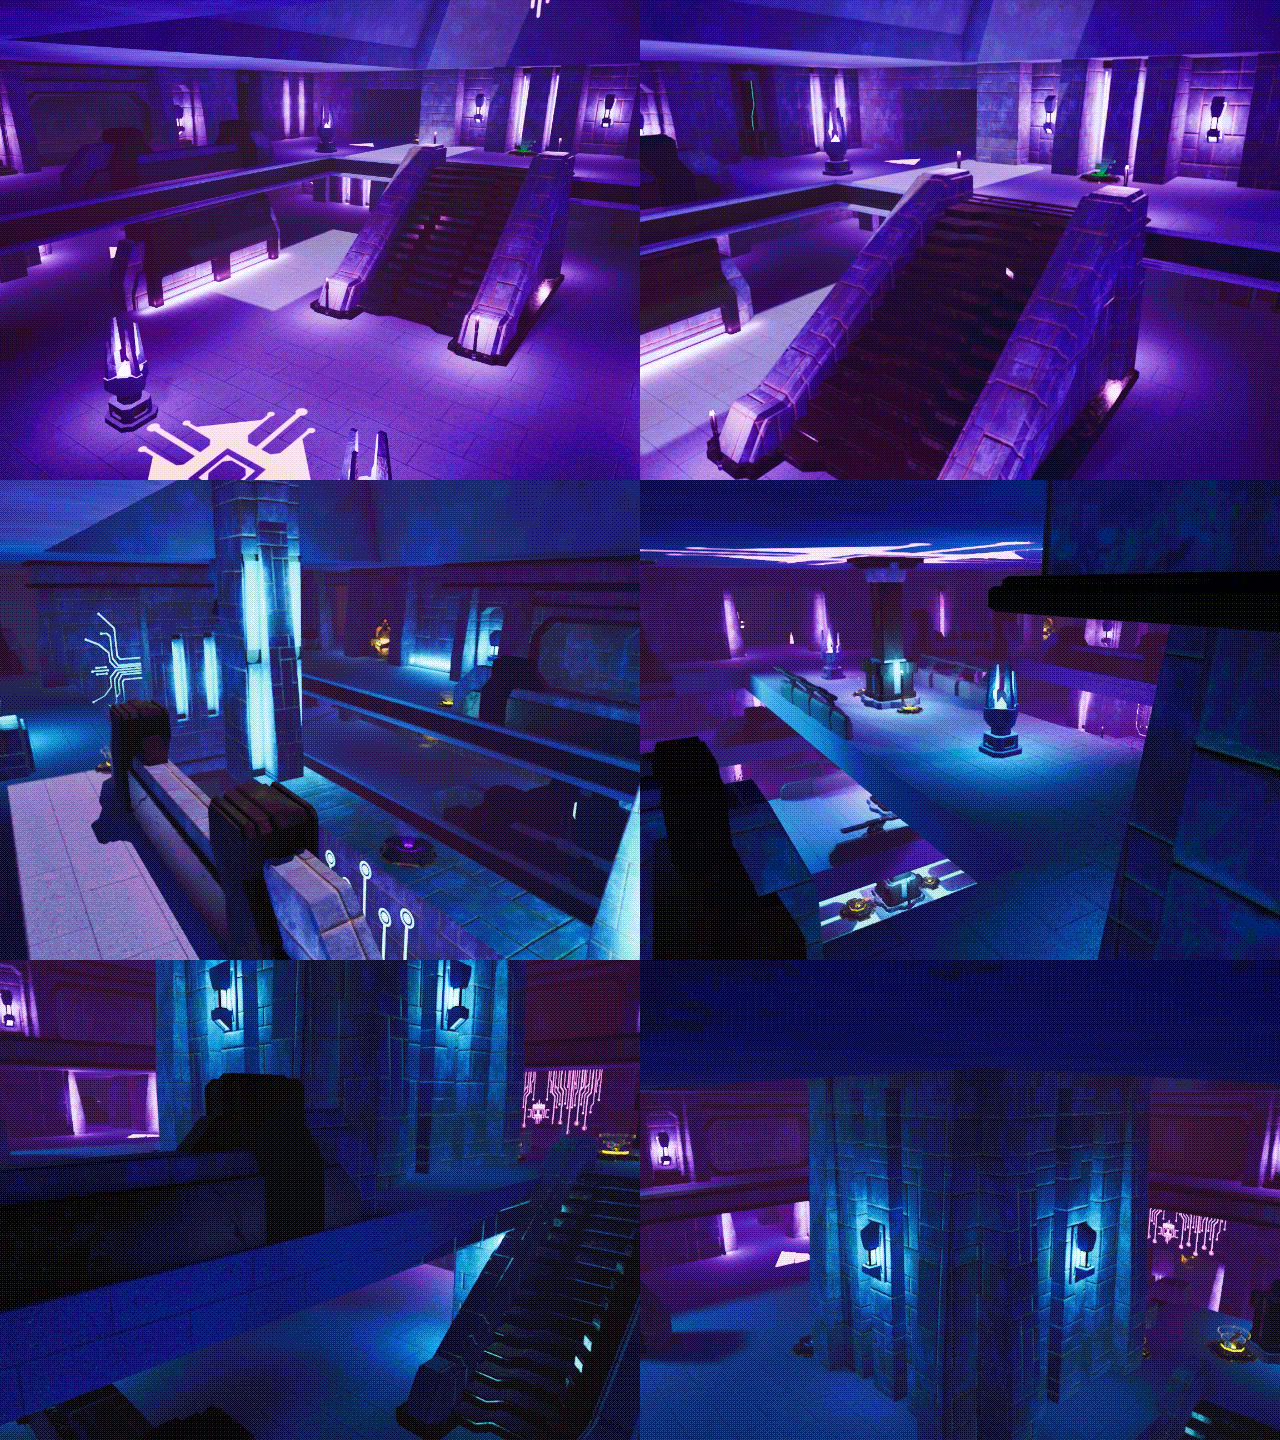
Cell Block Level
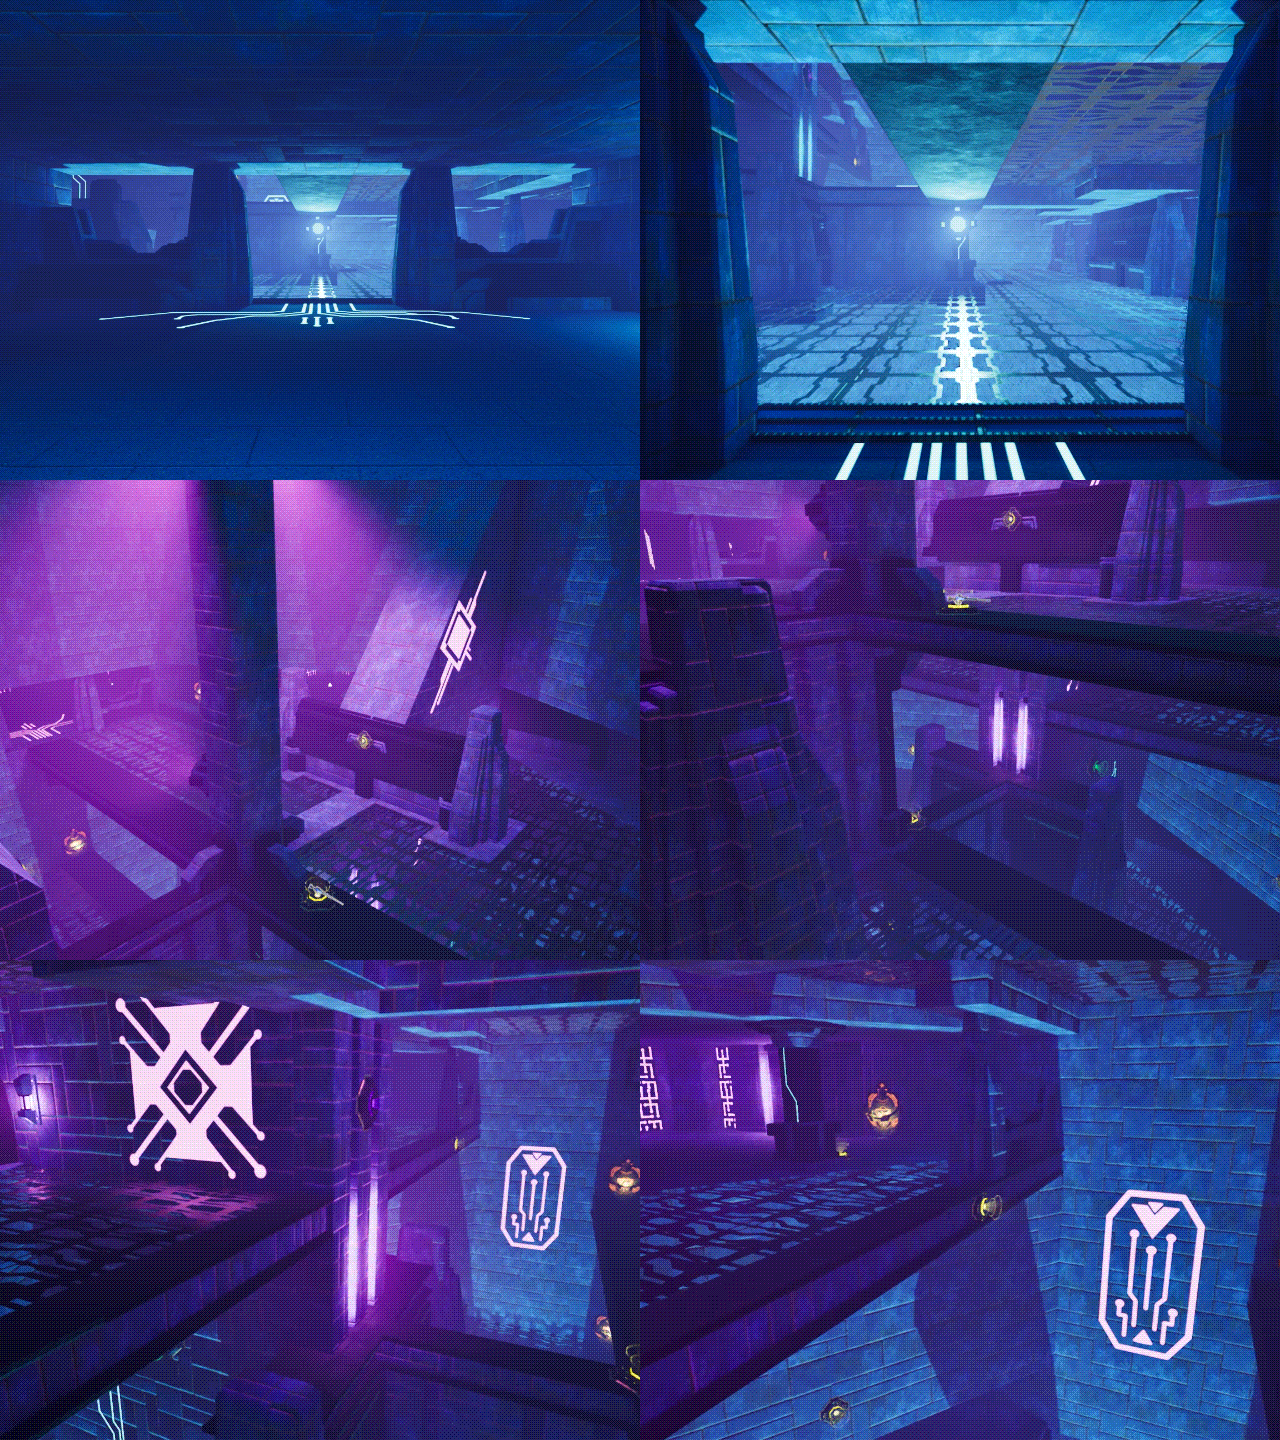
Megalophobia Level
- The Tutorial -
The Tutorial Development is very similar to the other maps, starting with the creation of a 2D prototype and concept of the level. This time though I laid out an order format for each action that we would want to teach the player moment to moment, and a second simple layout of what would become a replayable obstacle course gauntlet at the end of the tutorial.
Similar to Titanfall 2, we wanted players to have a space where they can go and experiment with weapons and practice movement within the tutorial, which is why it has its own dedicated concept. This also allowed me to make changes to the separate spaces and think about them independently of one another.
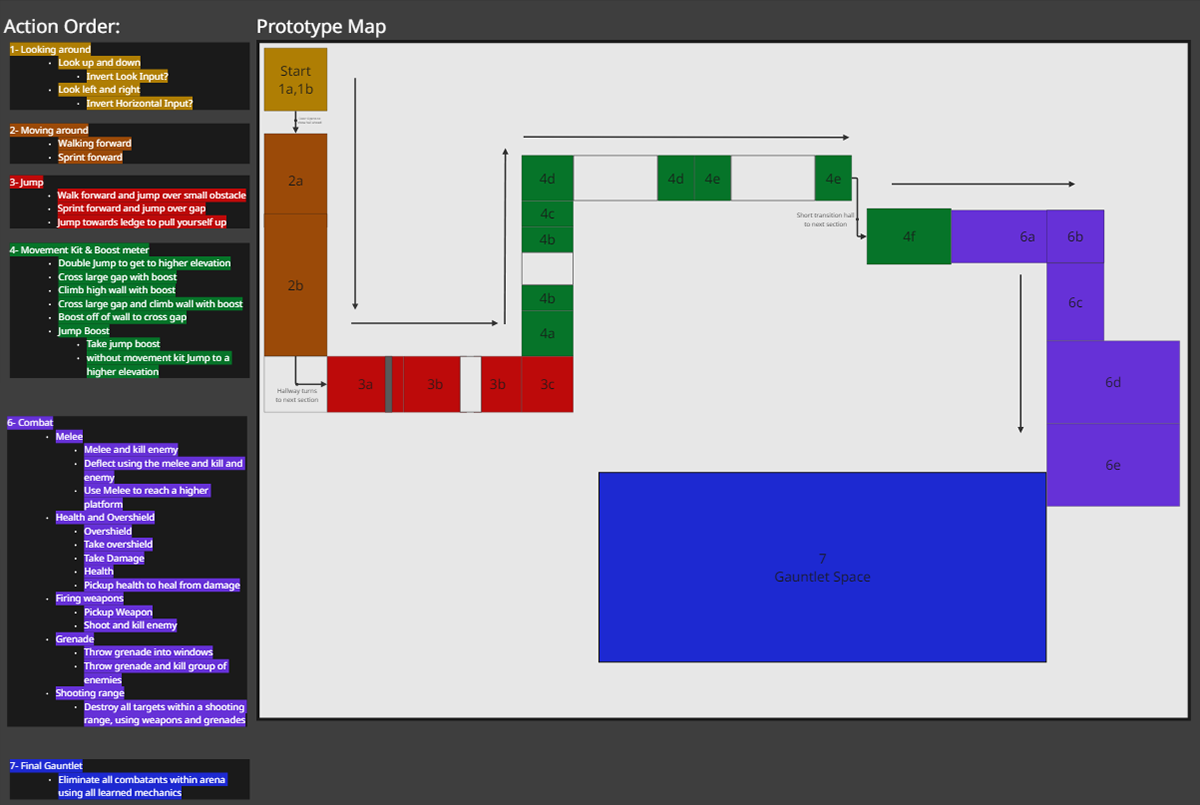
2D Prototype Tutorial
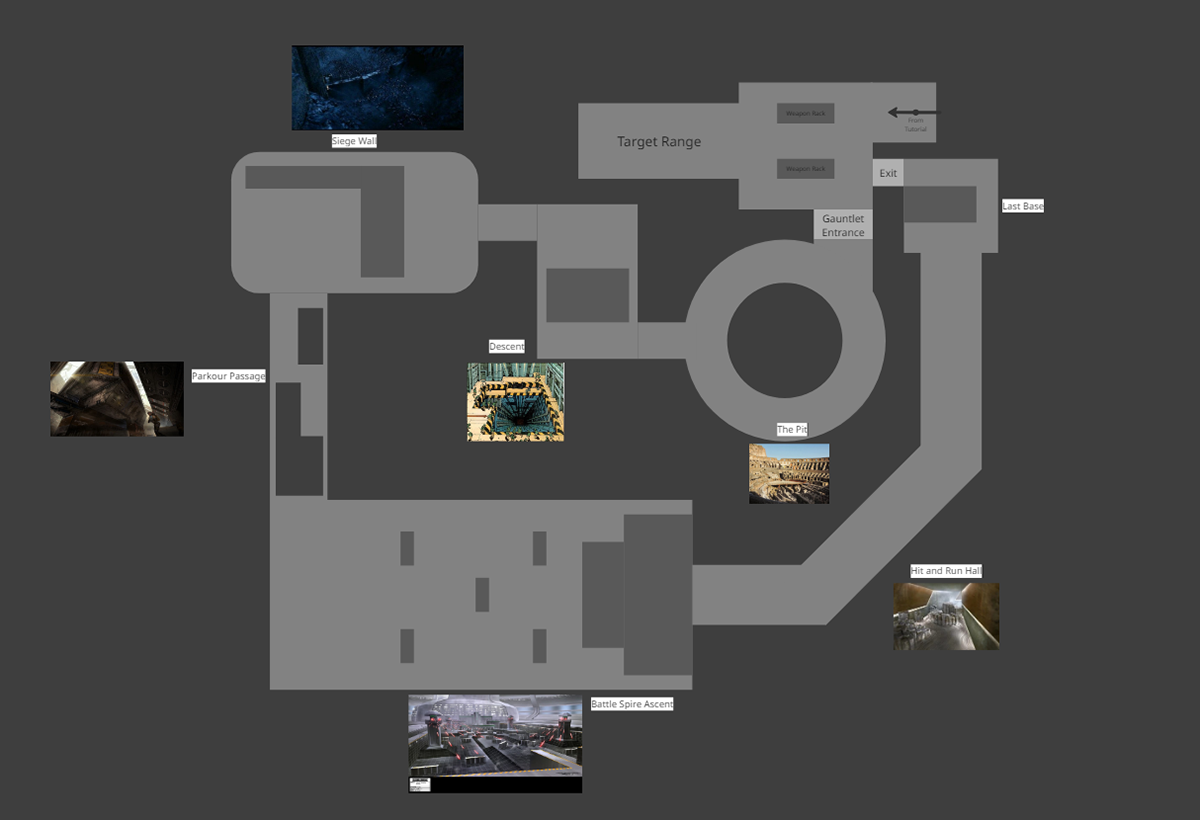
2D Prototype Gauntlet
Once I had a good enough visualization in my head of how the tutorial would be formatted from the 2D versions created I moved on to the 3D prototype.
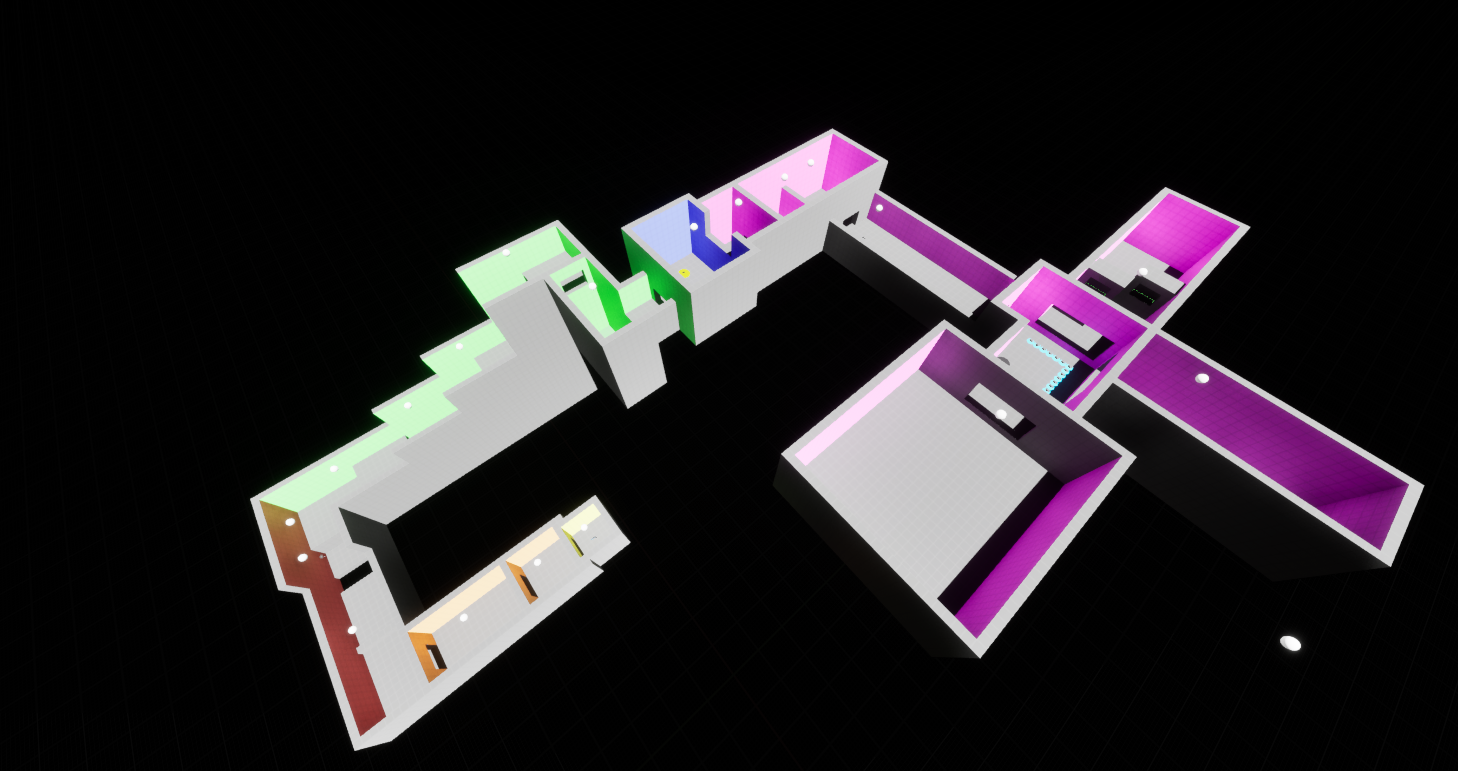
First Version of Tutorial Layout
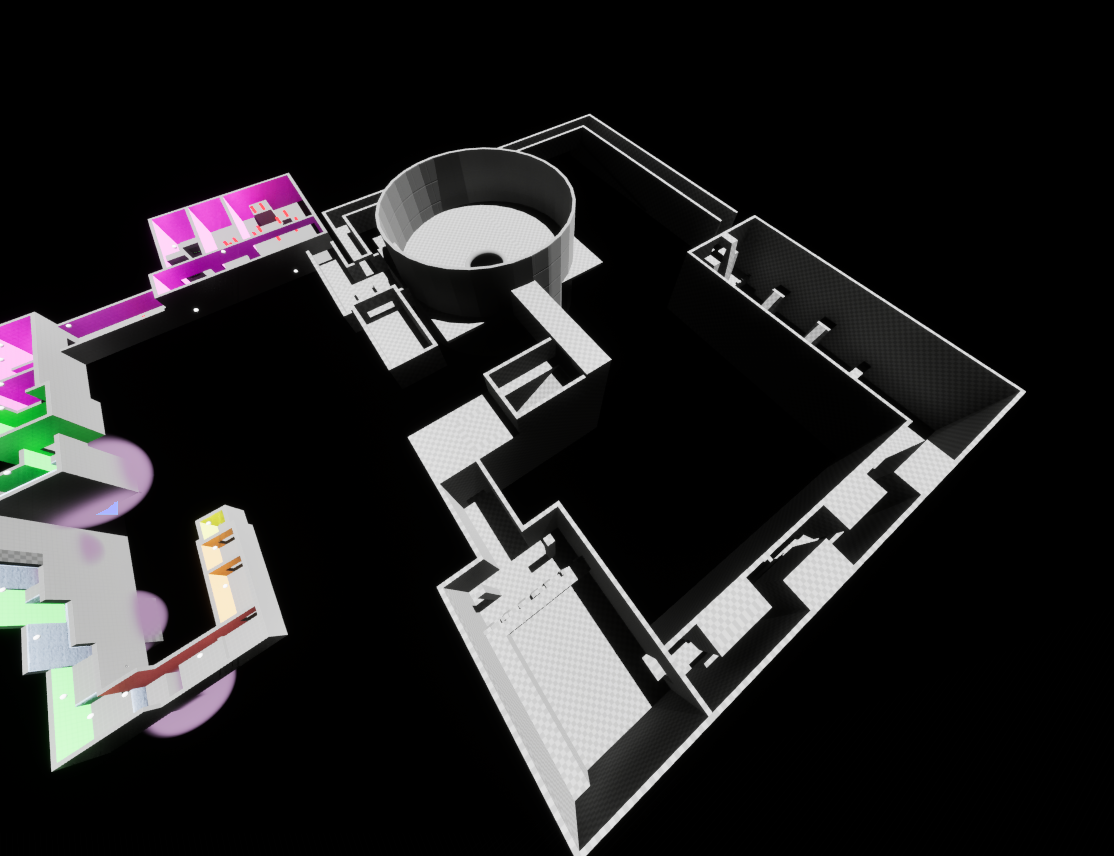
Second Version of Tutorial Layout with First Gauntlet Prototype
Once the initial prototypes were made, work could begin on the functionality. This allowed for some simultaneous development on the rest of the levels on my part while the gameplay for the tutorial was being built, and this was actually the point in development where we were starting the previously mentioned changes to lighting and just starting to begin playtesting.
Taking the experience I gained working on the other maps to the tutorial I was able to quickly get it looking much more polished in its early stages, even if some of the gameplay aspects weren't quite finished.
We tested the Tutorial more extensively as part of our playtesting sessions by having players complete it before coming to test in matches and this gave some valuable insights into how our tutorial was performing.
Some notable changes that were made in development were the swapping of a few areas in the movement tutorial, clarity in the wording in some sections related to the melee and deflection mechanics, the addition of targets that fire back in the final gauntlet, and the inclusion of a few images where needed to convey what functions certain HUD elements represented.
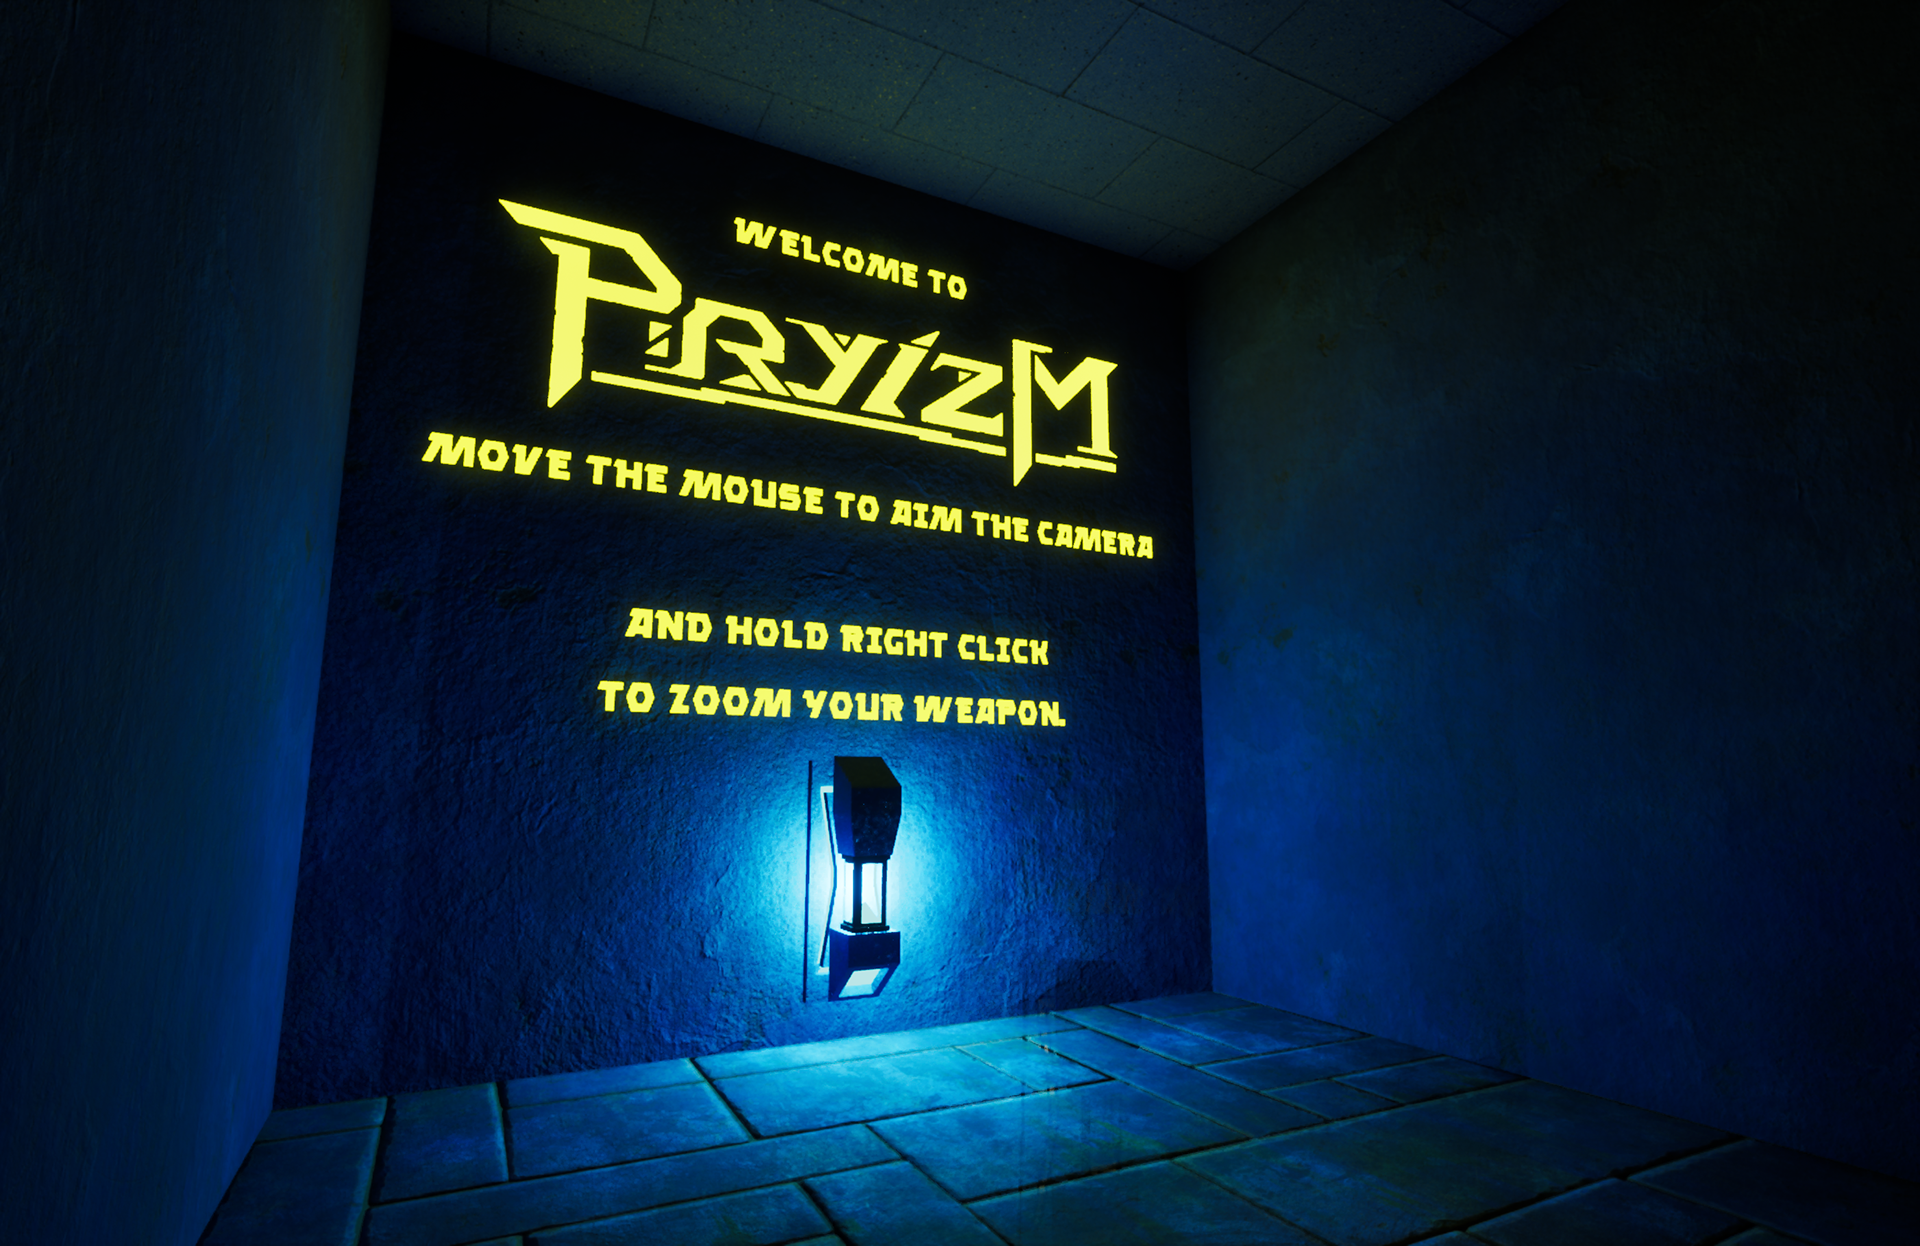
Start of the Tutorial
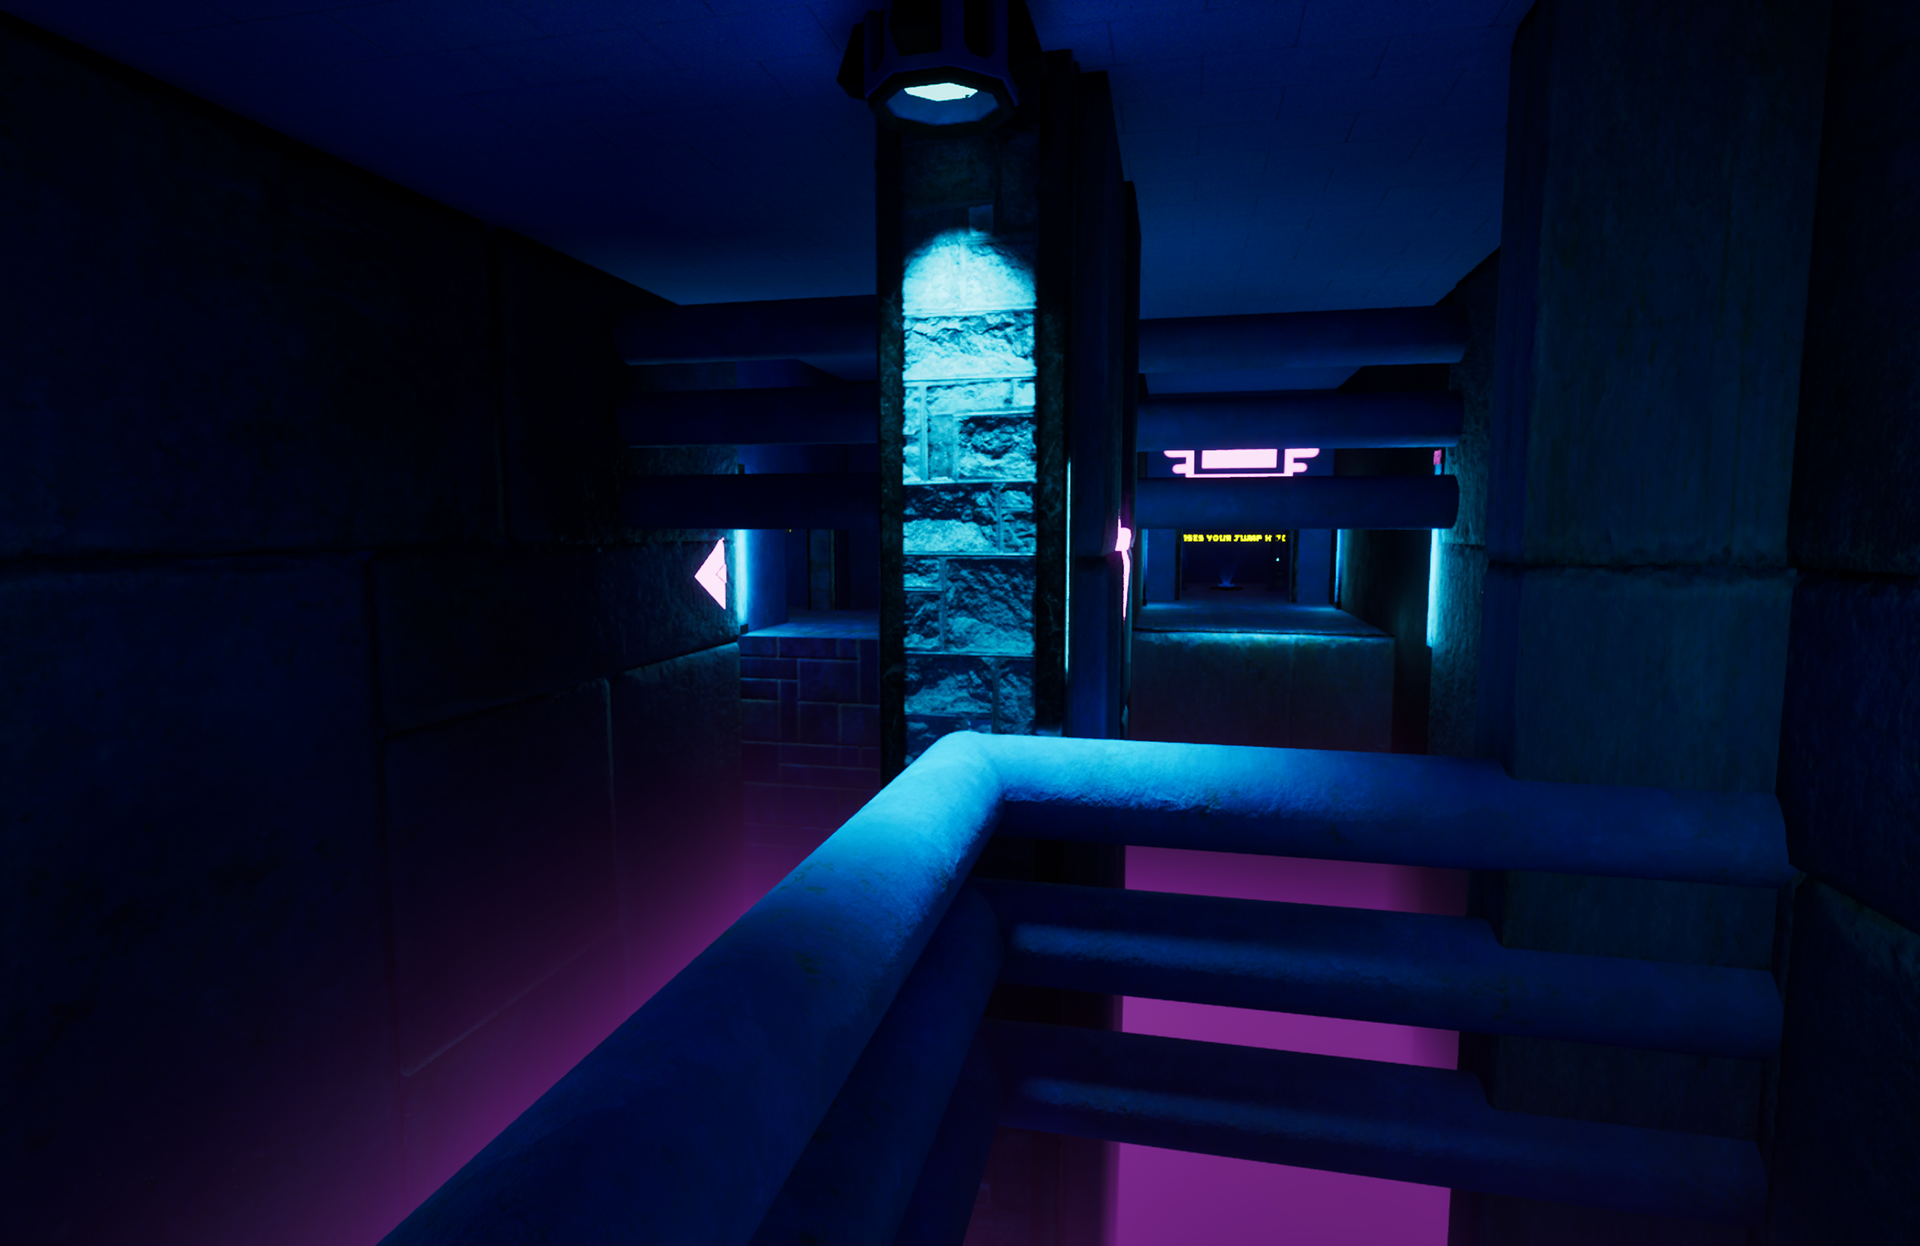
Final Movement Trial
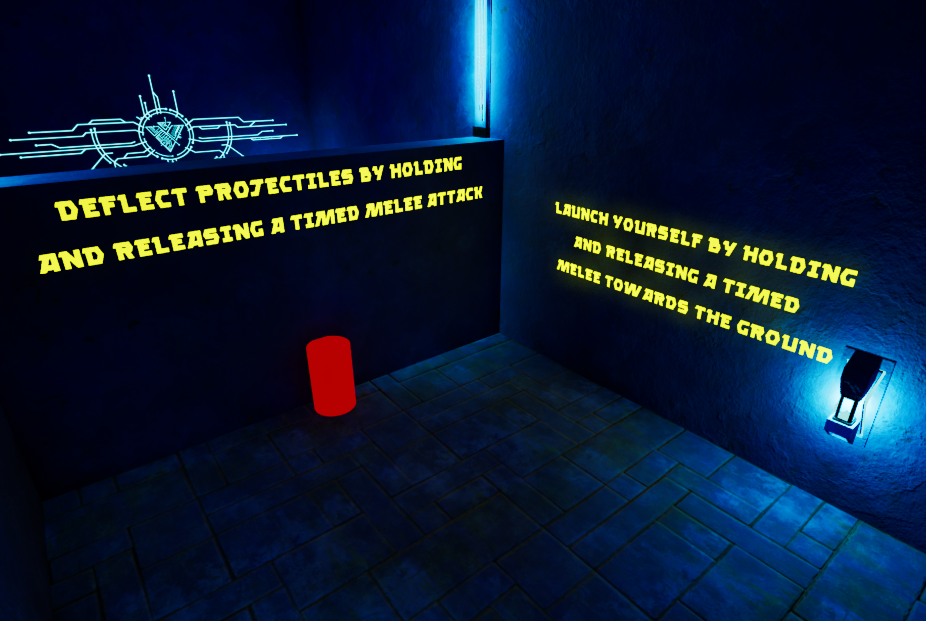
Melee and Deflection Trial
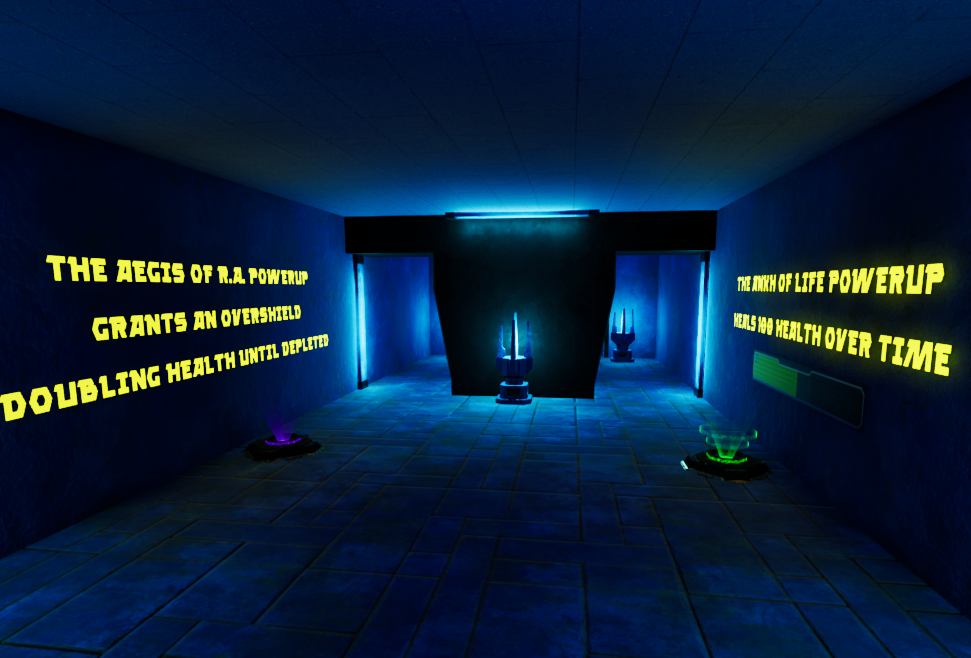
Powerup Tutorial
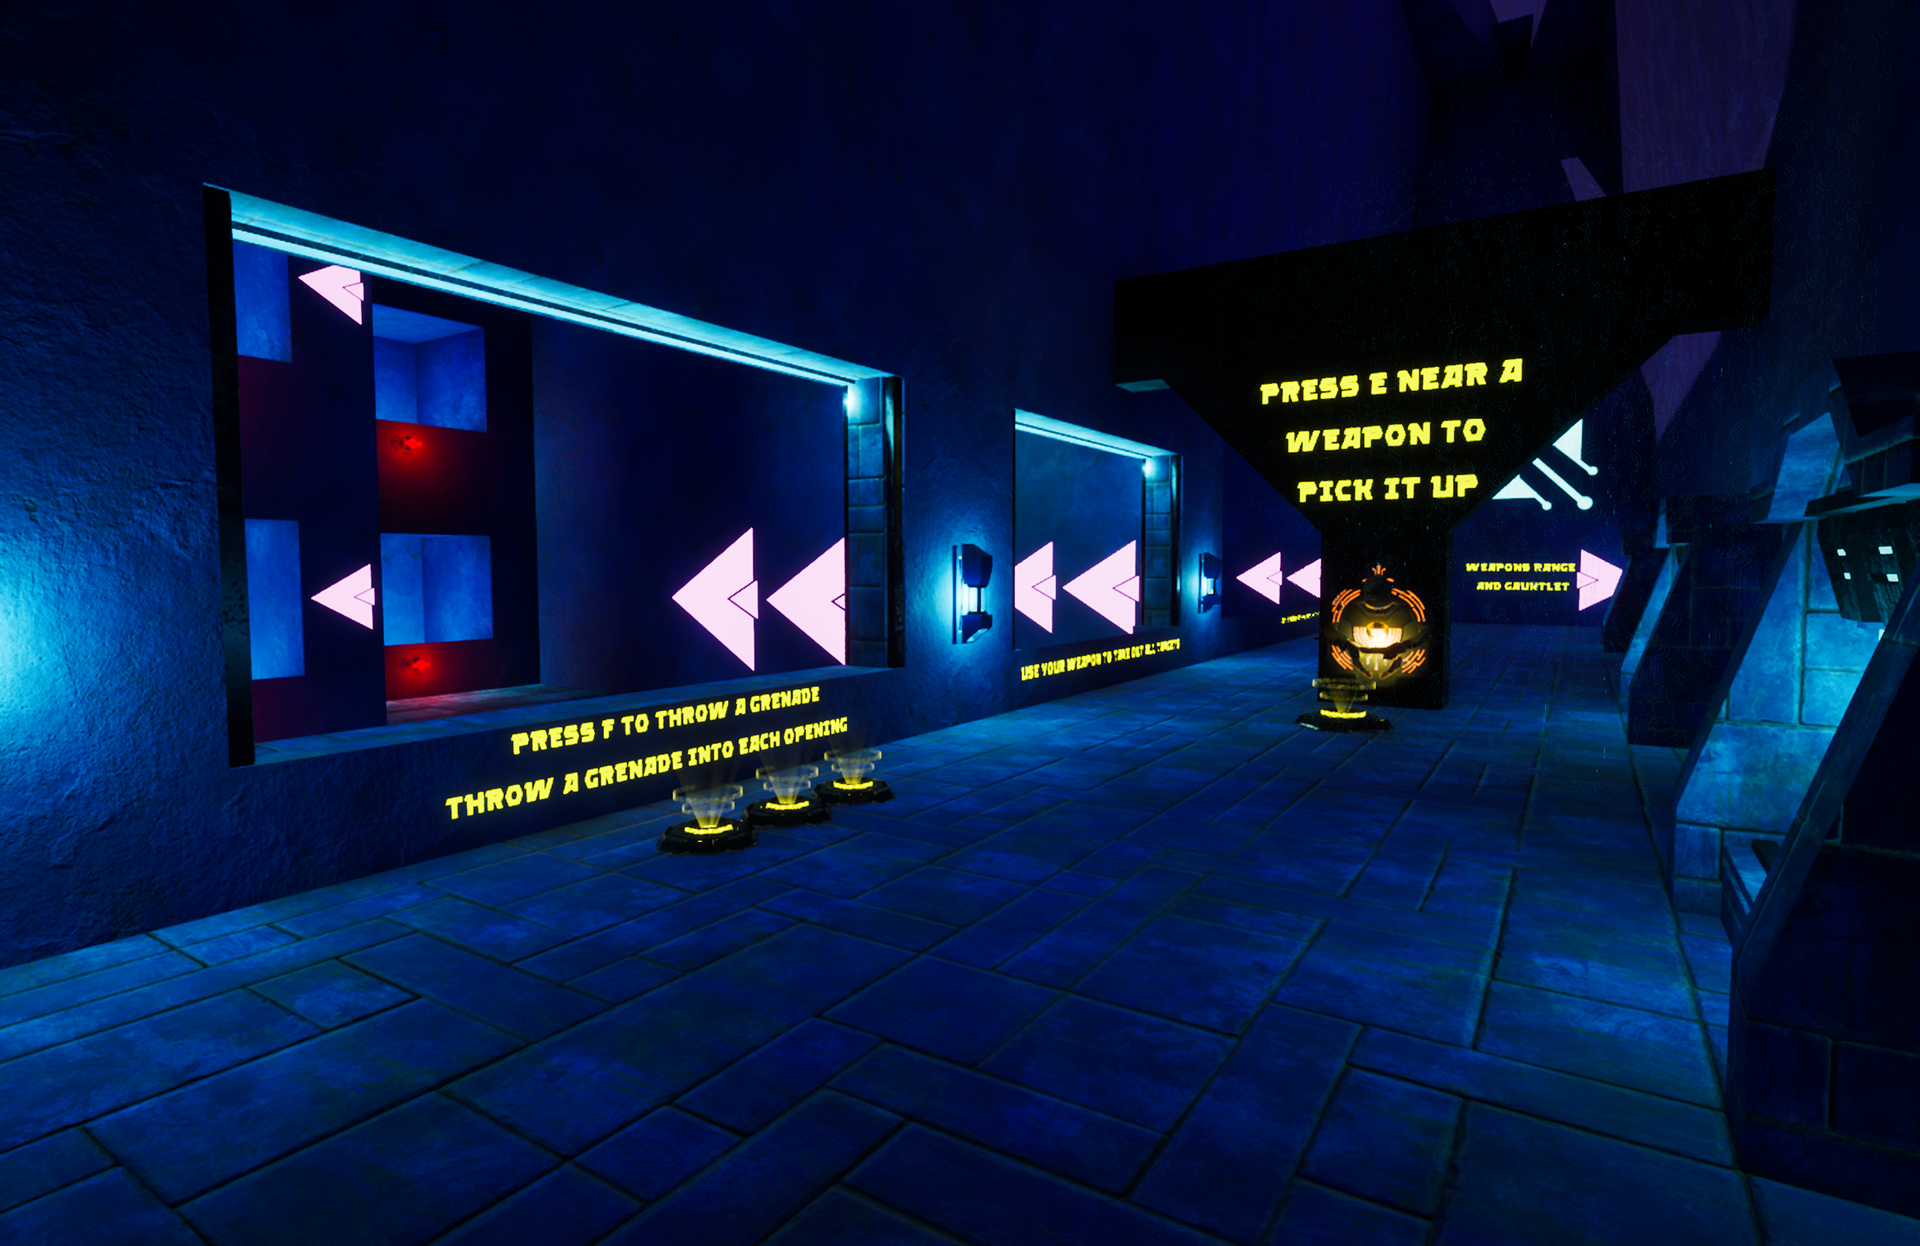
Grenades and Weapon Pickup Tutorial
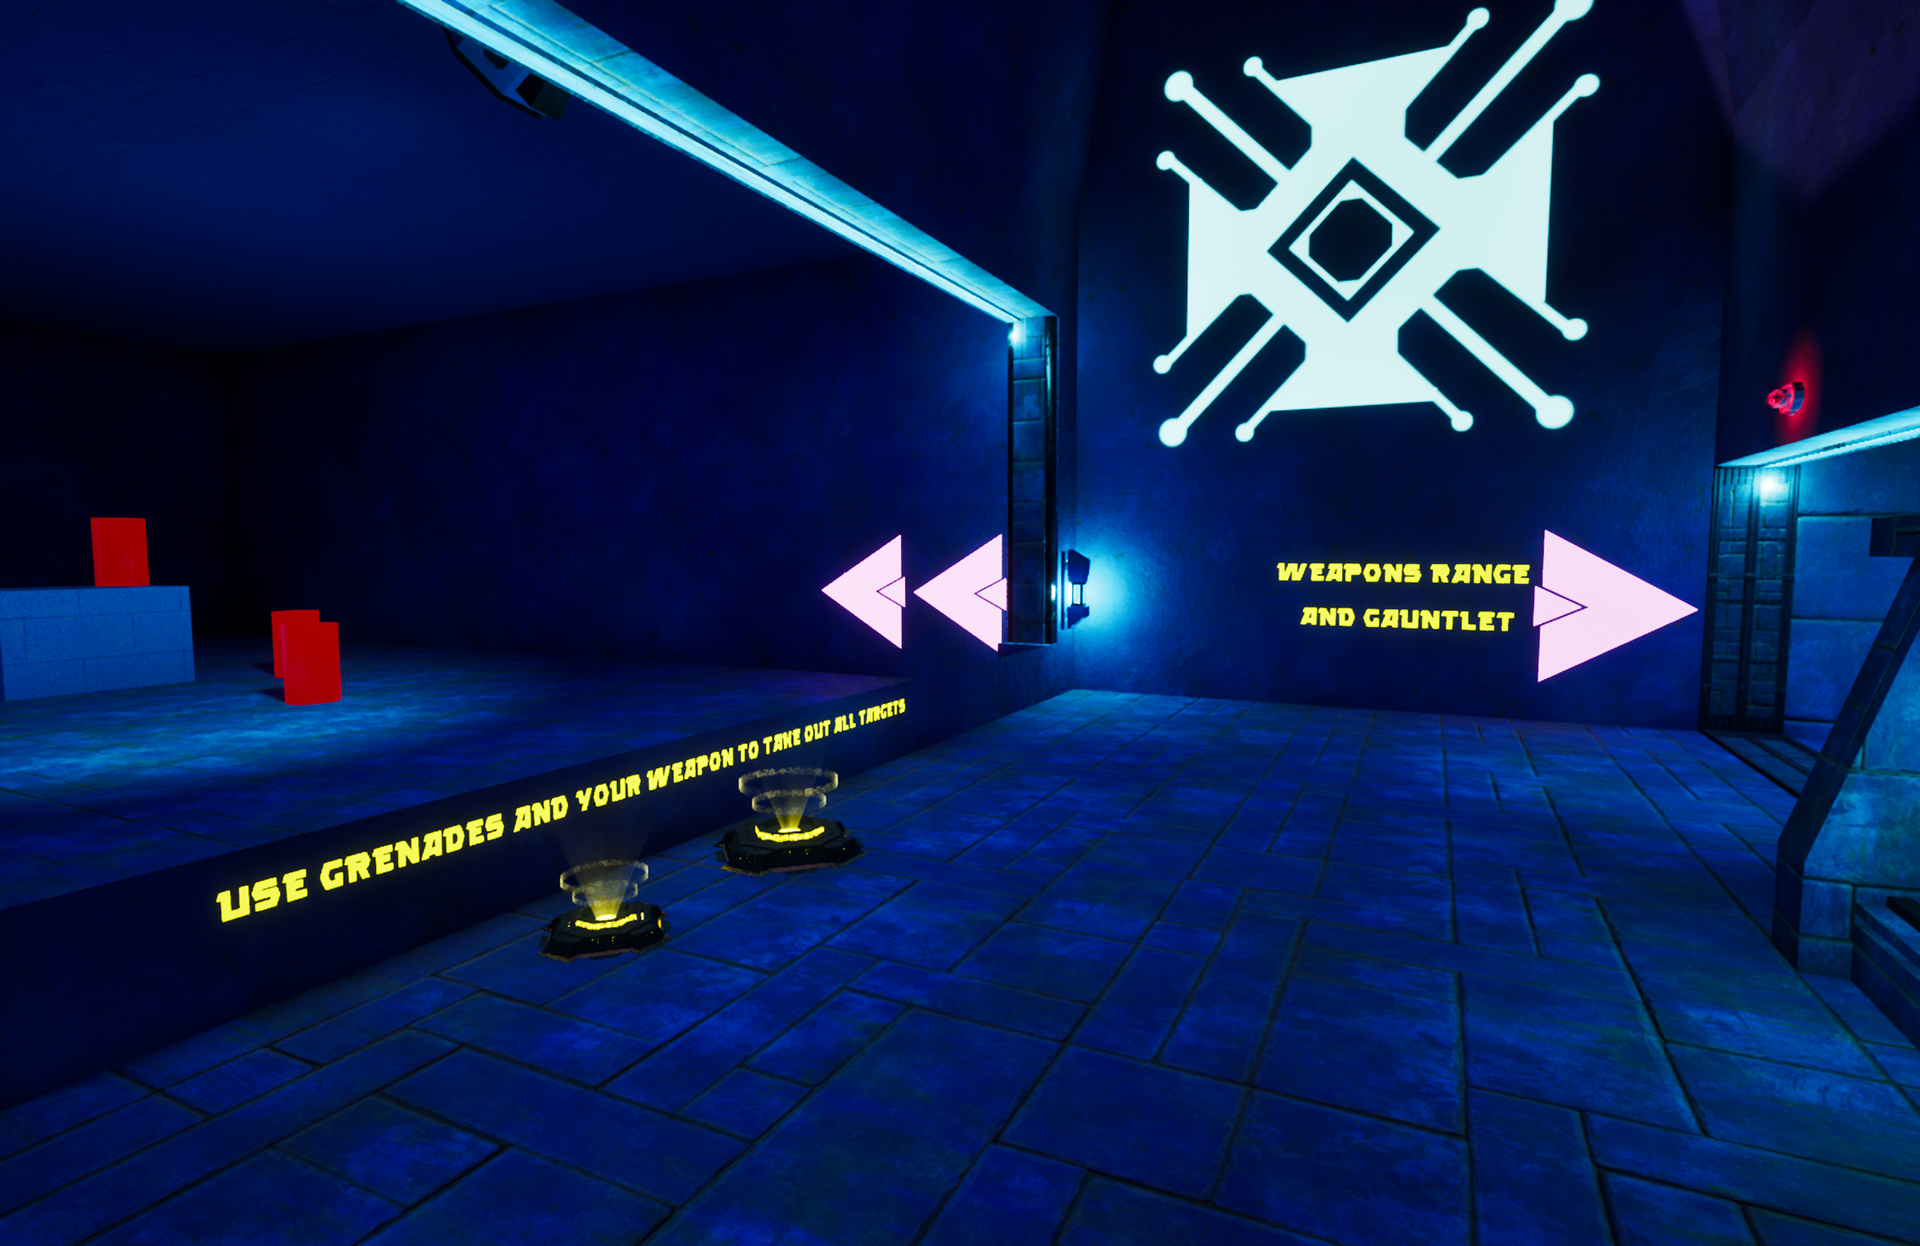
Final Weapon and Grenade Trial
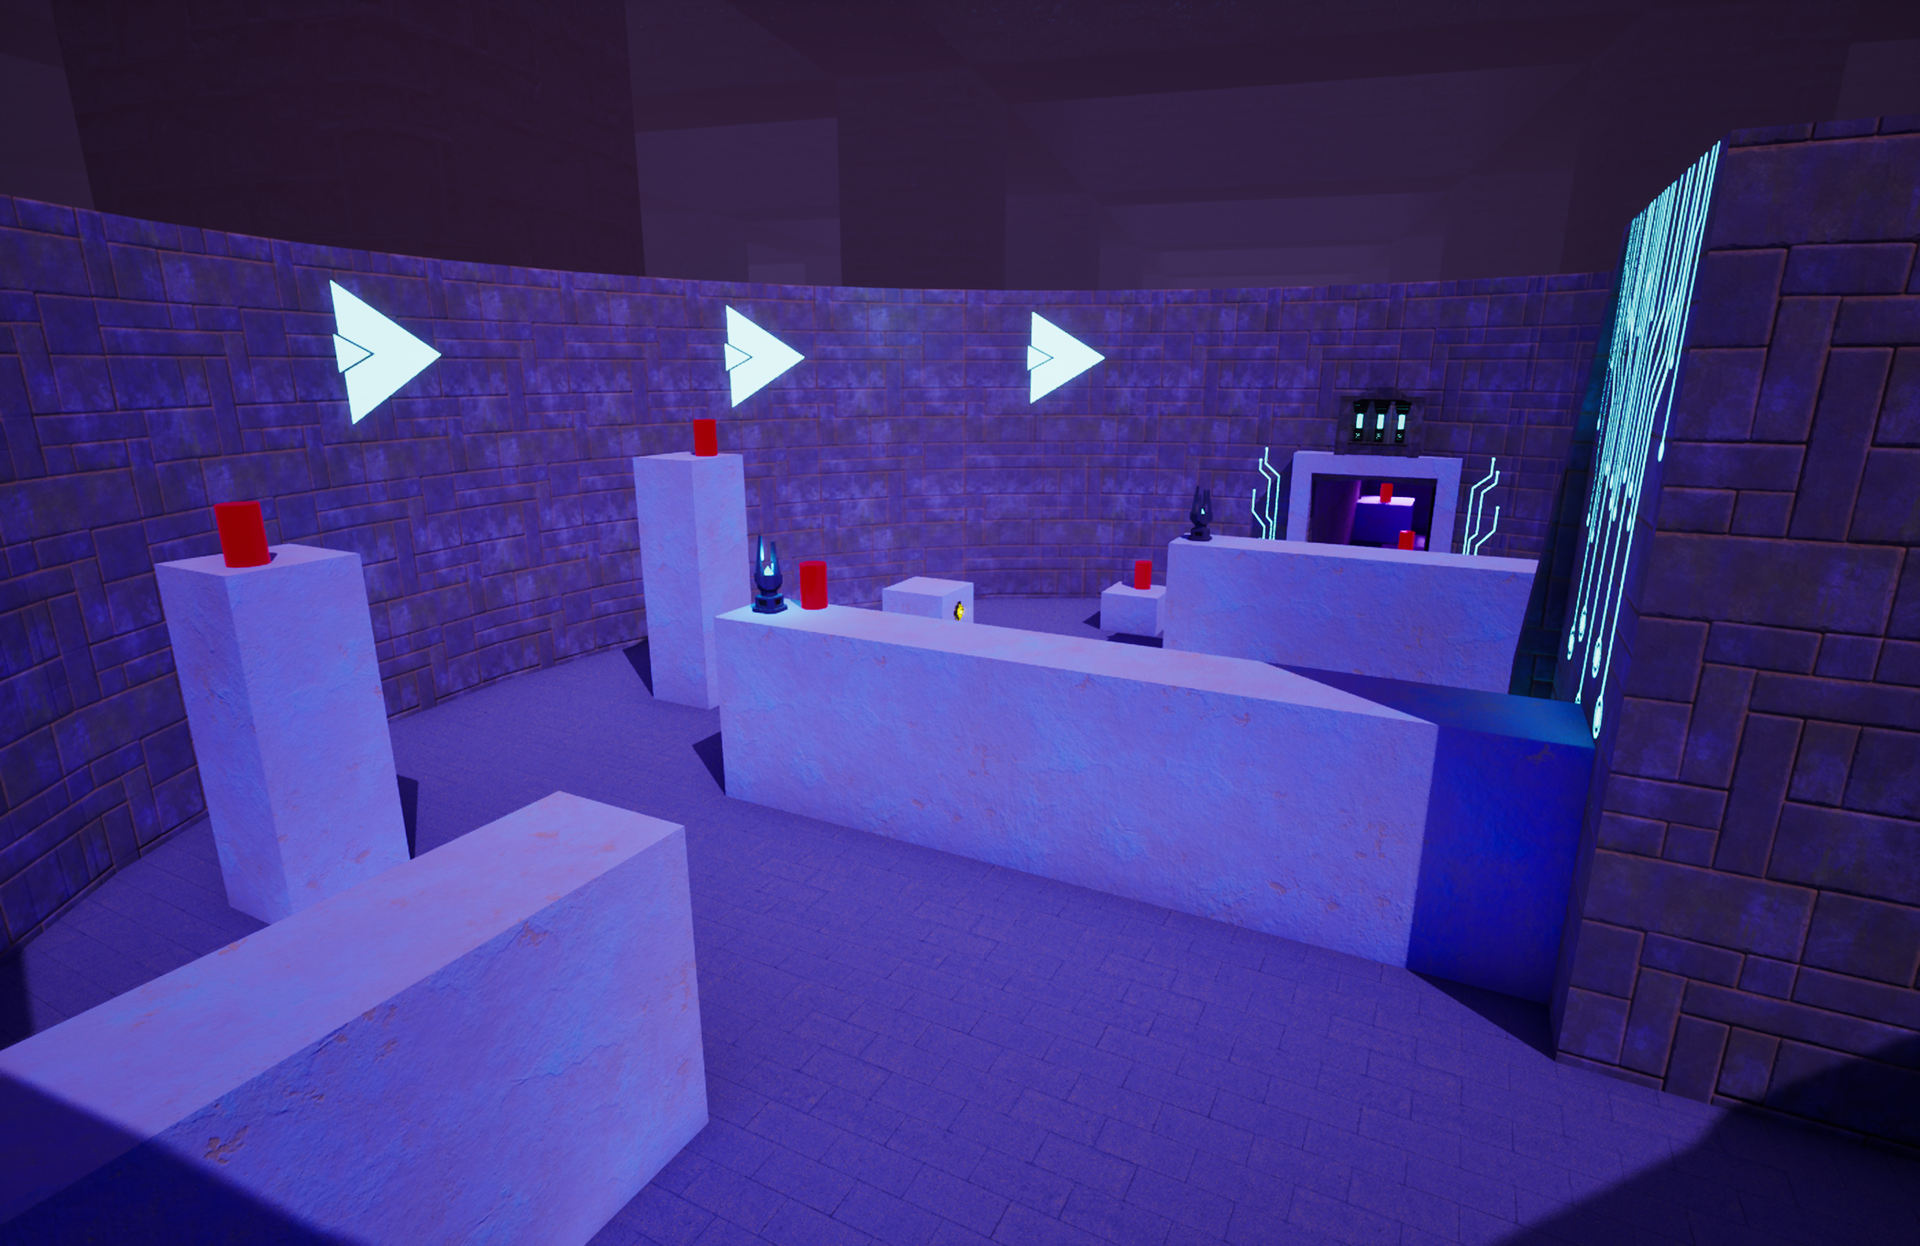
Gauntlet Pit
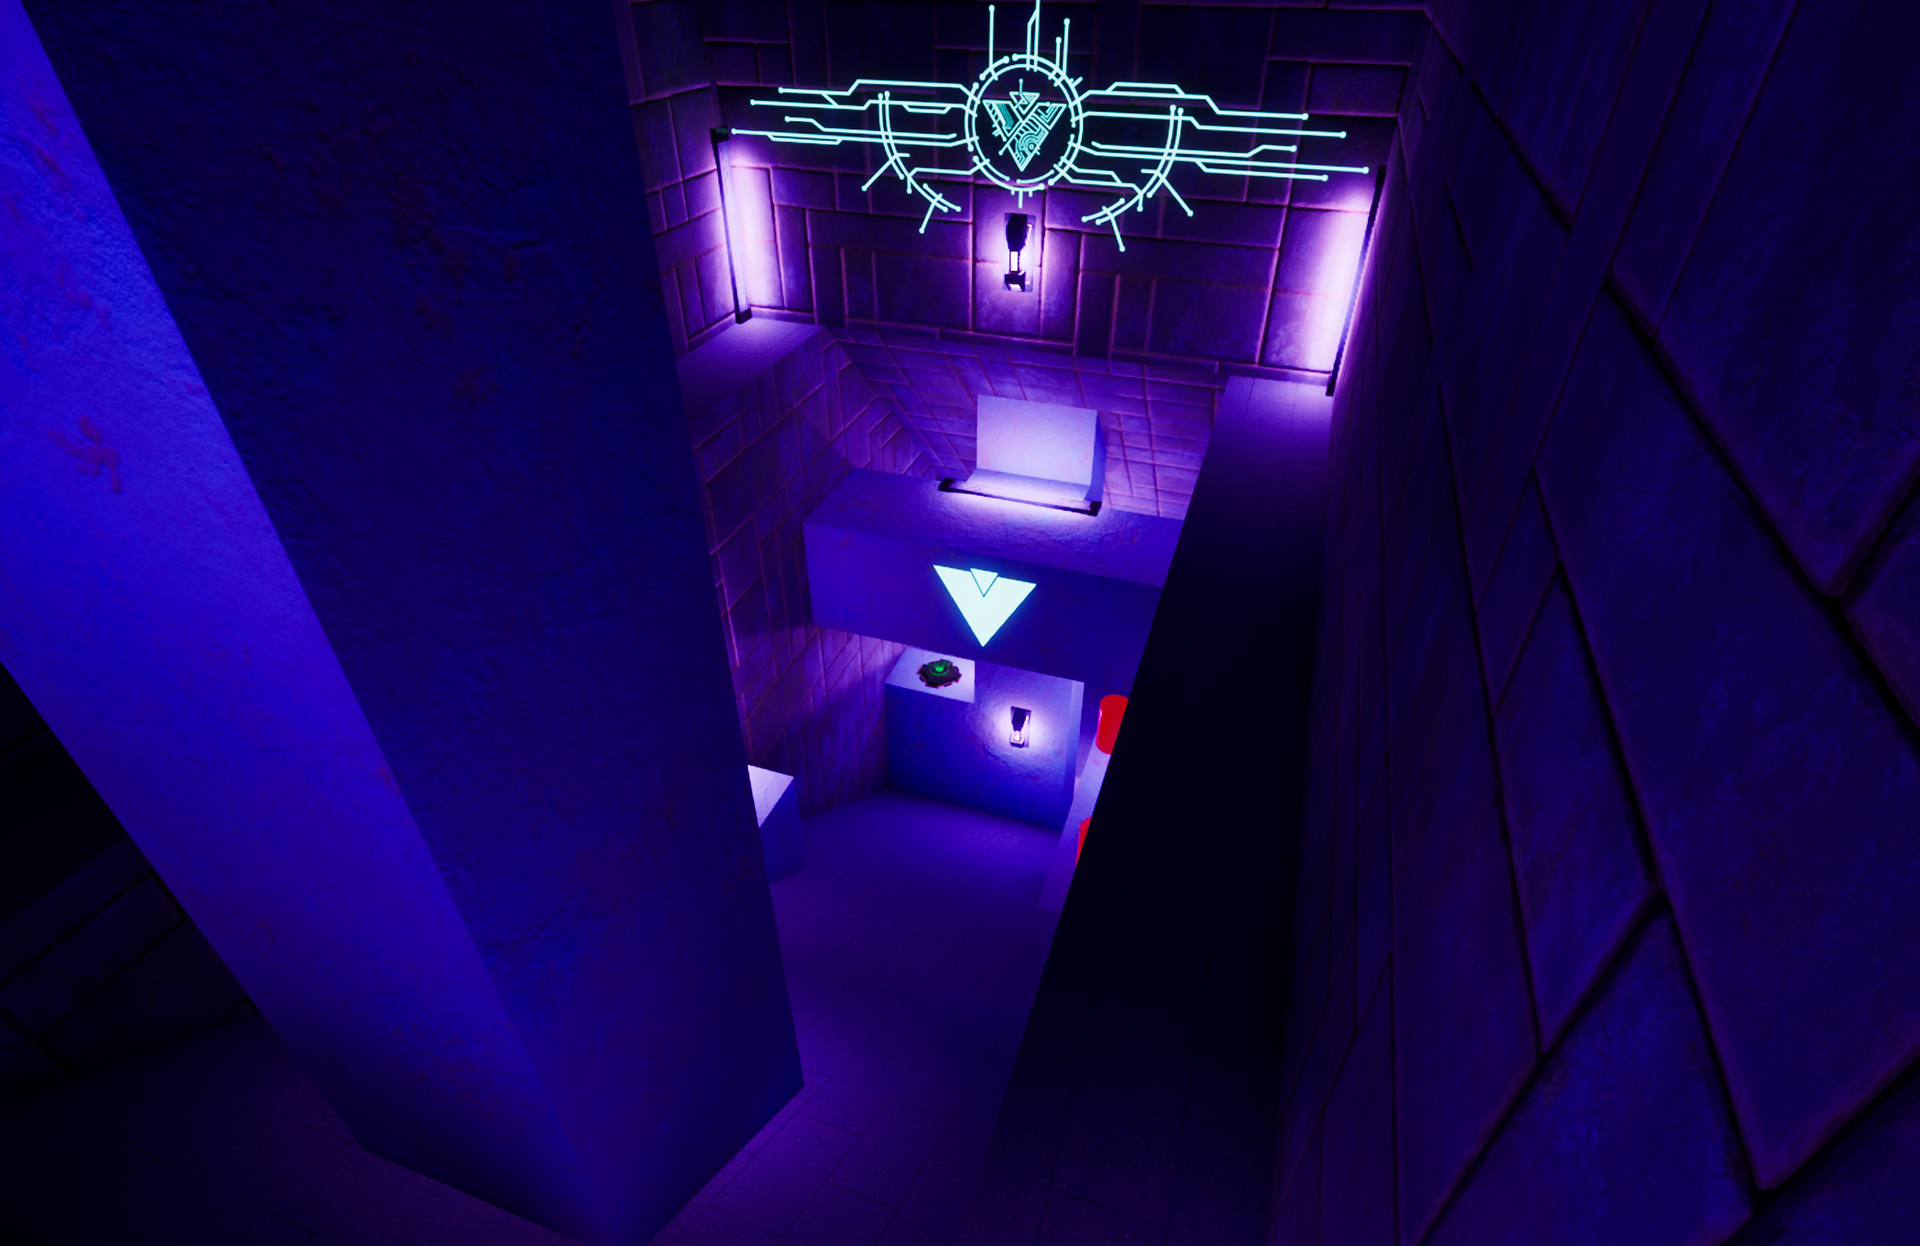
Gauntlet Descent
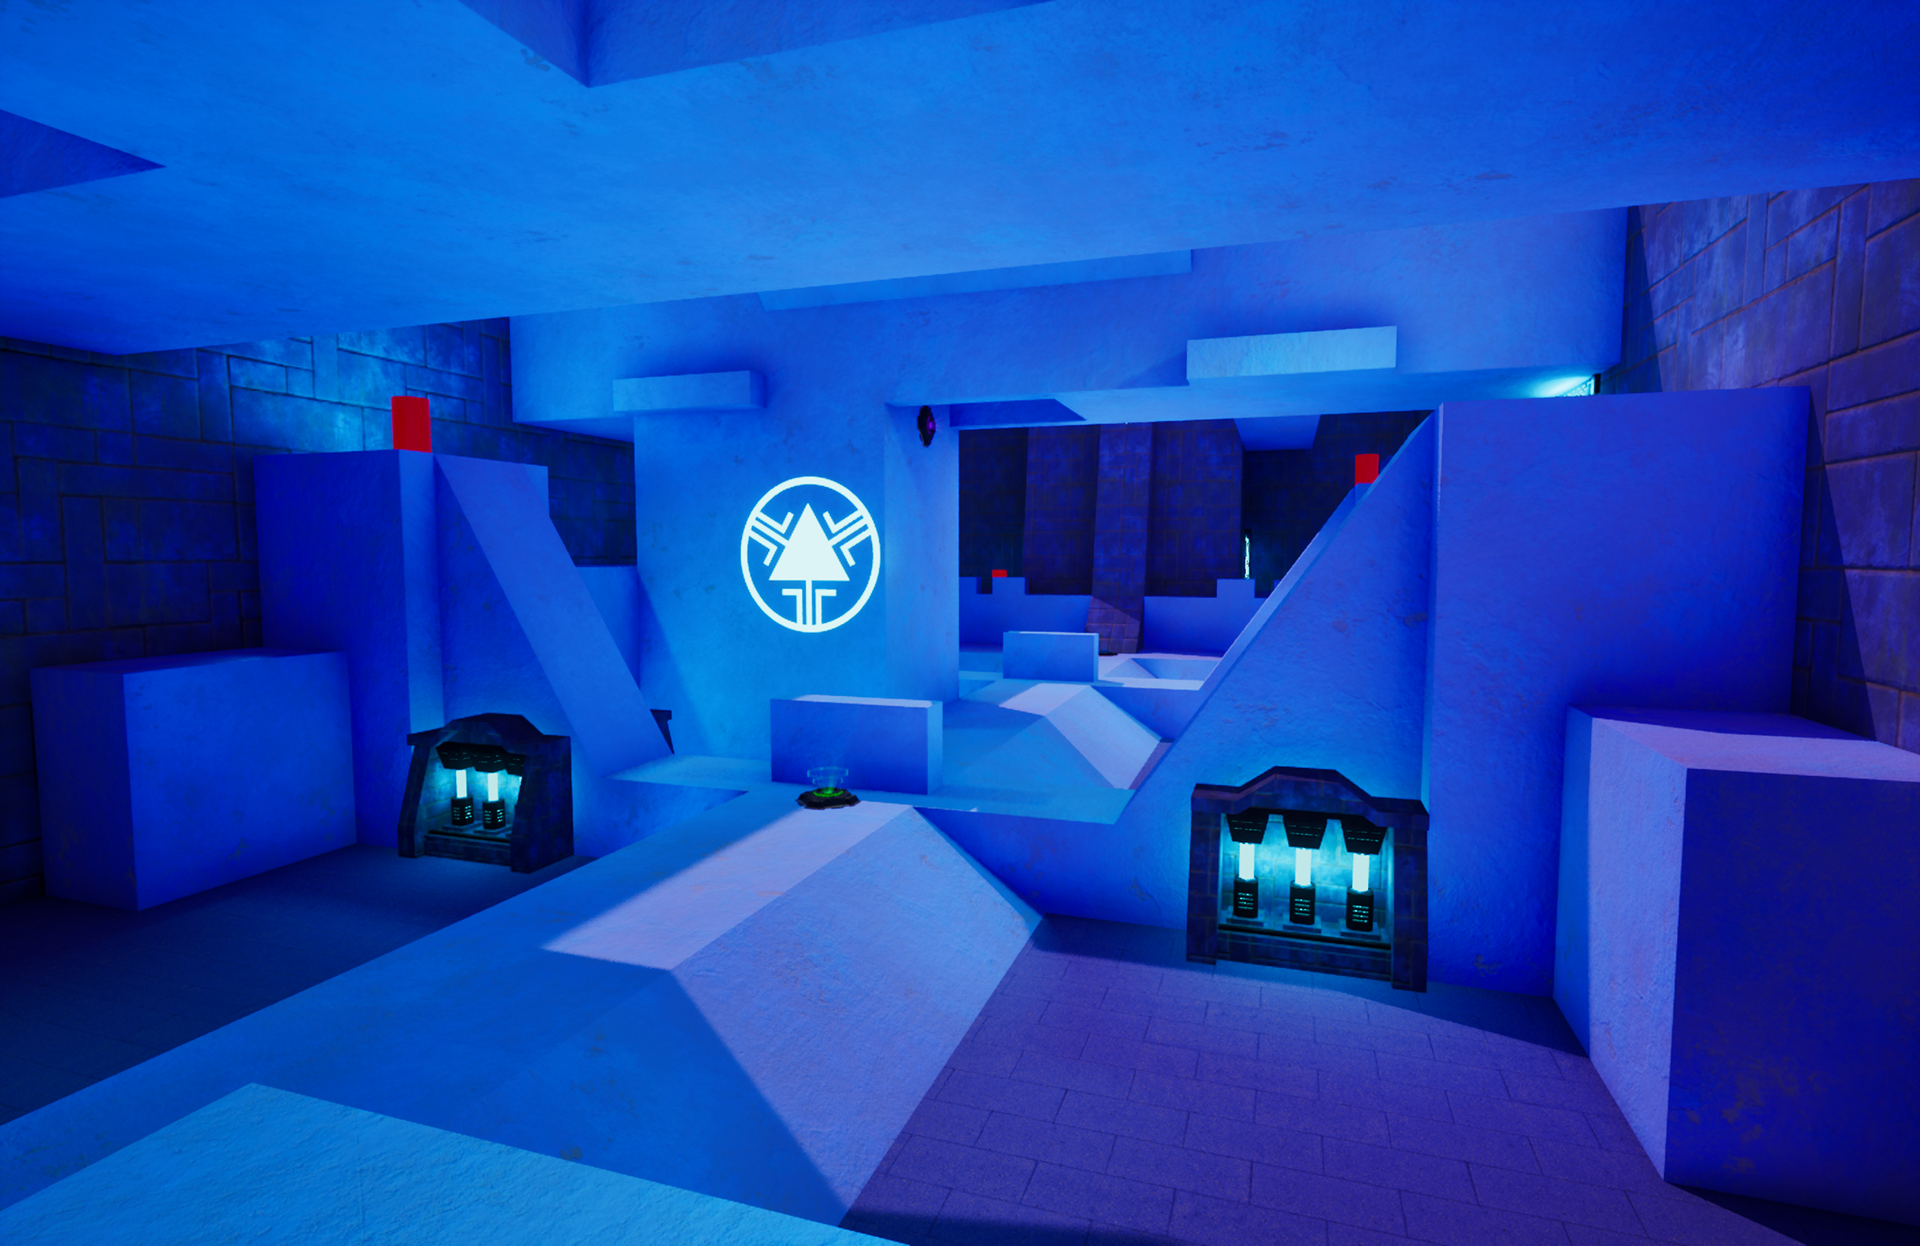
Gauntlet Battle Spire Ascent
- Additional Works -
Some additional things that I couldn't fit into the main content but was working on more experimentally for the project was the creation of a material using the new Substrate system in UE for if we ever needed it, and exploration into a pipeline for more natural environments using the Landscape PCG tools.
- Substrate Material -
Once we planned on updating our engine version to 5.7 I wanted to create a material that used the new Substrate features in case we ever wanted to have materials that required it. By doing some reverse engineering of the material graphs provided in the Unreal example project, and how our existing materials are set up, I was able to create a master material that allowed us to have largely the same inputs we currently had using world aligned materials, while also utilizing the powerful blending and layering features of Substrate.
The video shown is an overview I originally recorded for our artists showing how to use the material and going over the material graph set up. Feel free to skip through it if you wish to view it since it is more of a live recording while I was going over the material and is not edited in any way.
- Landscape & PCG Tool Pipeline -
This was a scene I created in order to make a pipeline for how we might use UE's landscape and PCG tools to make more natural environments.
I wanted to have this done because all of the current multiplayer levels don't utilize any natural or outdoor environments. Through some experimentation with the landscape, PCG water, and PCG placement tools I created a documented pipeline of how we can use these tools for development of these environments.
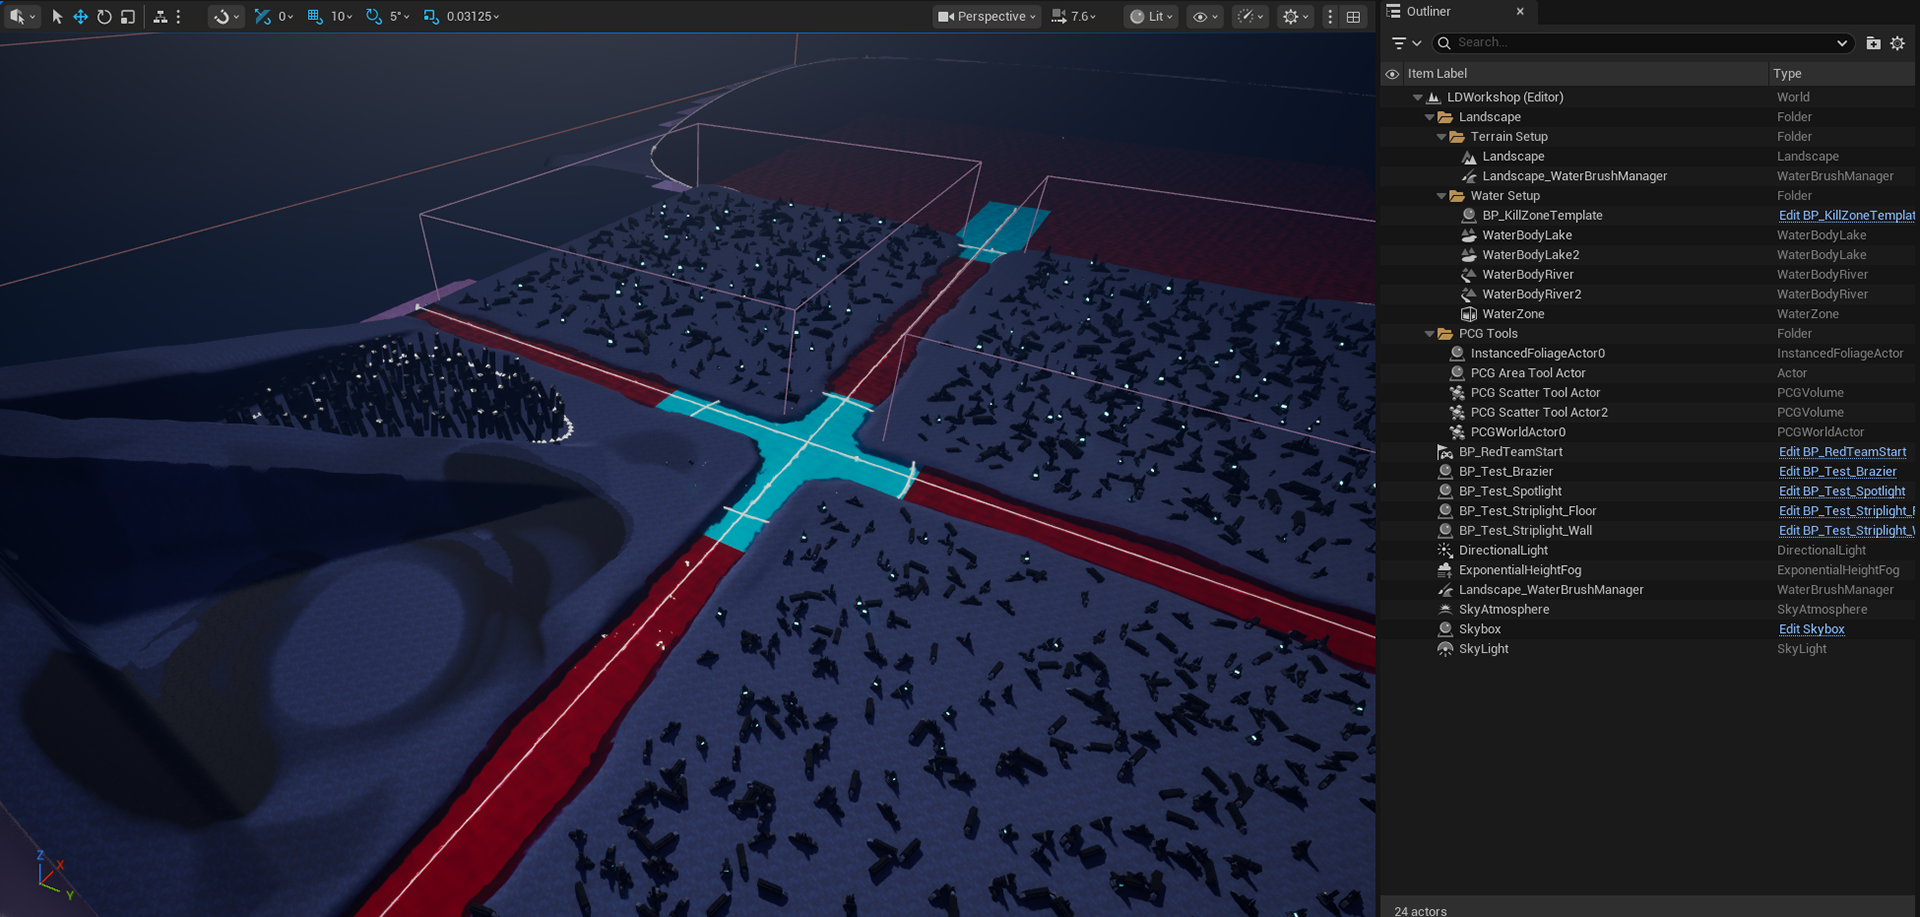
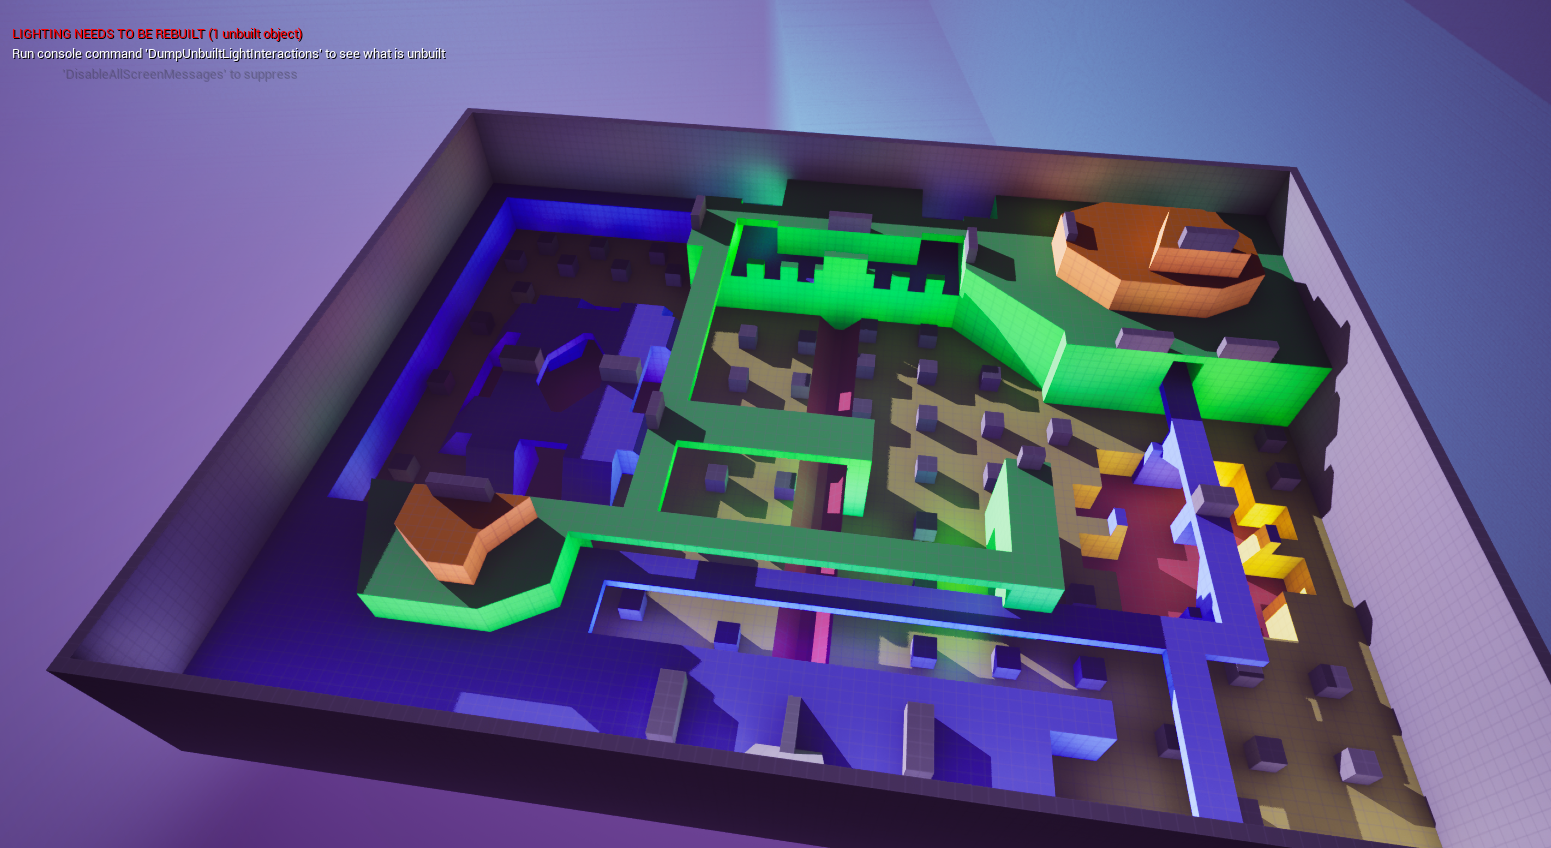
Initial Prototype for 6th map
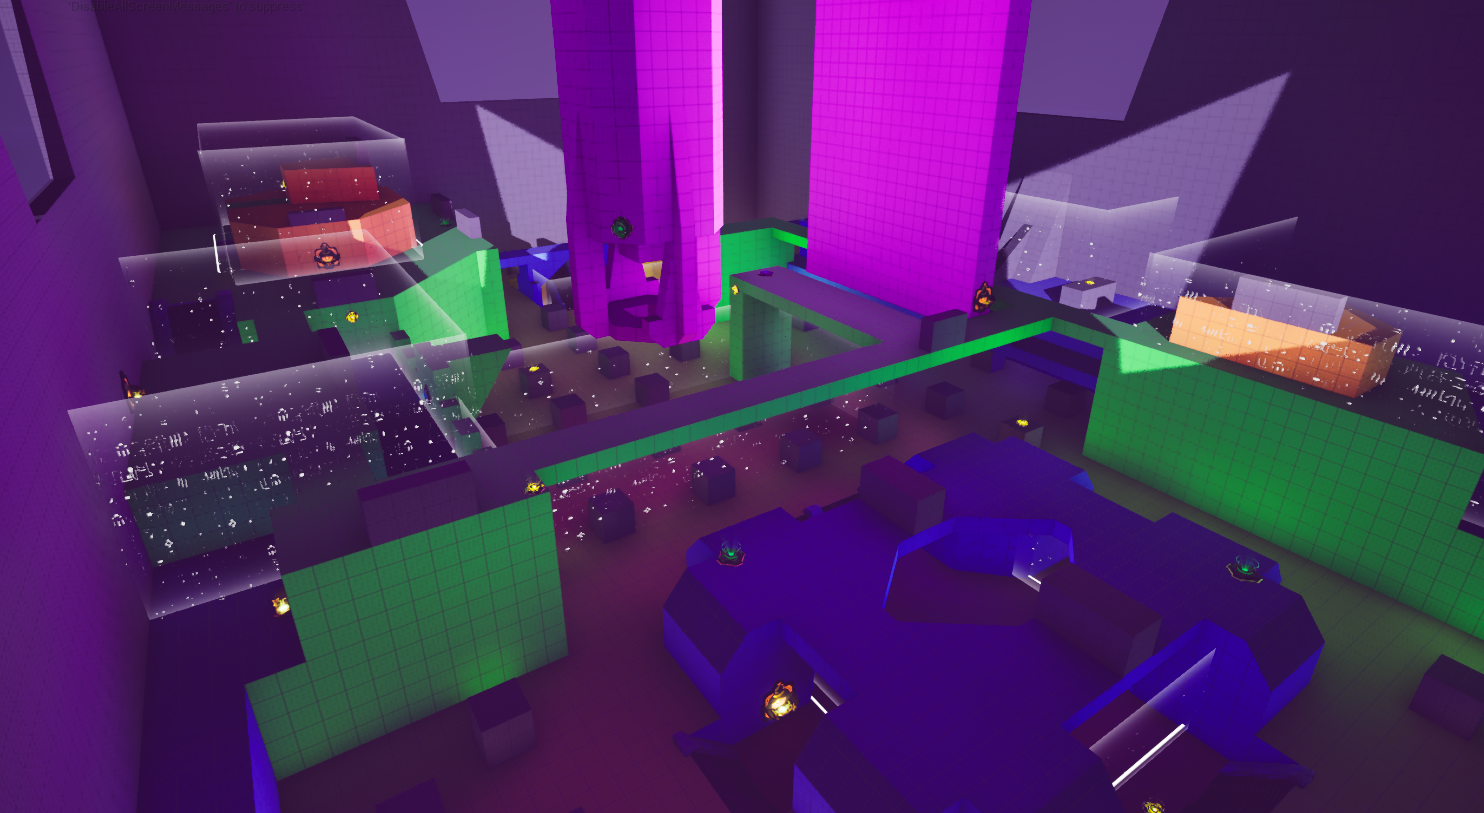
6th map with initial functionality
- 6th Multiplayer Level -
I had begun working on an unfinished prototype, not part of the original map concepts, for a sixth map inspired by Halo CE's 'Hang 'em High' but this didn't end up getting any art passes done leaving it with just the functional greybox level as of writing.
I created this map with the idea of diversifying the layouts of our current map selection and create something that had true asymmetry.
- Closing Thoughts -
Working on Pryizm has been a fantastic learning experience for me. Being the sole level designer at a small studio such as Sickware allowed me to go through the entire development process of the multiplayer maps I created and refine a pipeline for multiplayer map design. Having the personal control I did over my own development gave me a lot of experience both with Unreal Engine and simply my own design process. I was able to refine and iterate on my design processes and work within the constraints of the project and output of the rest of the team.
I think one major constraint I had was having to work with a very limited number of art assets. The team had a good idea of the art direction but with only a few artists and many working part time much of the output from them was for other aspects of the game. I worked with the artists on what kind of props would be needed, as well as a few hero props such as the central structure in Panoctigon and the archways on Bridge, but there just wasn't bandwidth for someone to be a dedicated level artist. We ended up having just under thirty level props made, around six of those being for lighting, and the remaining bandwidth of the art team went to the player character art, the weapons, and 2D art. While limiting it did create a level of cohesiveness throughout the maps and gave the feeling that they are all in the same place despite being very different in actual layout, which was the goal.
If we had the team bandwidth I would have definitely wanted more diversified environments, but I am still happy with how things are in their current state with the multiplayer maps. It posed a good challenge for me since its a contrast for what I had previously done in Unreal UEFN, which can be quite overwhelming at times since that comes with every single art asset ever used in Fortnite. Finally, I think it leaves some room for improvement in retrospect for my abilities to design more nature and outdoor environments.
- Gallery -
(Click to Enlarge)
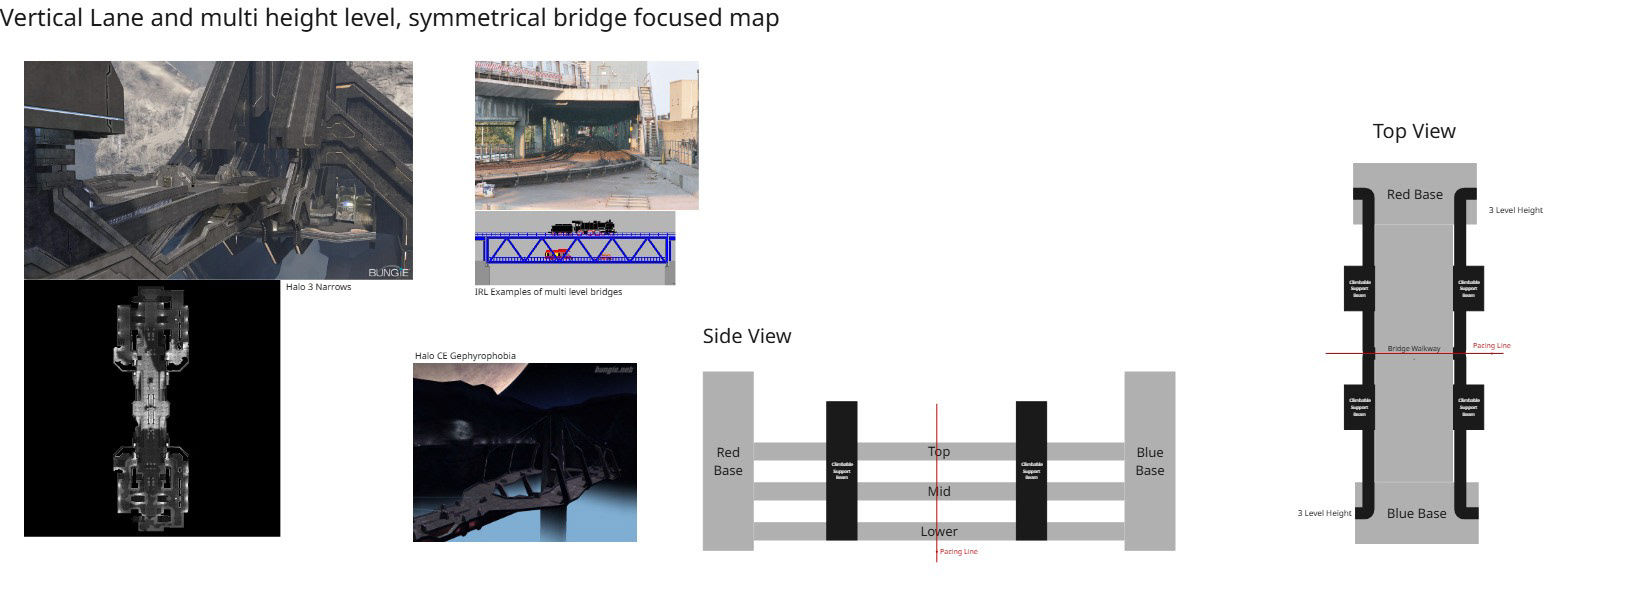
Bridge Initial Concept
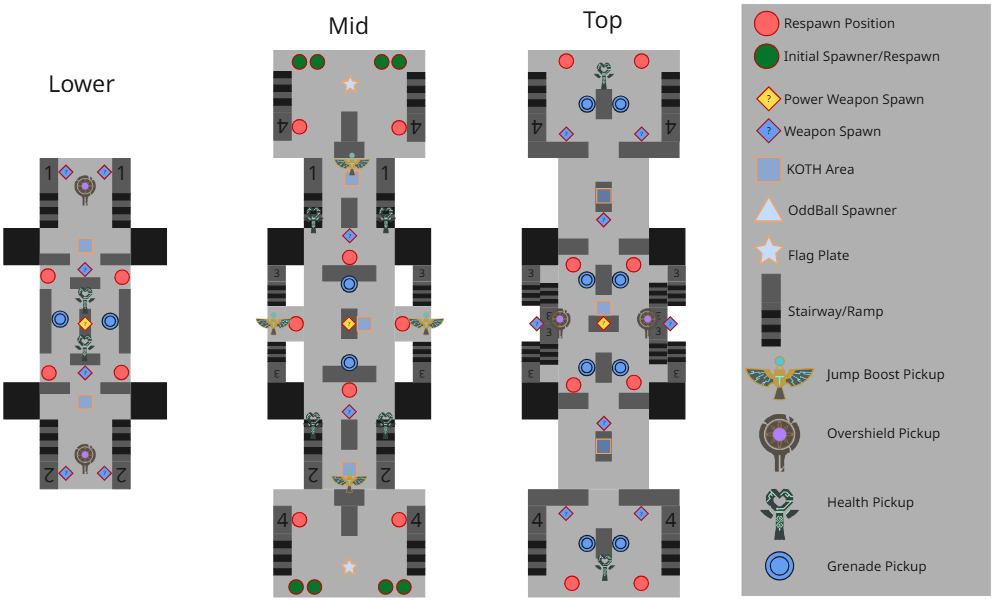
First 2D Bridge Layout
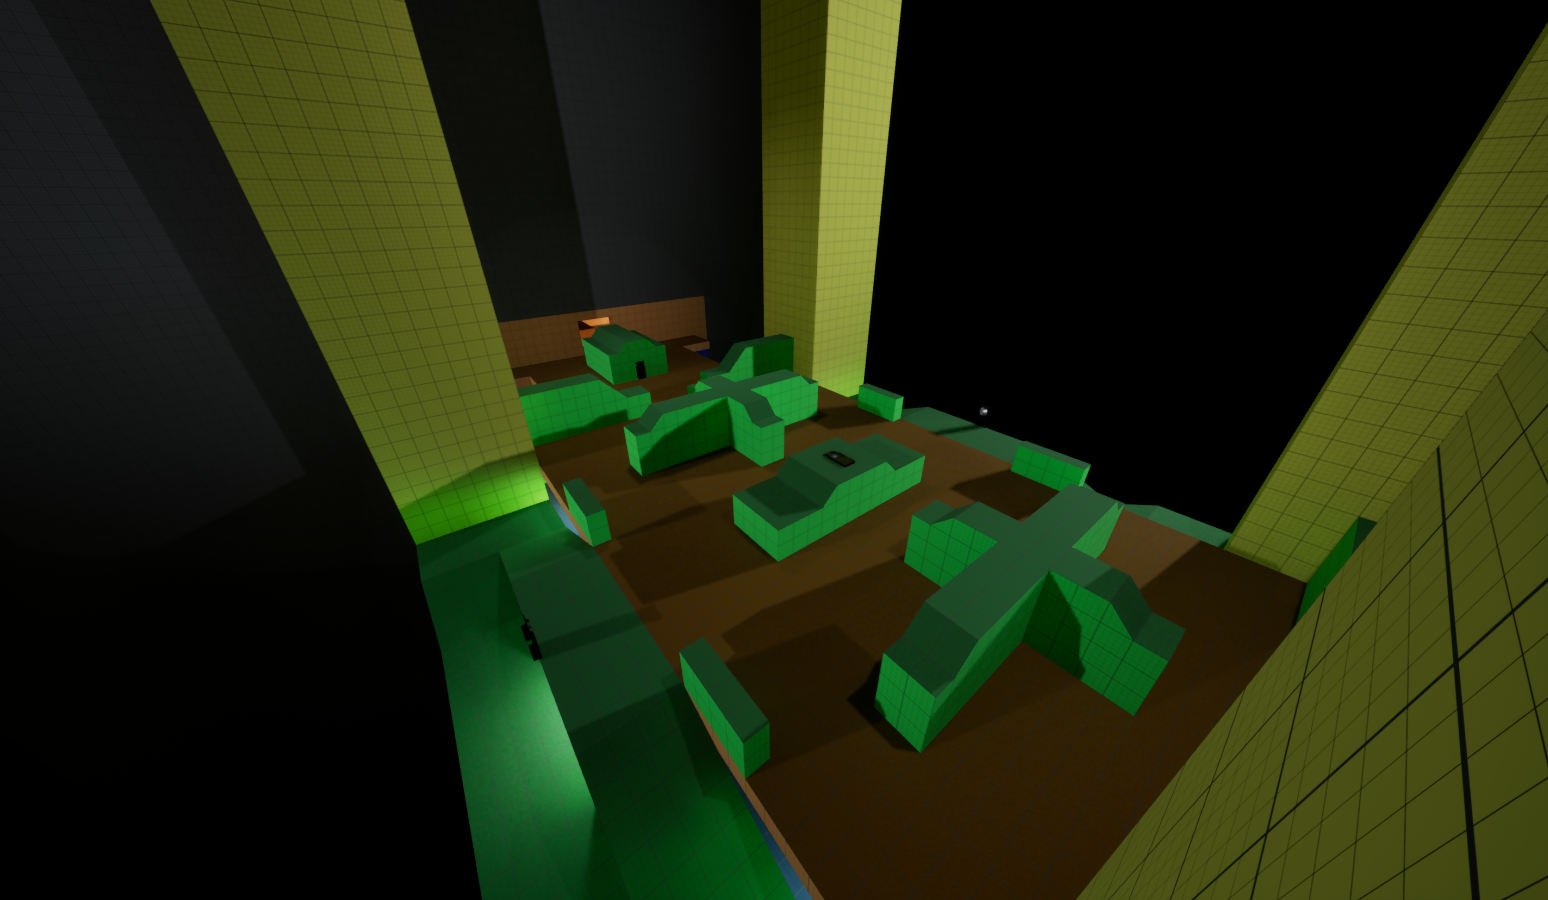
Bridge Prototype
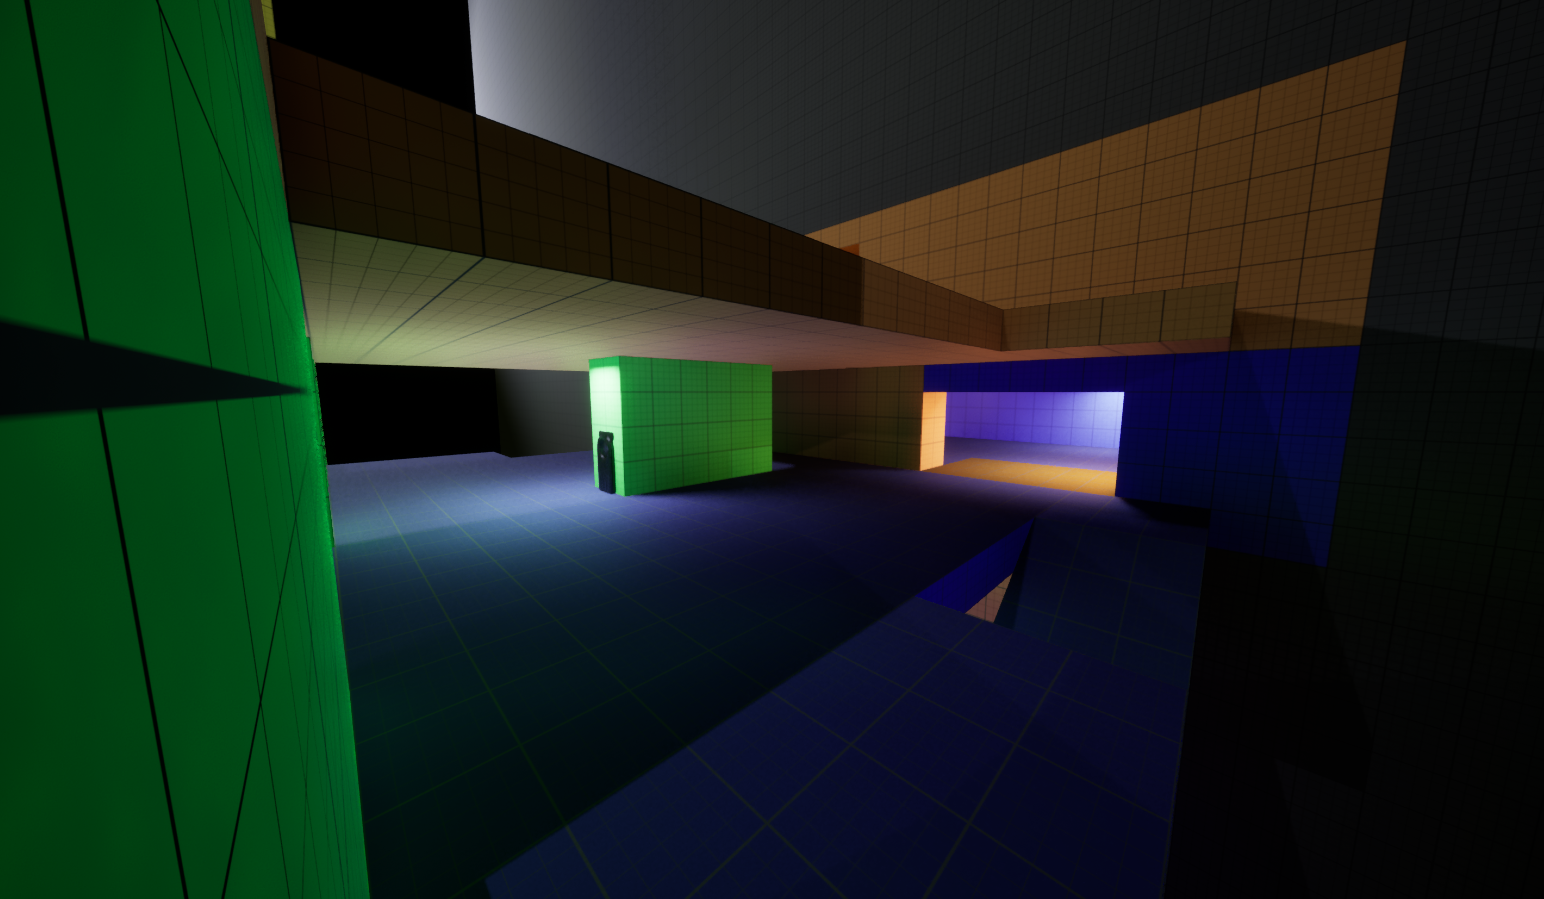
Bridge Prototype
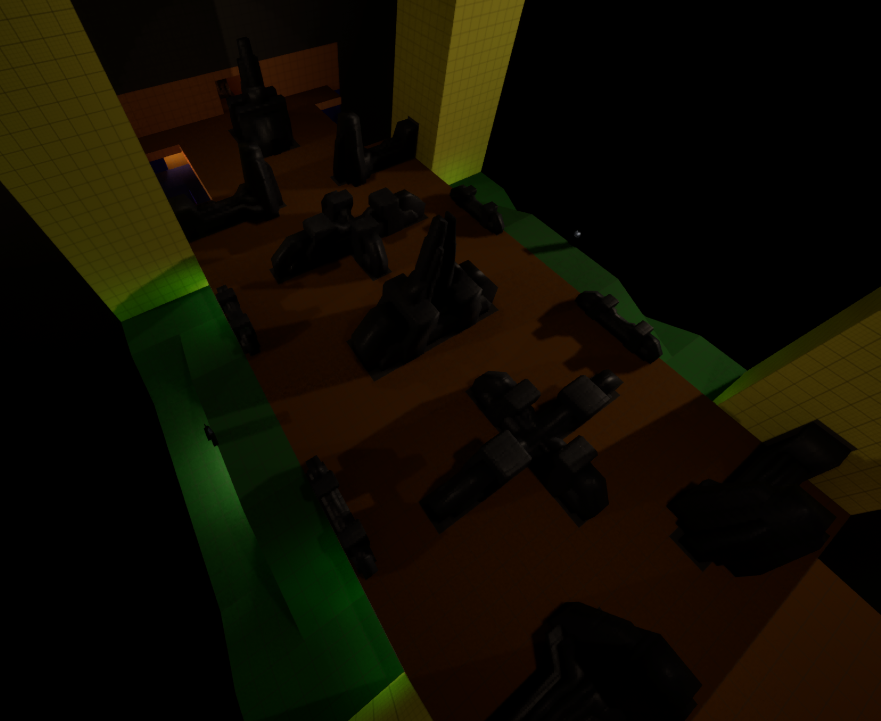
Bridge First Prop Pass
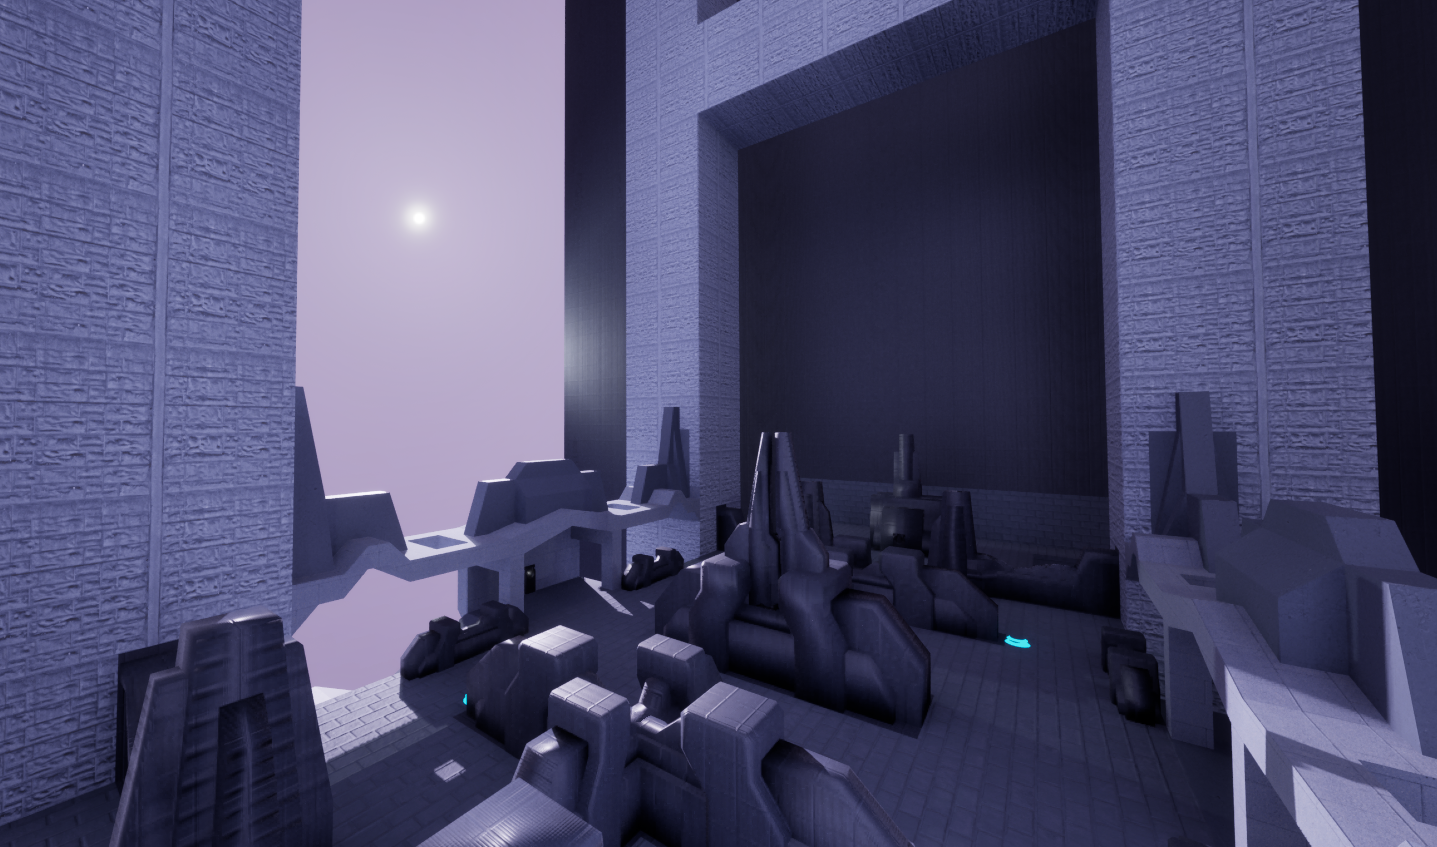
Bridge Concept Lighting Match
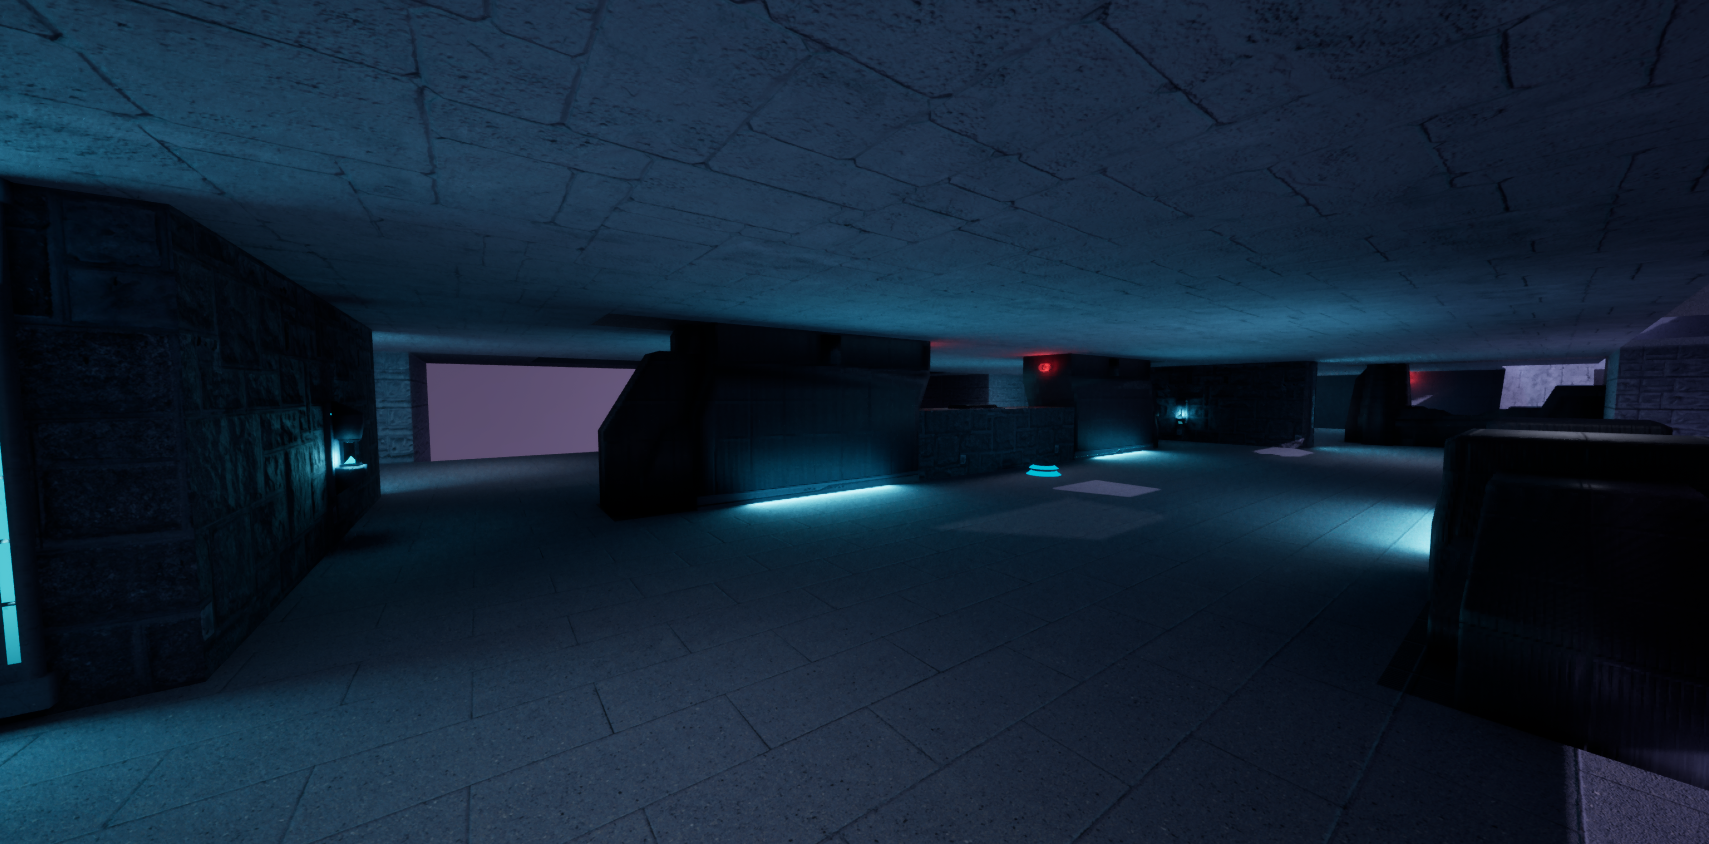
Bridge First Lighting Pass
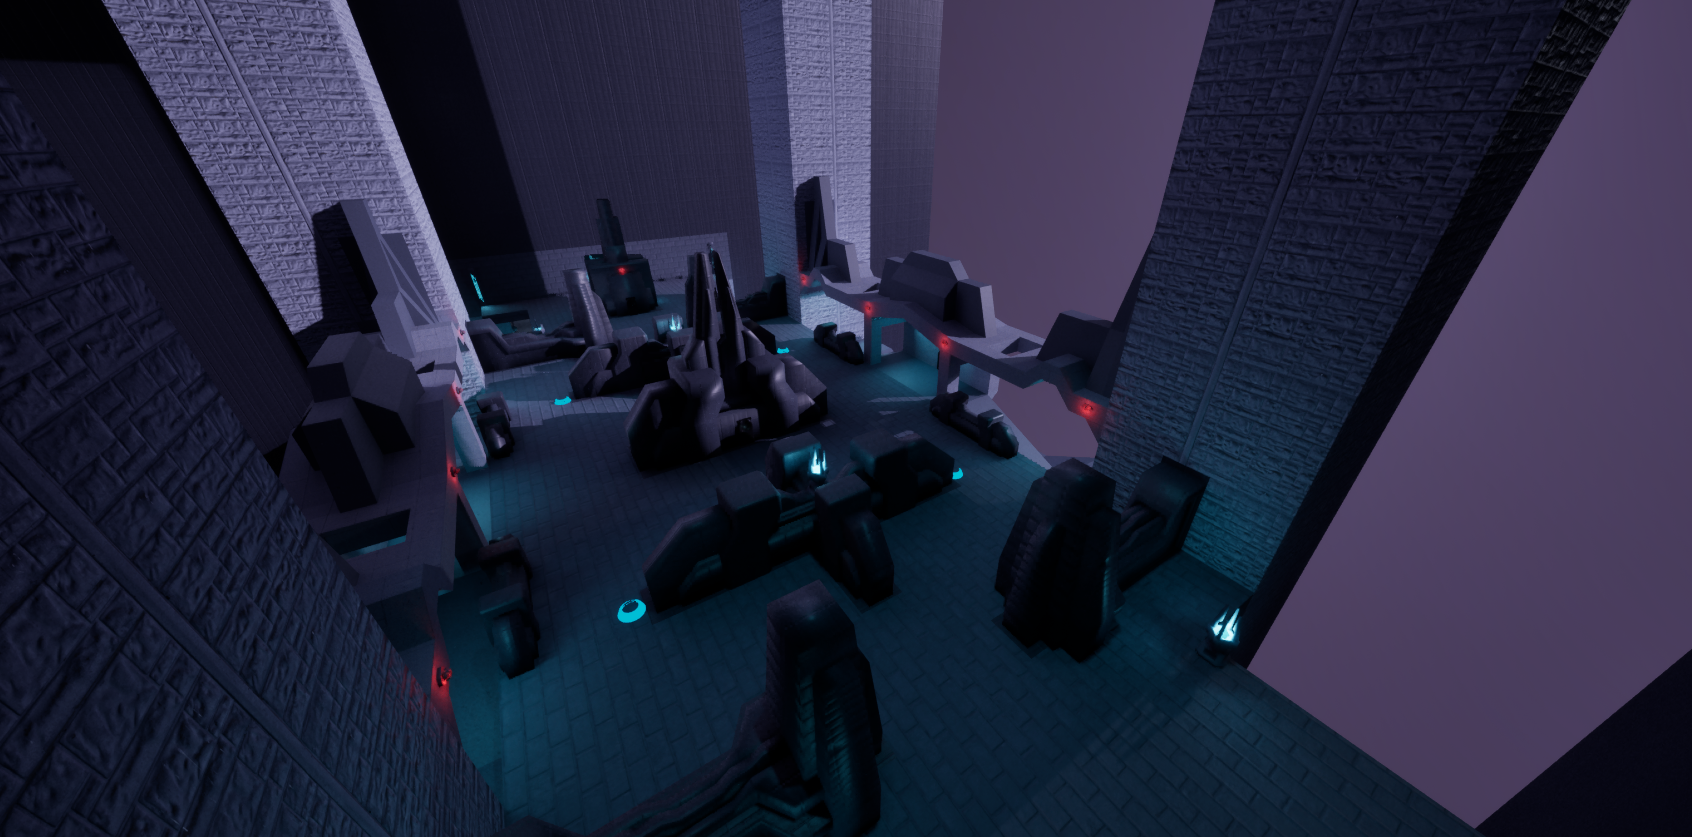
Bridge First Lighting Pass
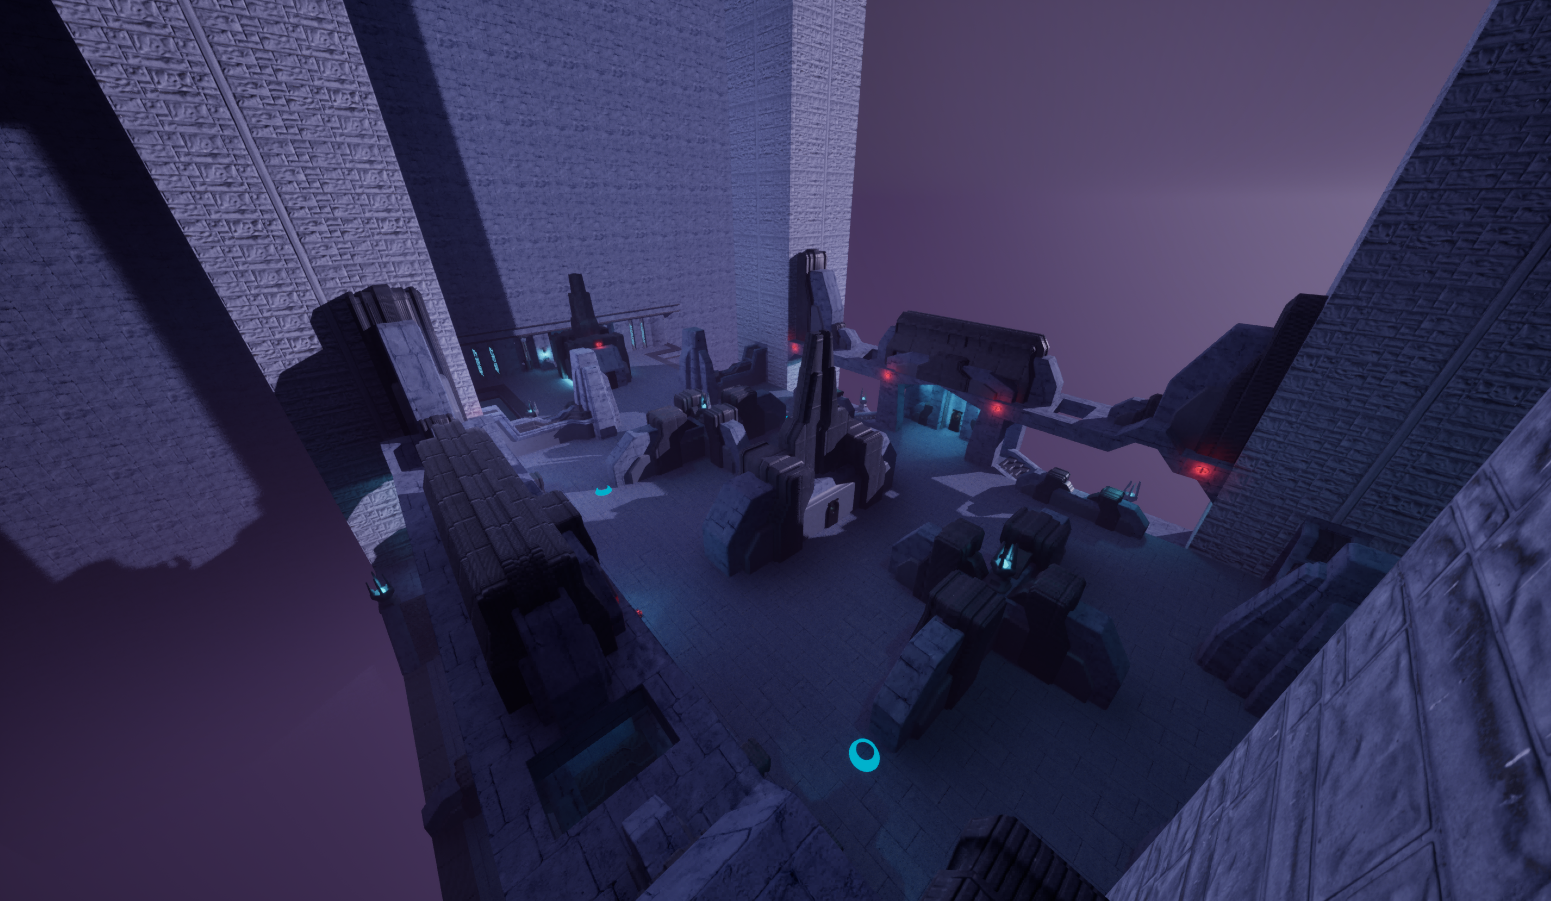
Bridge Prop & Lighting Pass
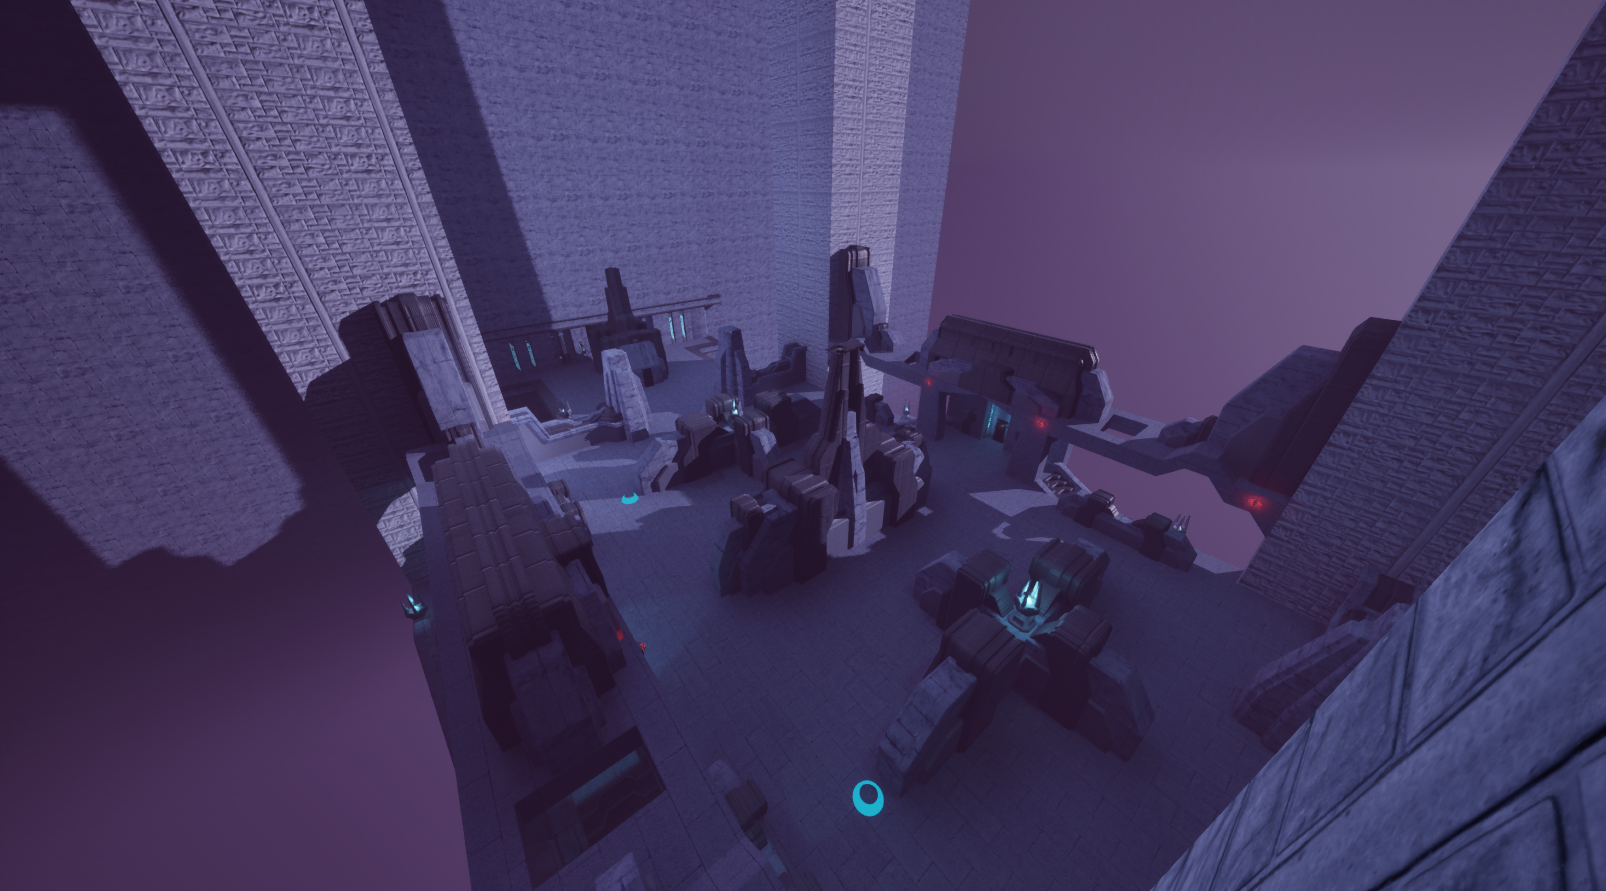
Bridge Volumetric Fog
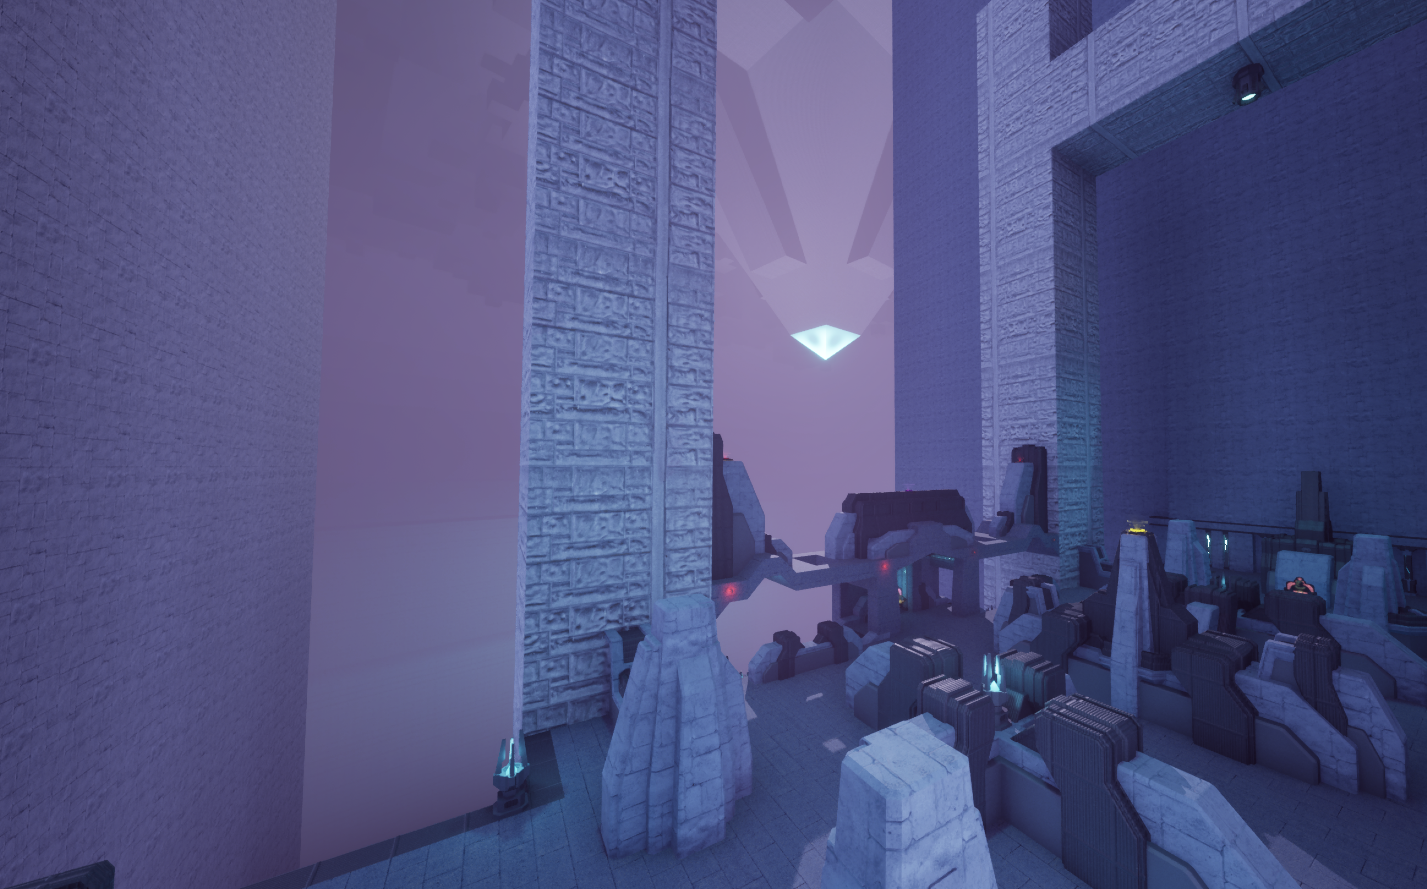
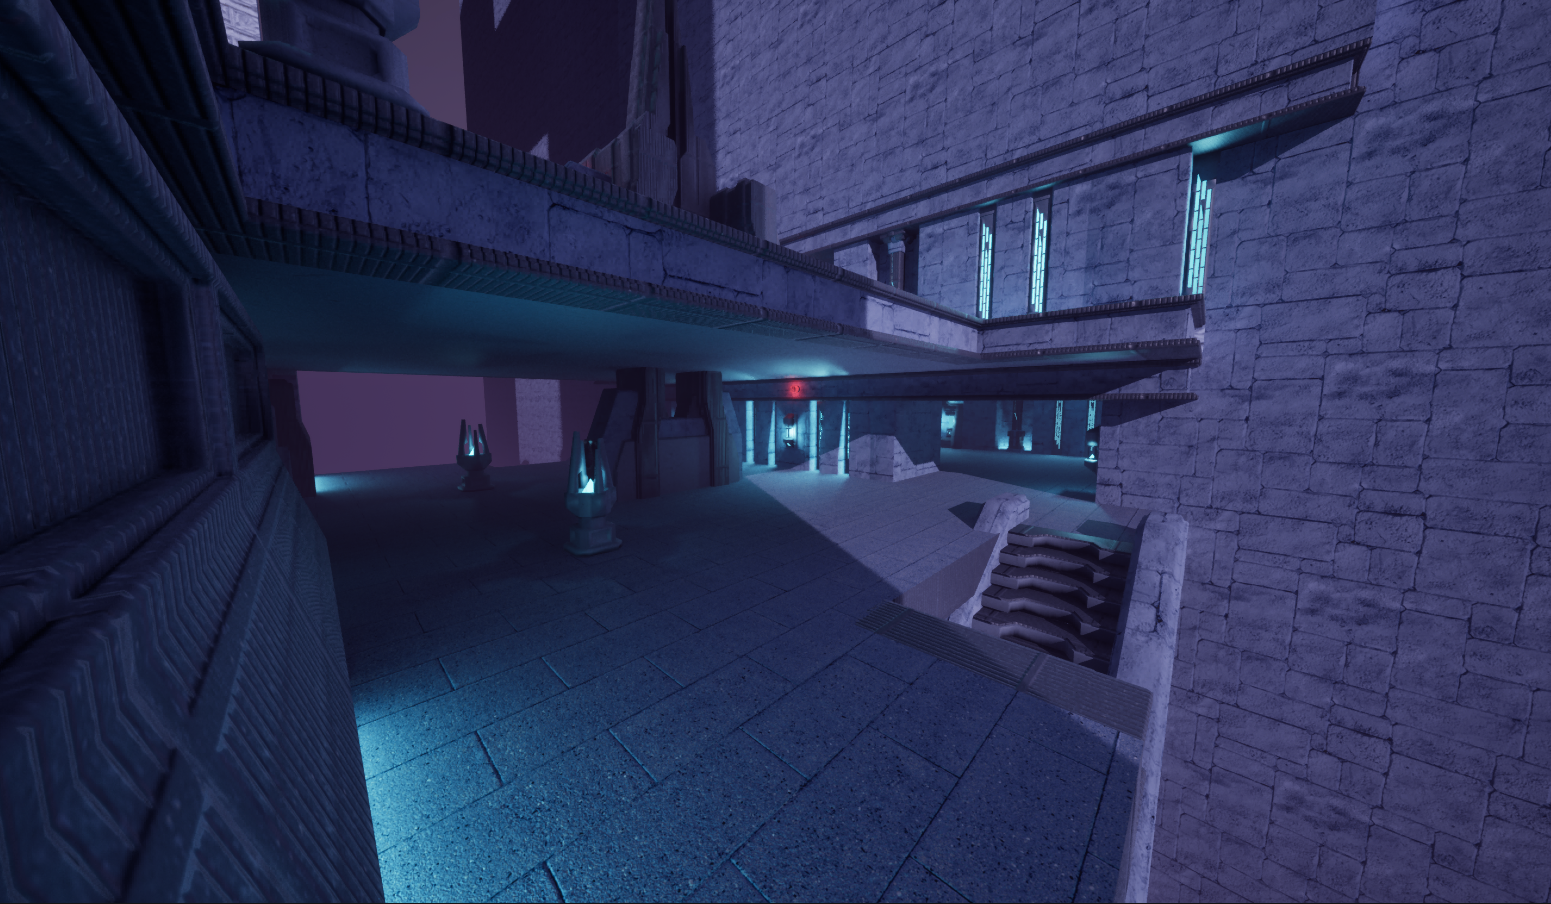
Bridge Section Before Verticality updates
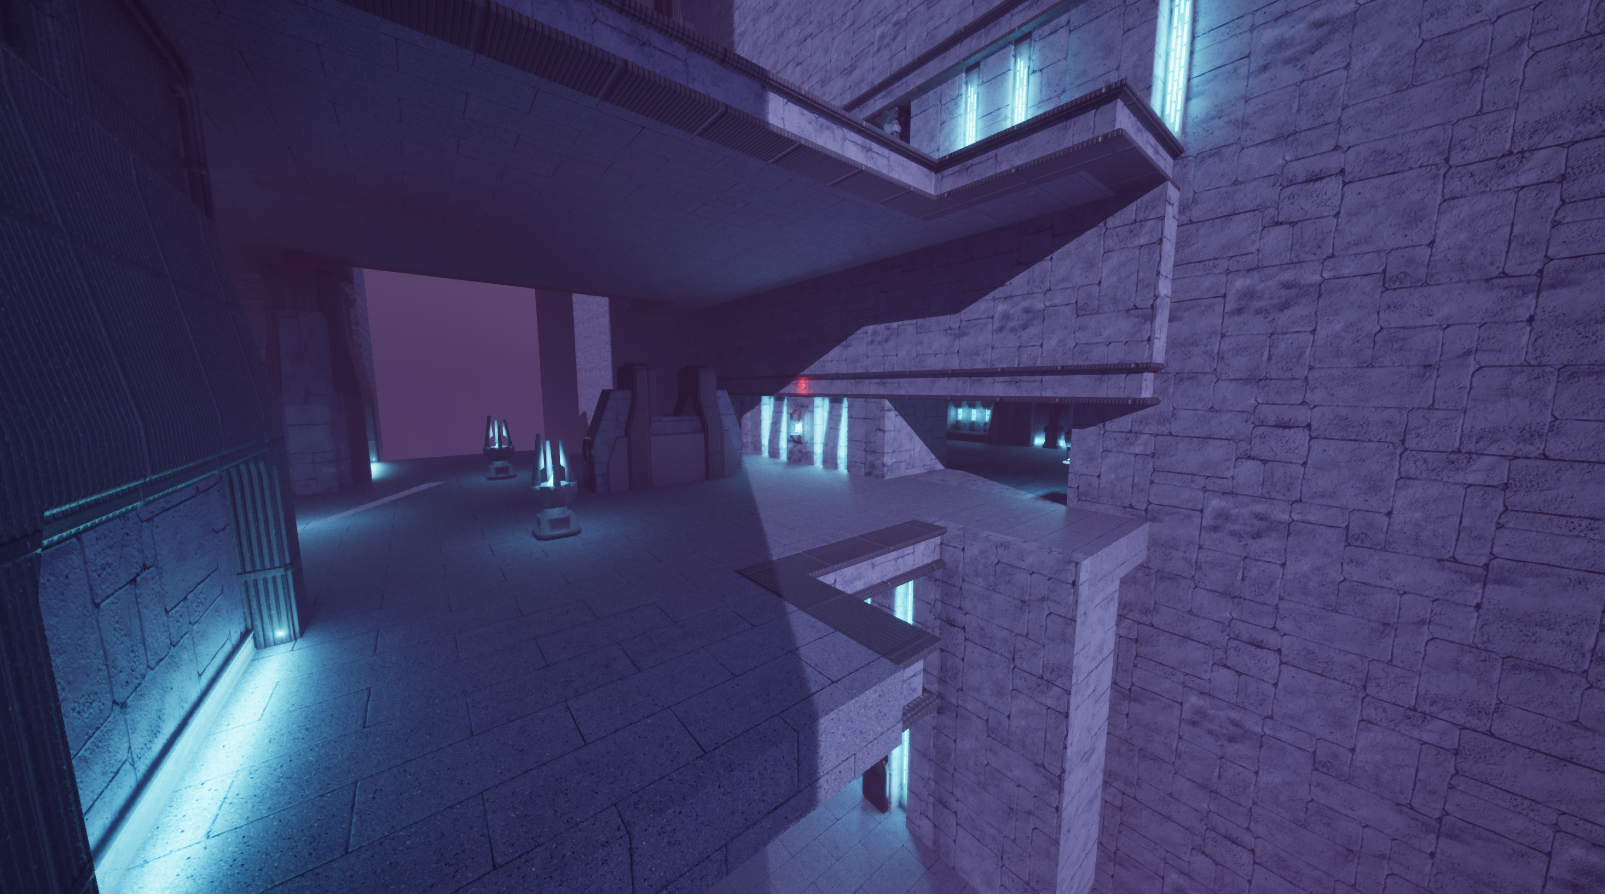
Bridge Section After Verticality updates
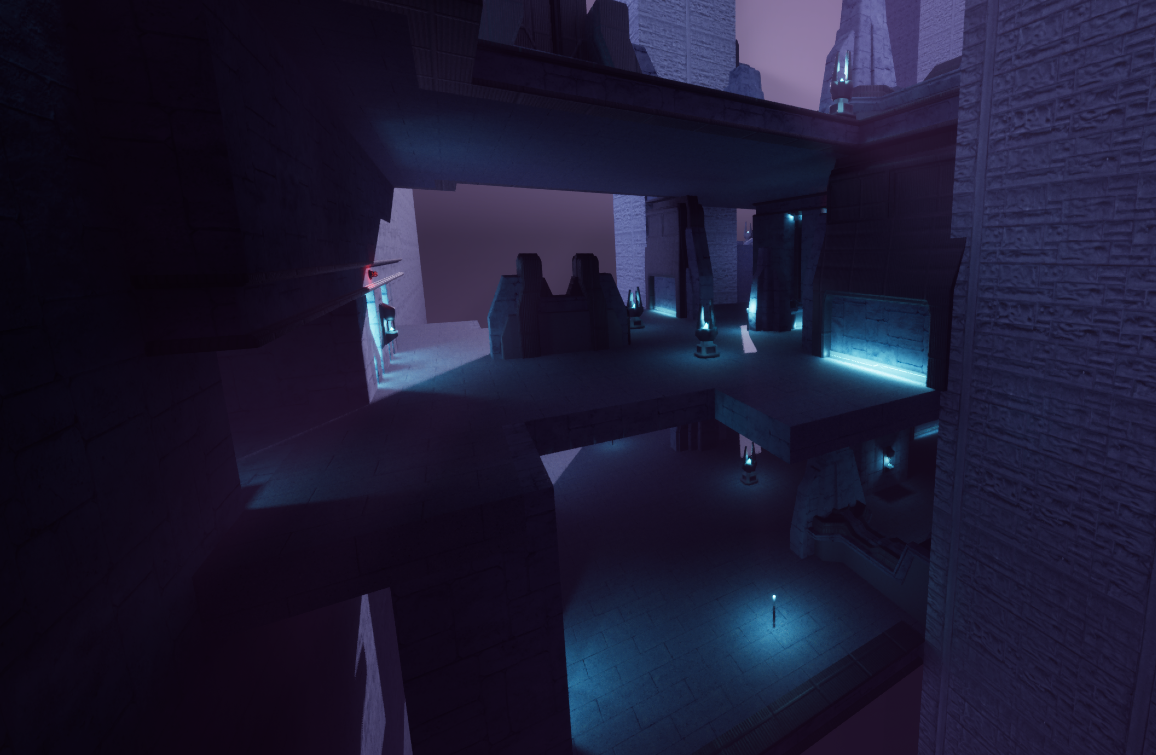
Bridge After Verticality Updates 2
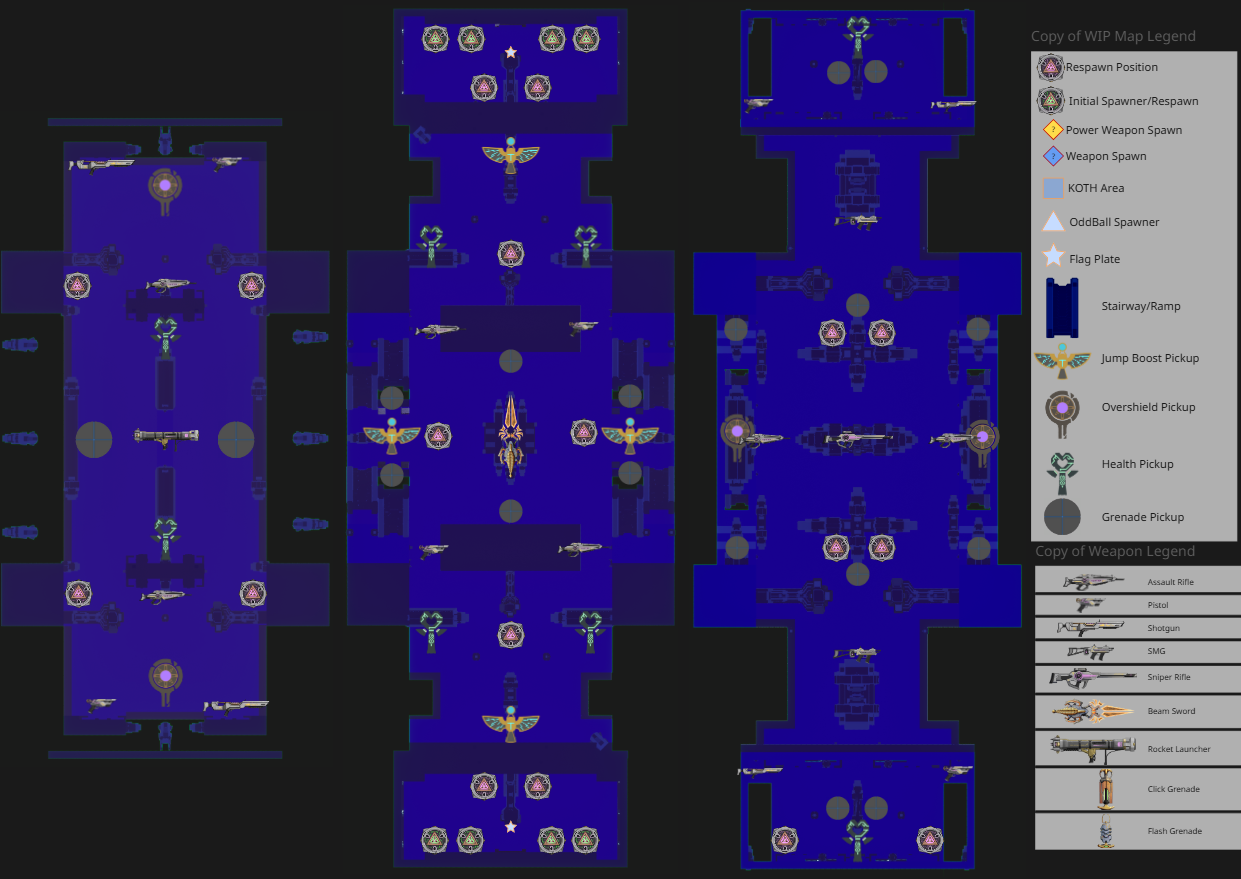
Bridge 2D detailed layout
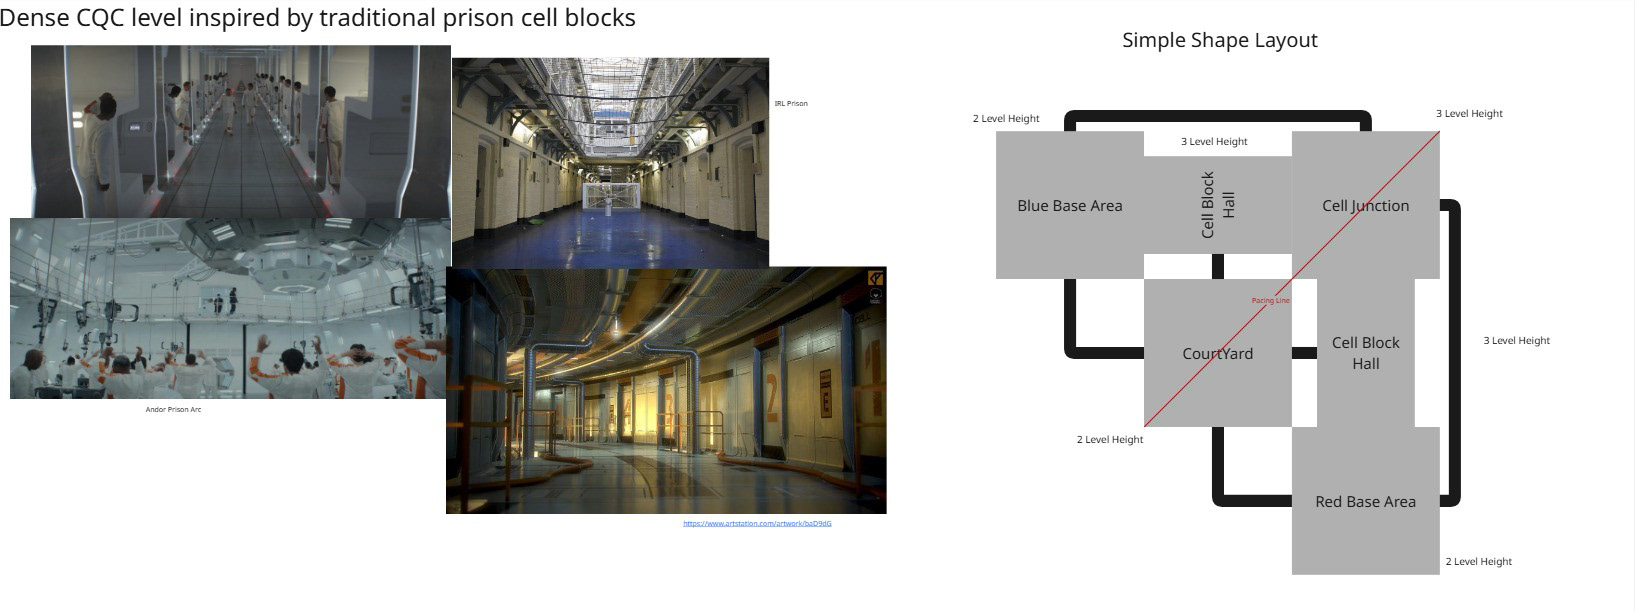
Cell Block First Concept
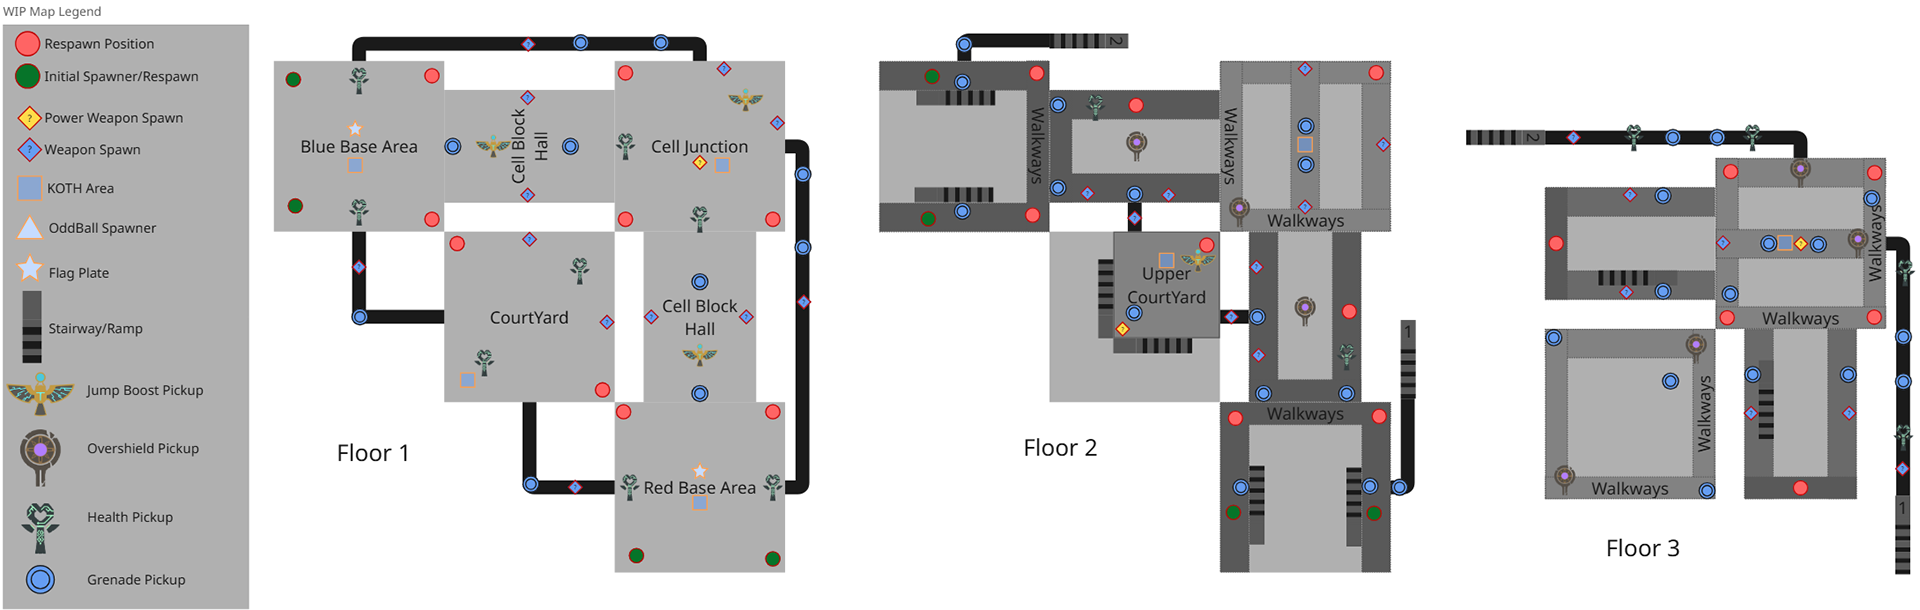
Cell Block First 2D Layout
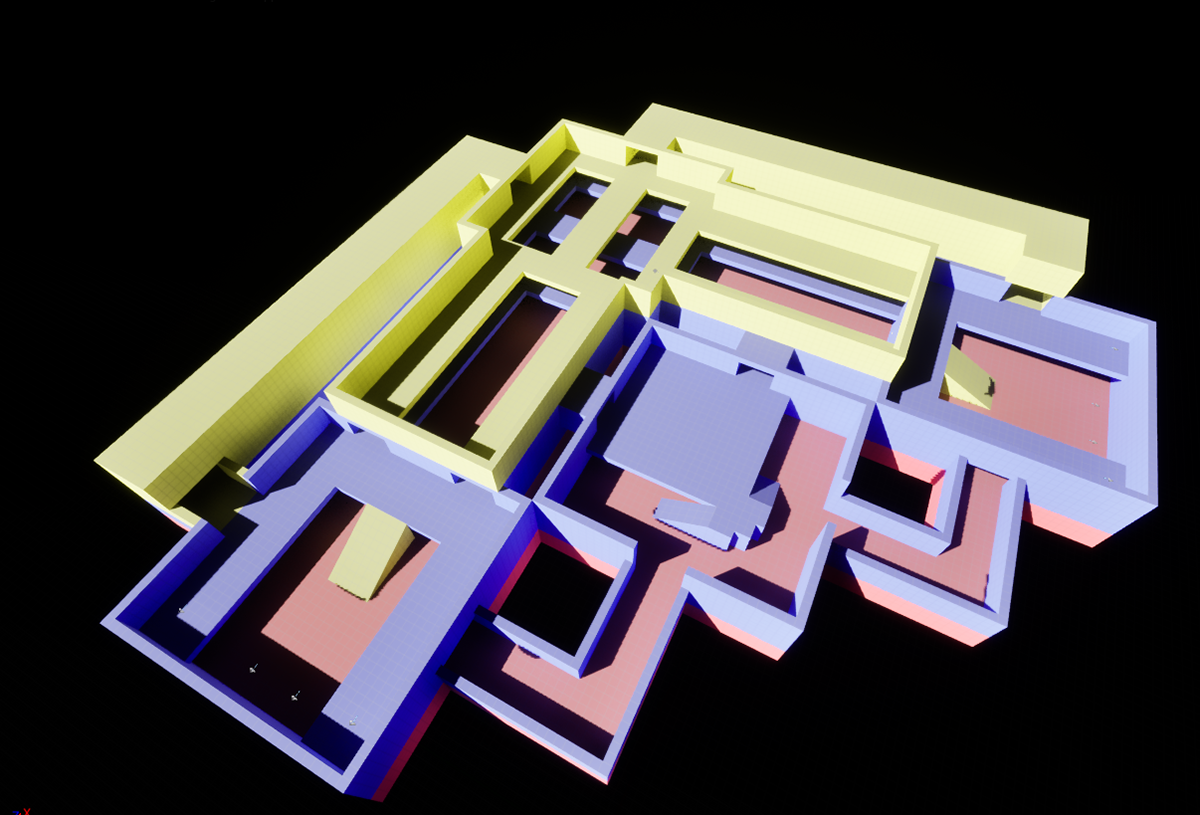
WIP Cell Block Prototype
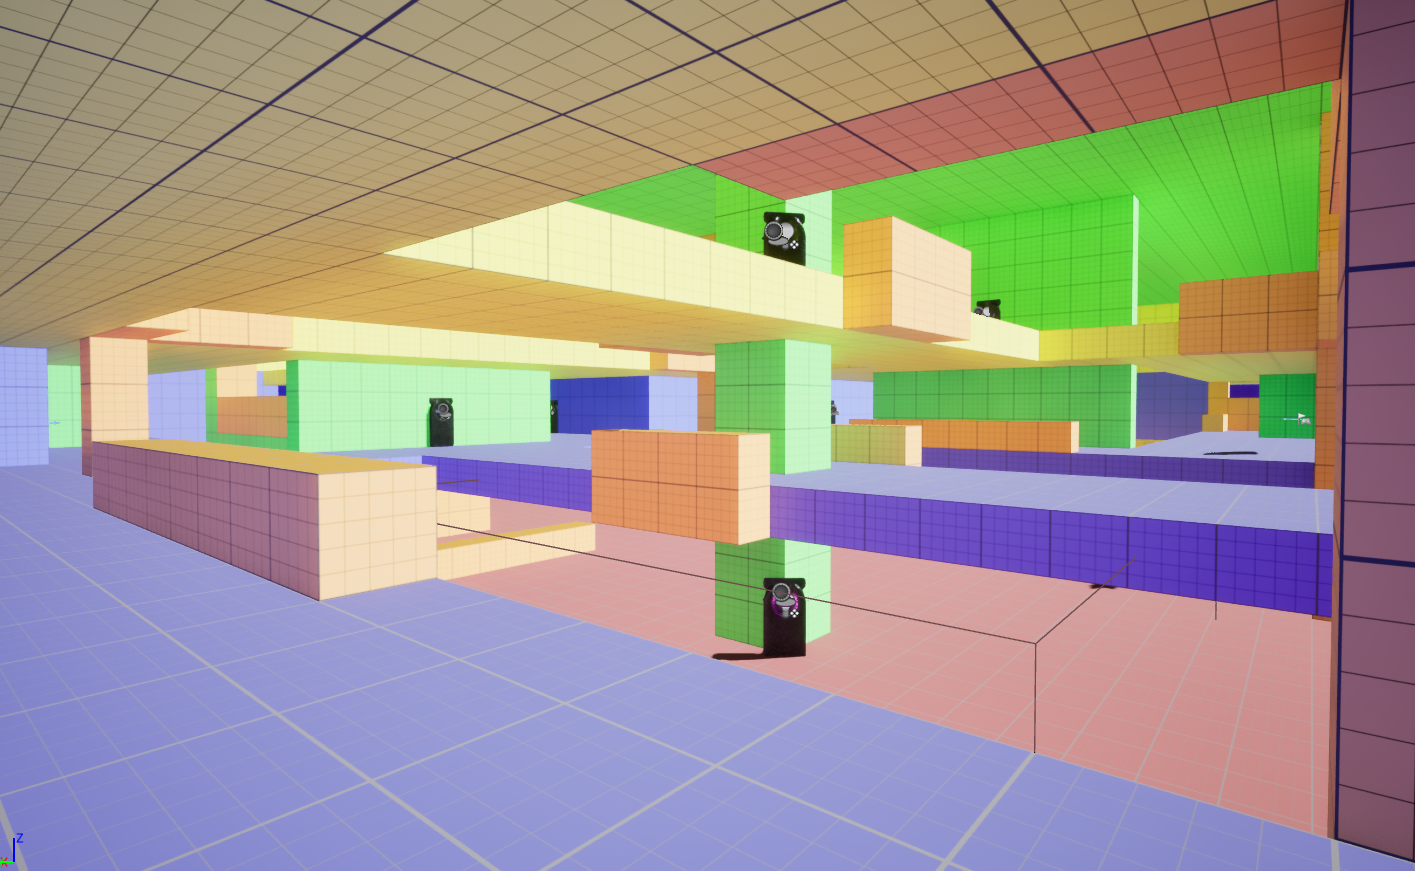
Cell Block Prototype
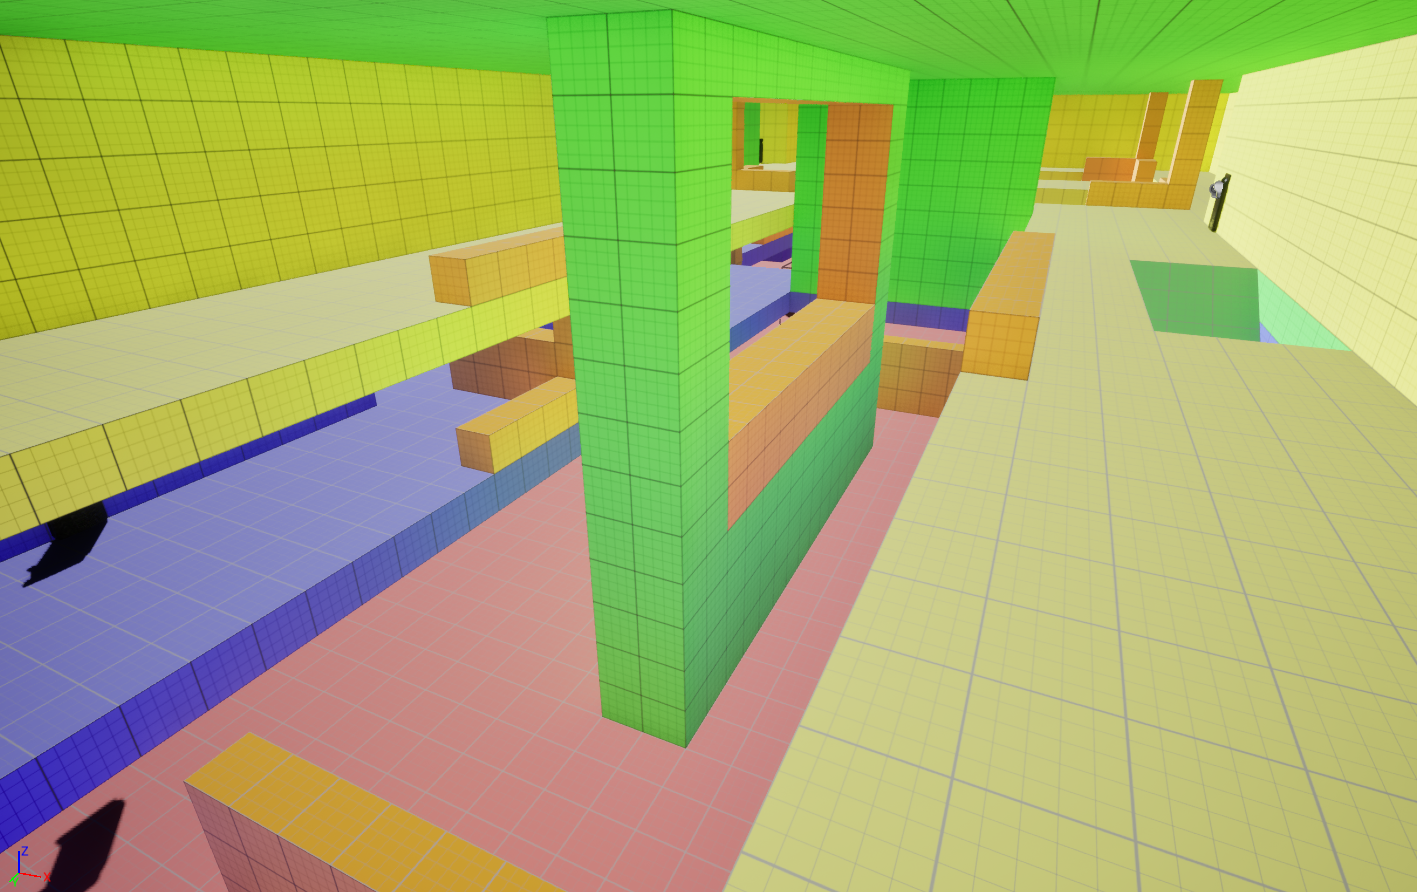
Cell Block Prototype 2
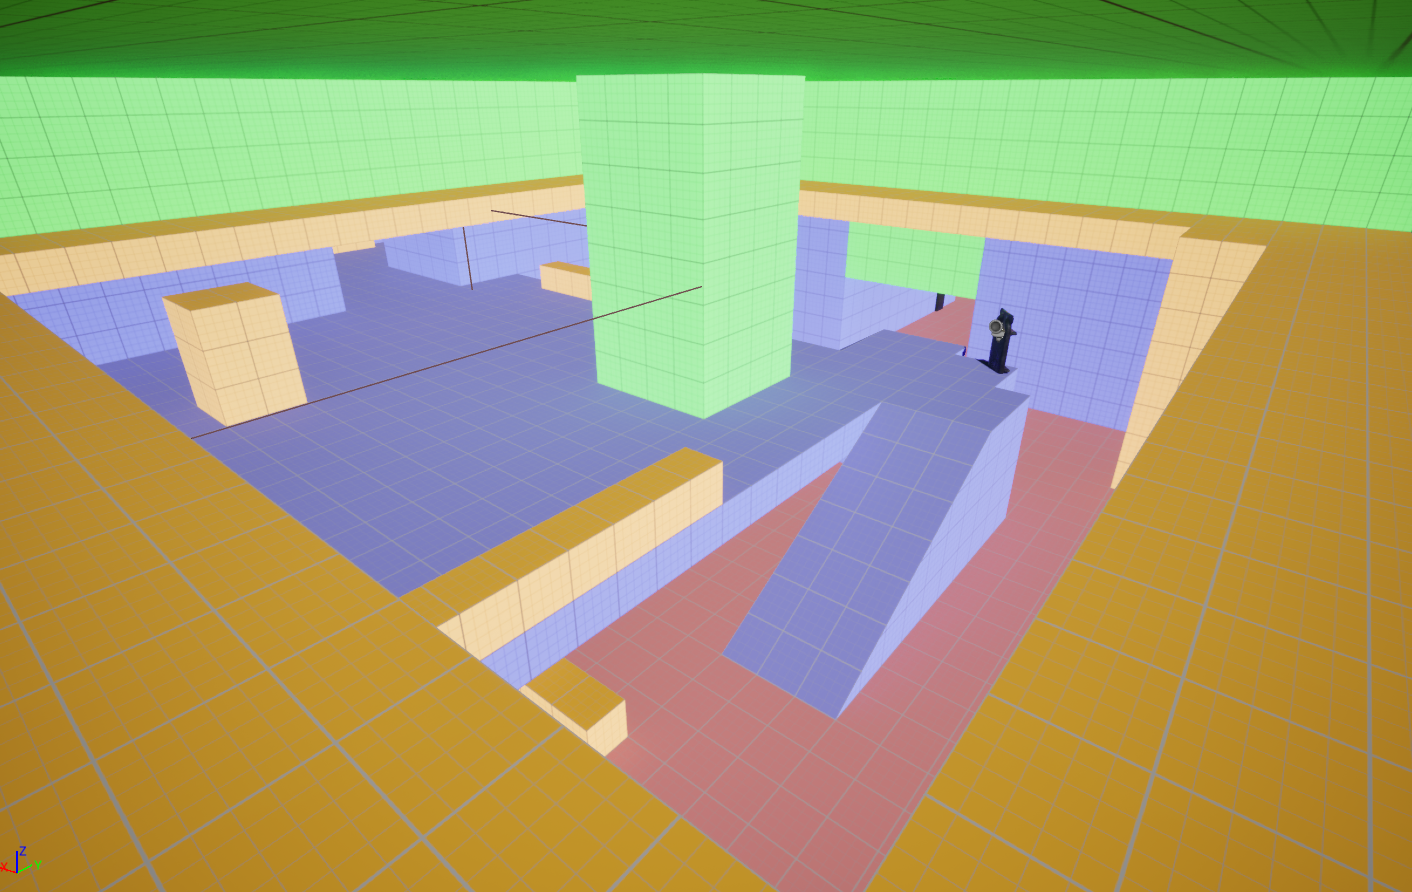
Cell Block Prototype 3
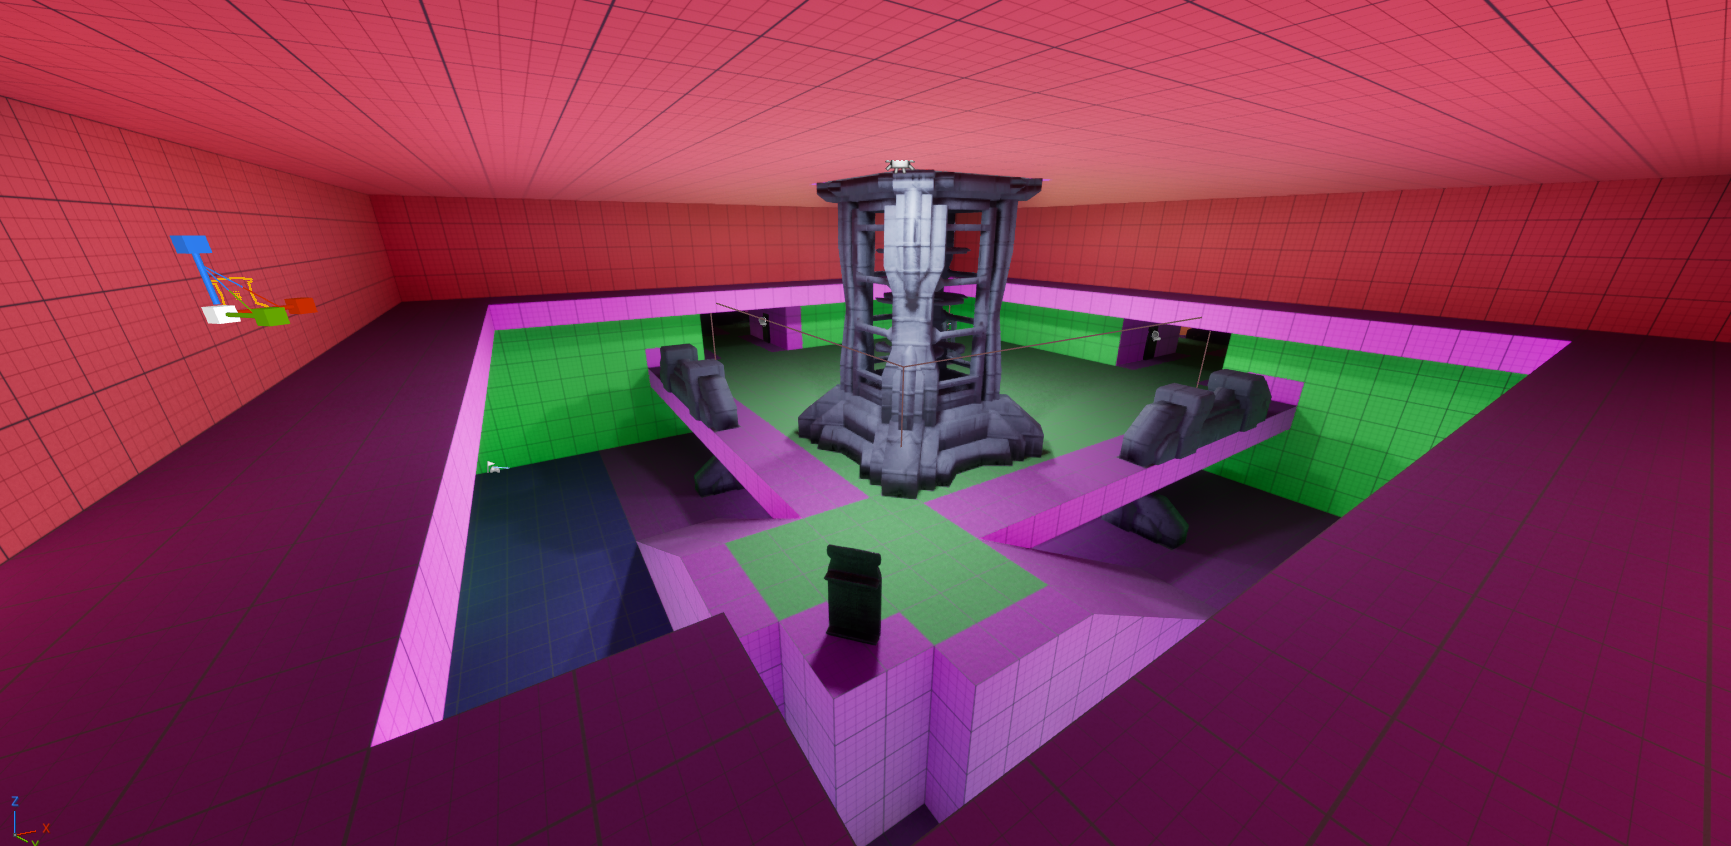
Cell Block First Prop Pass
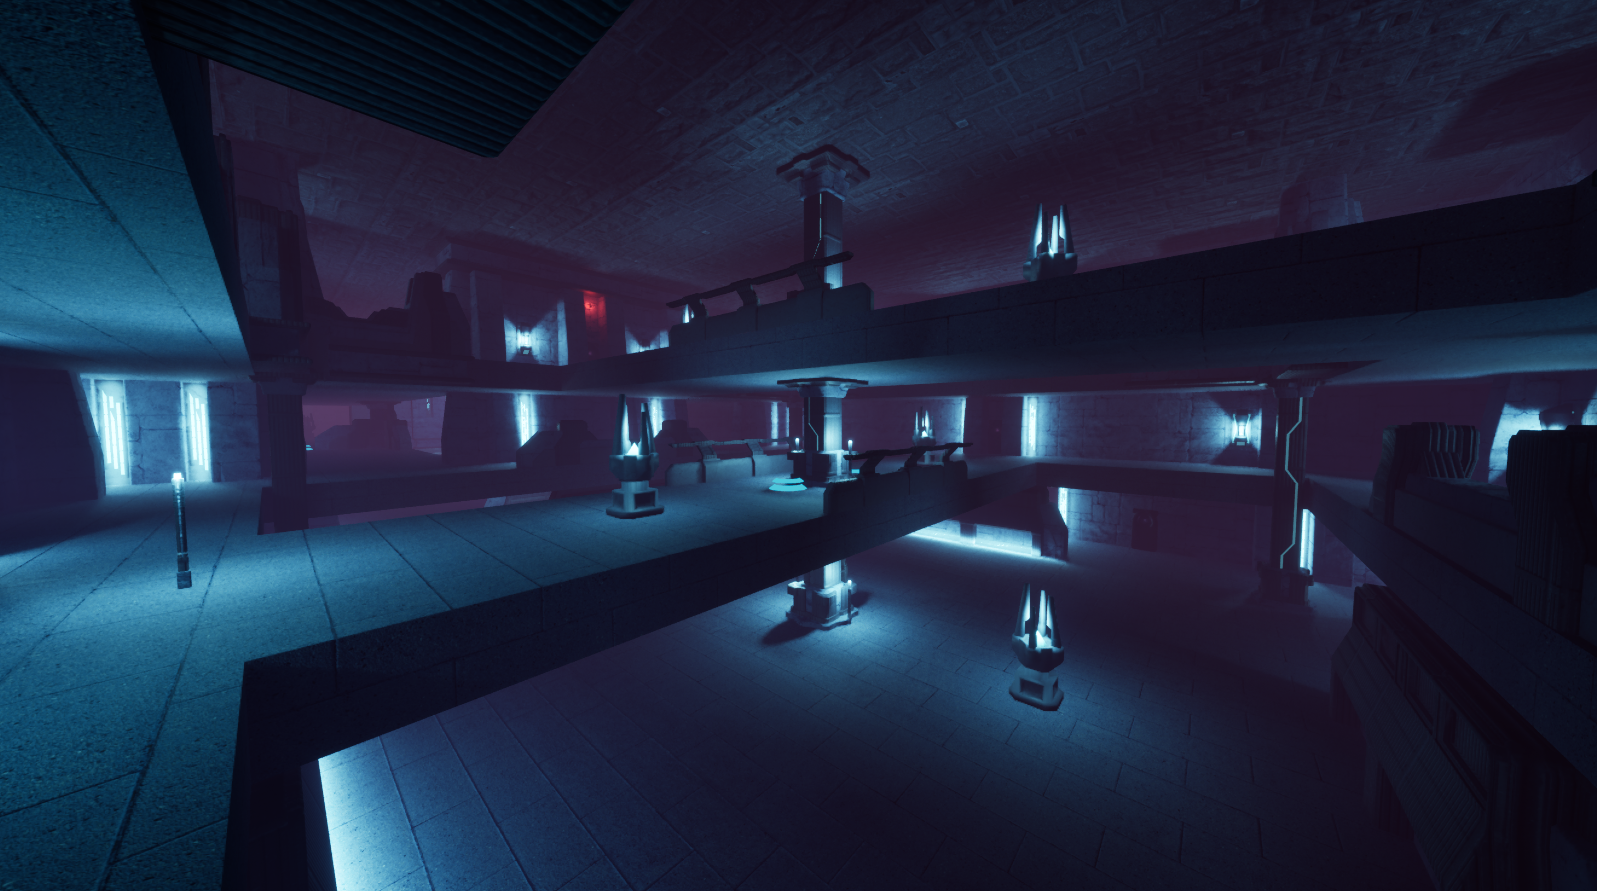
Cell Block Lighting and Prop Pass
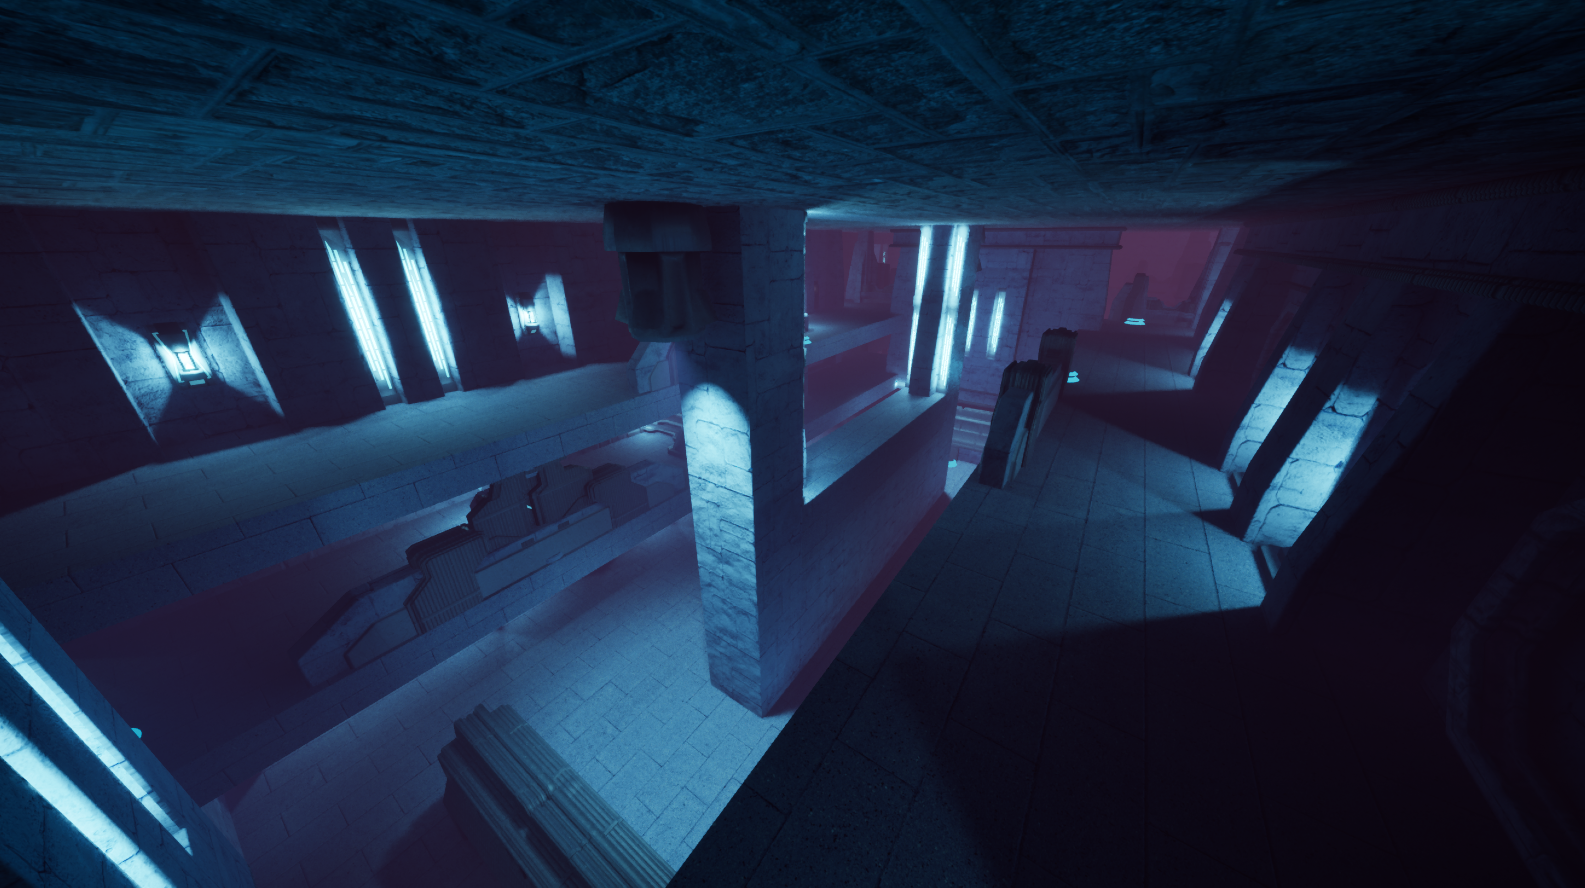
Cell Block Lighting and Prop Pass 2
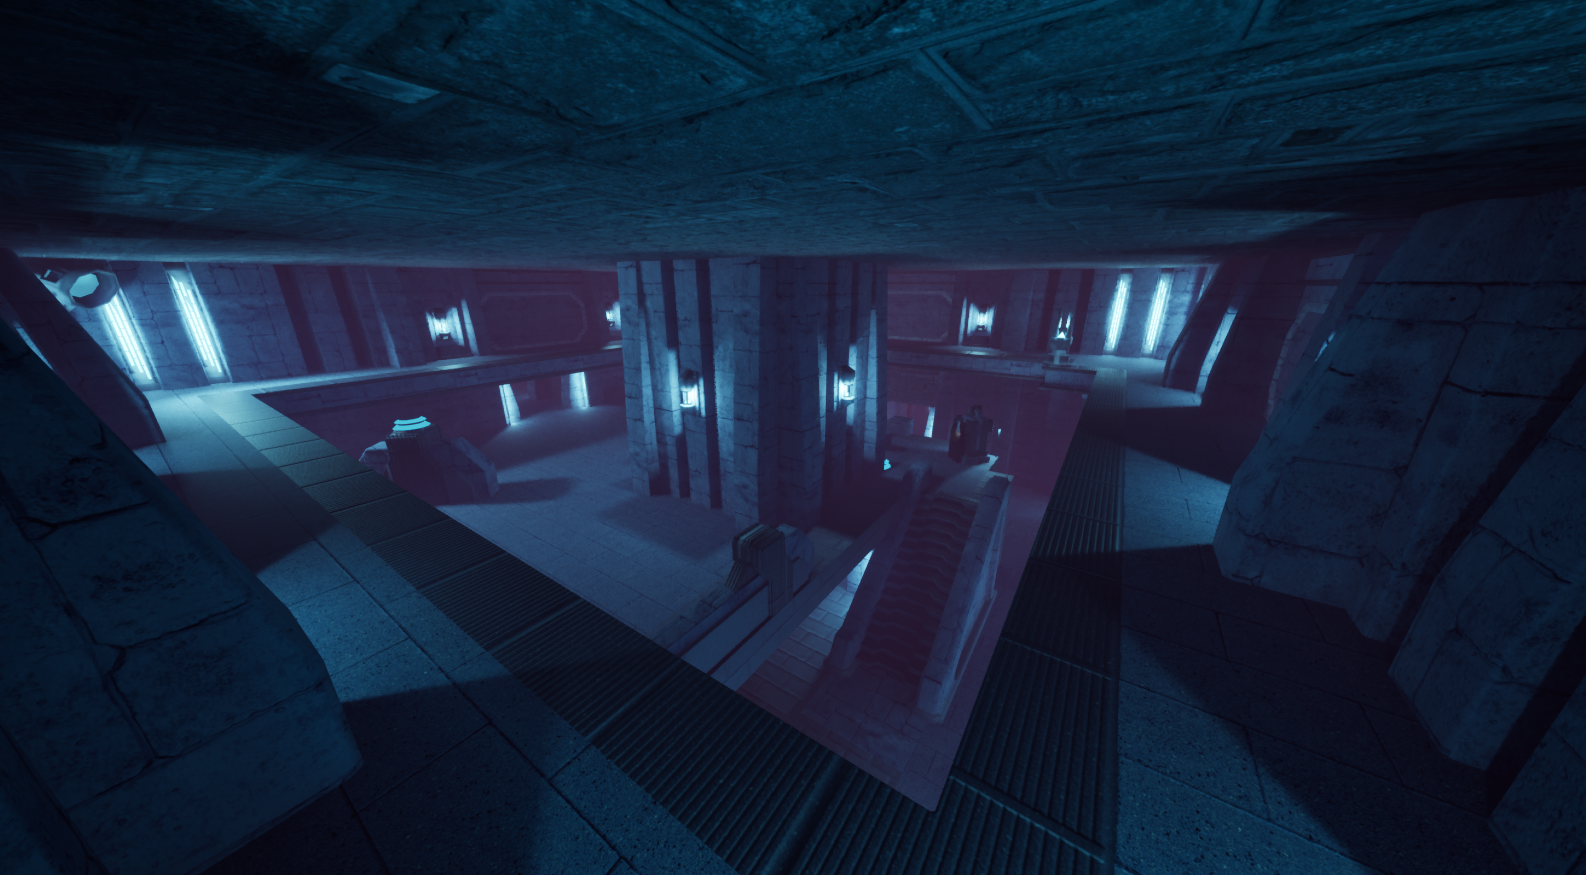
Cell Block Lighting and Prop Pass 3
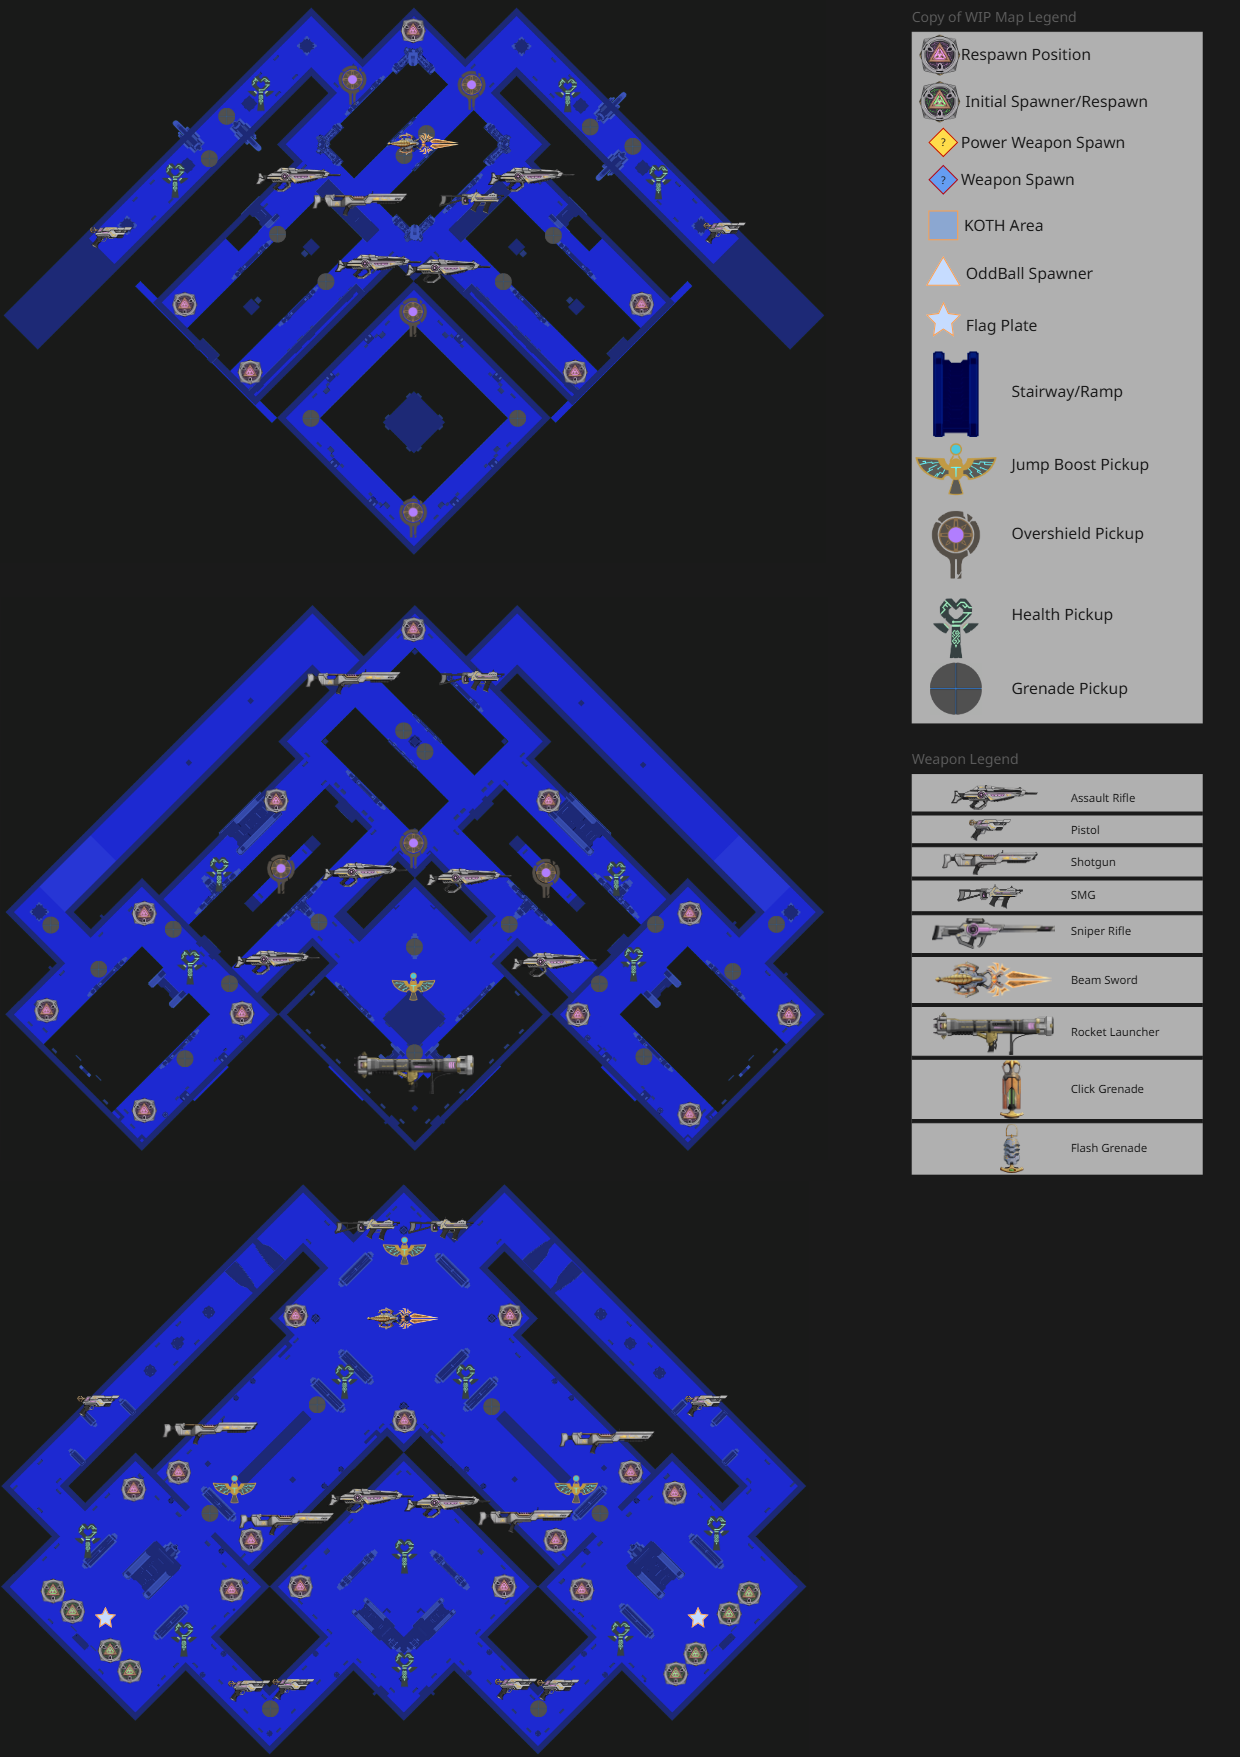
Cell Block 2D Detailed Layout
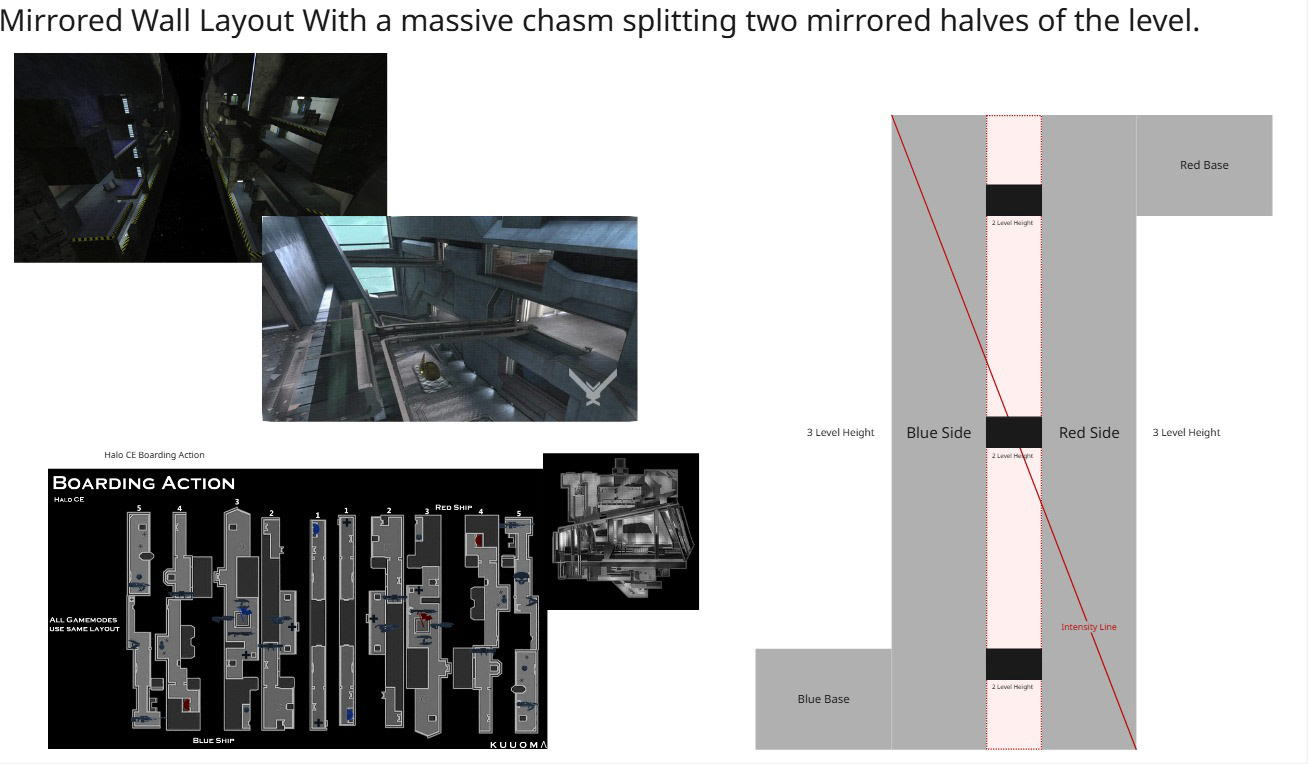
Chasm First Concept
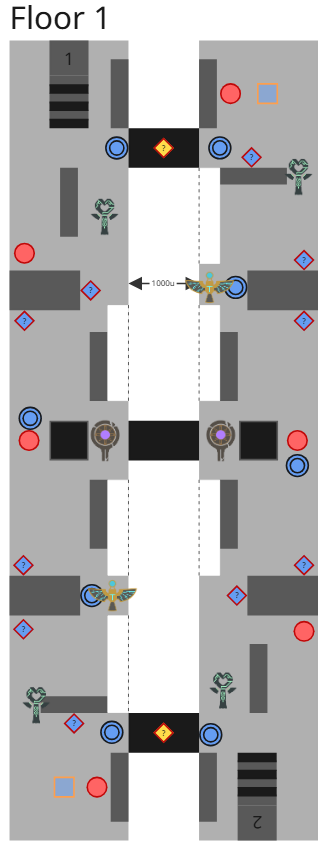
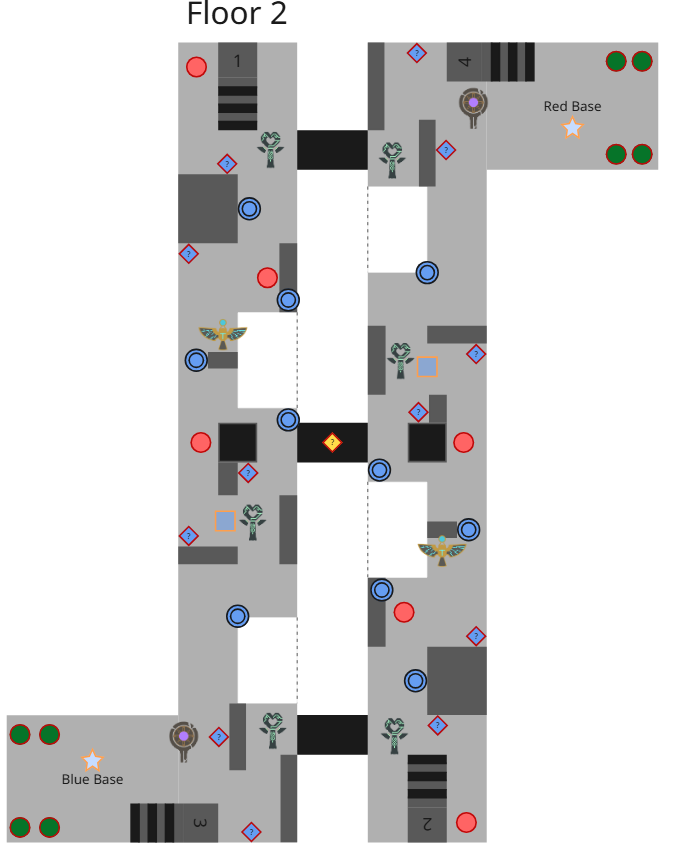
Chasm 2D Floors
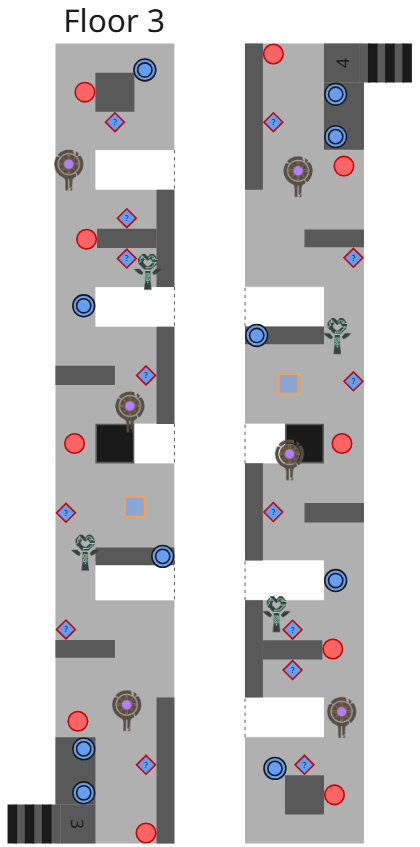
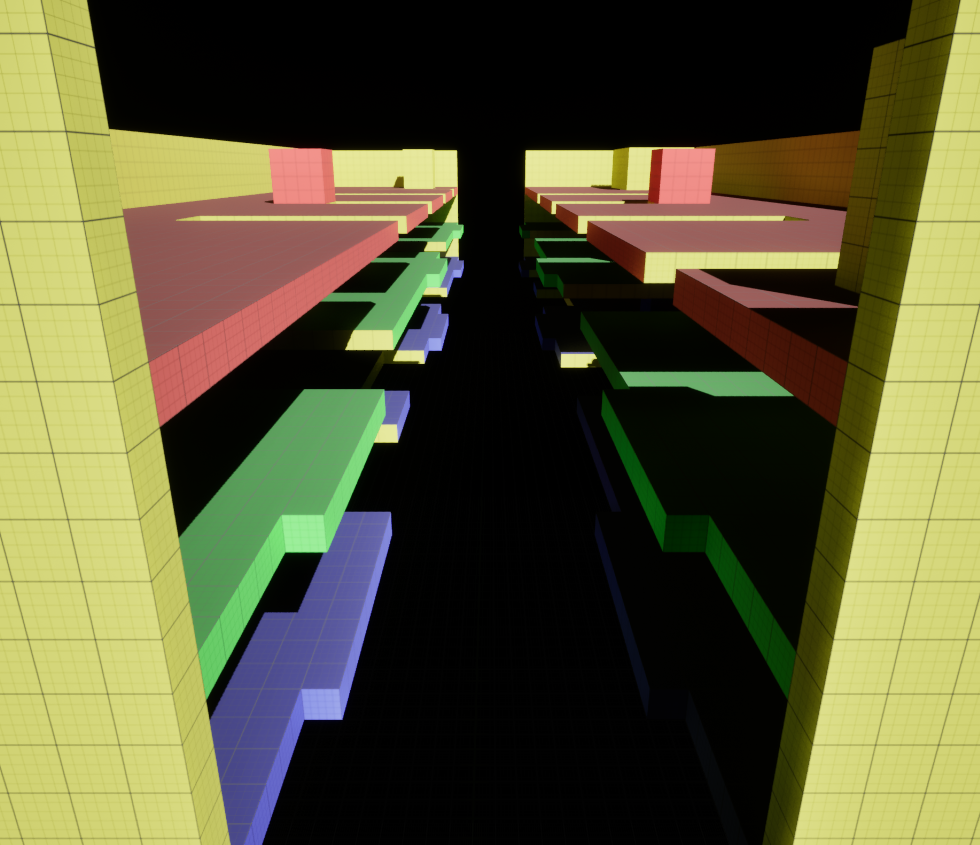
WIP Chasm Prototype
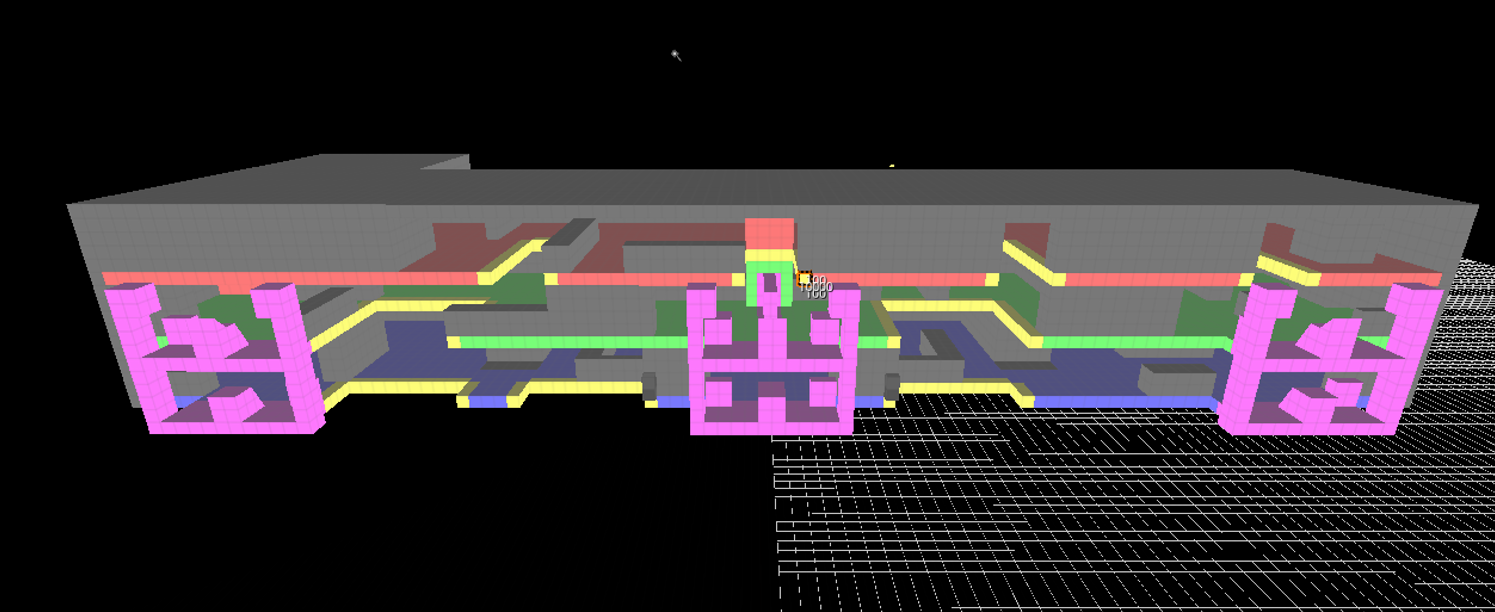
Chasm Prototype slice
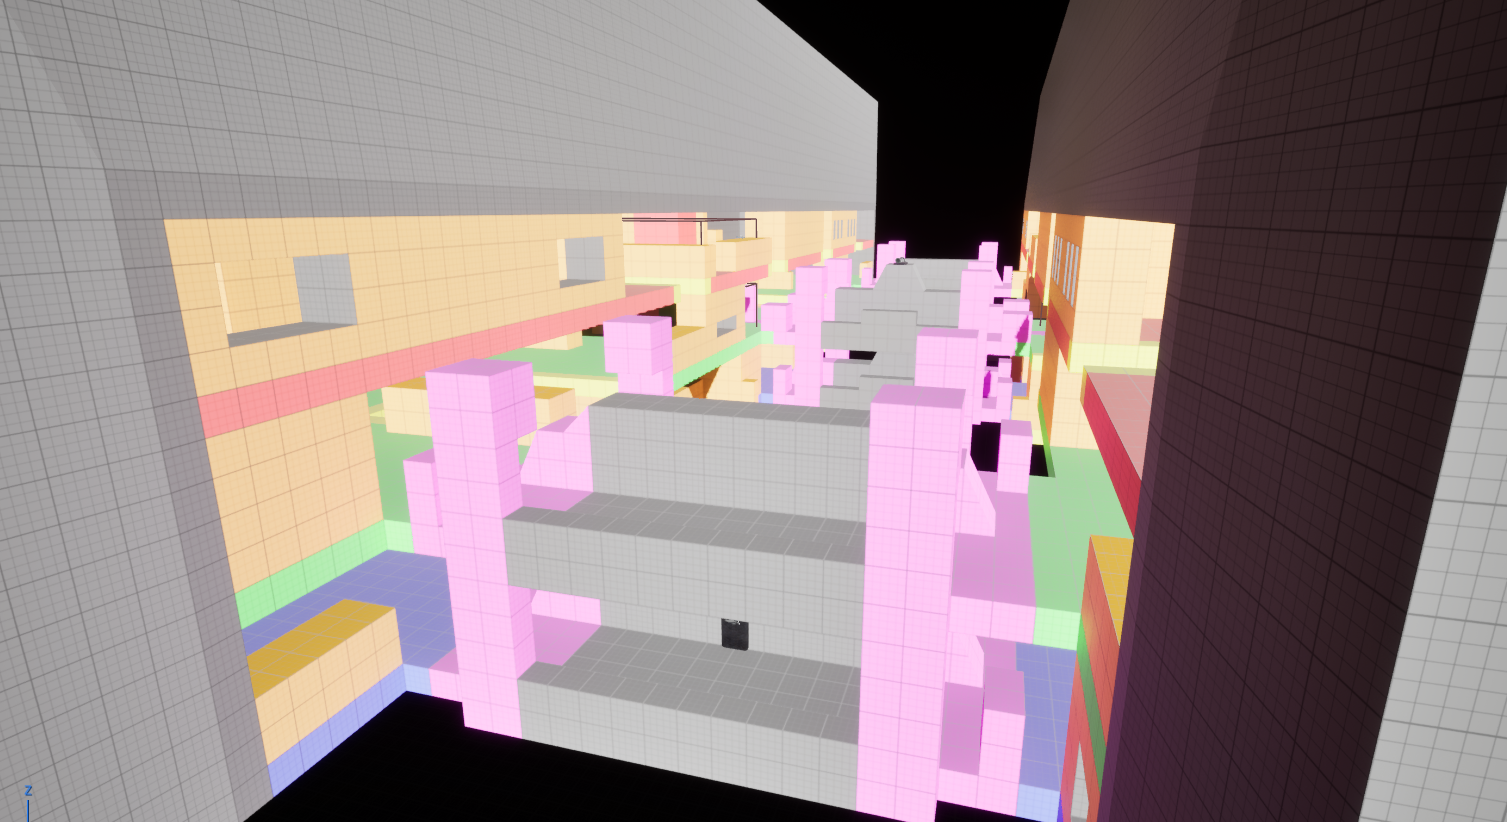
Chasm Prototype
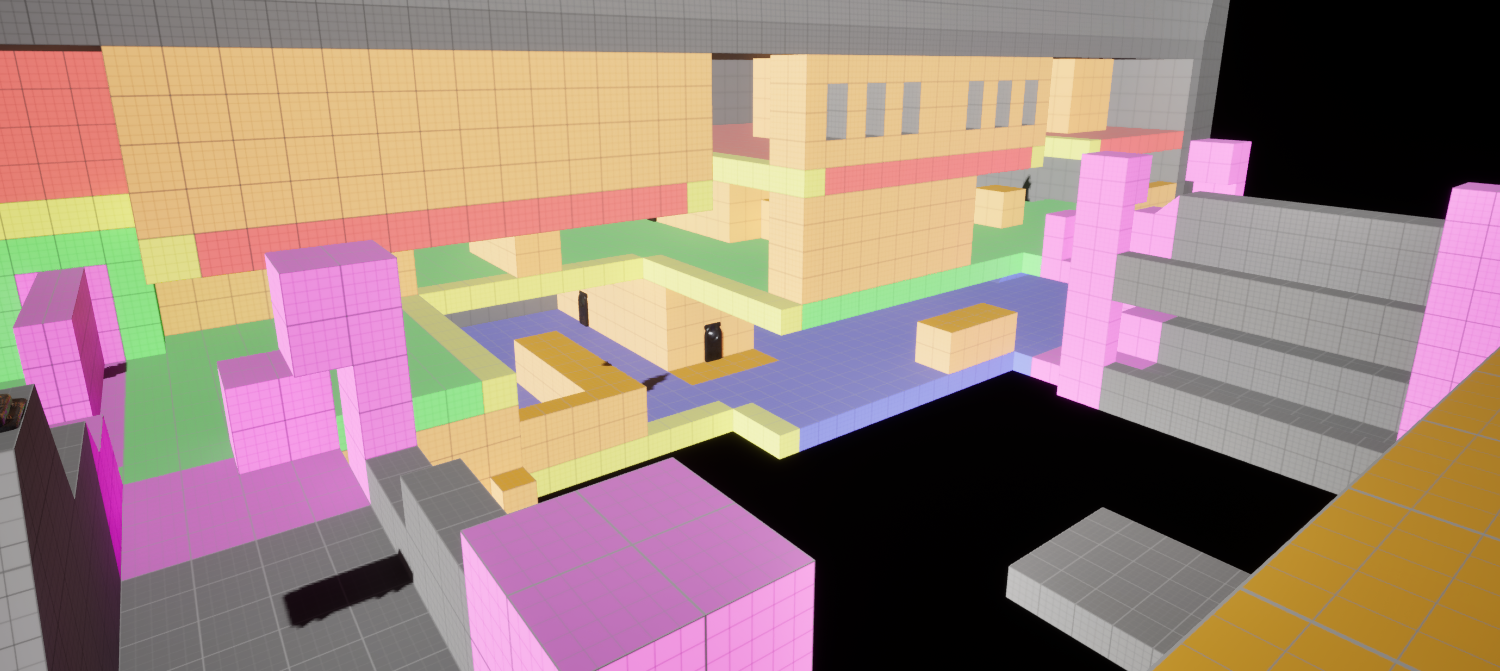
Chasm Prototype 2
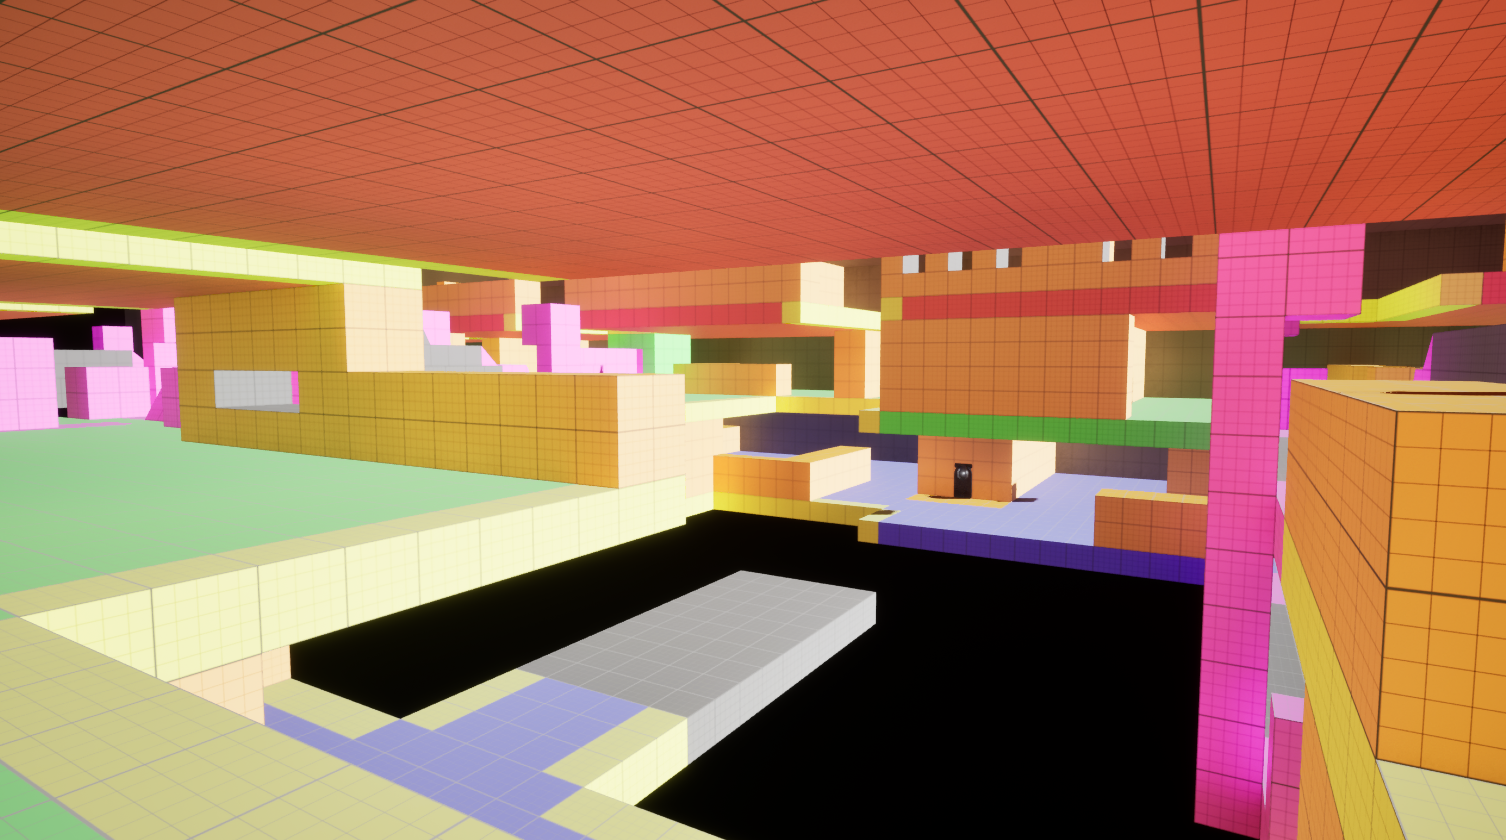
Chasm Prototype 3
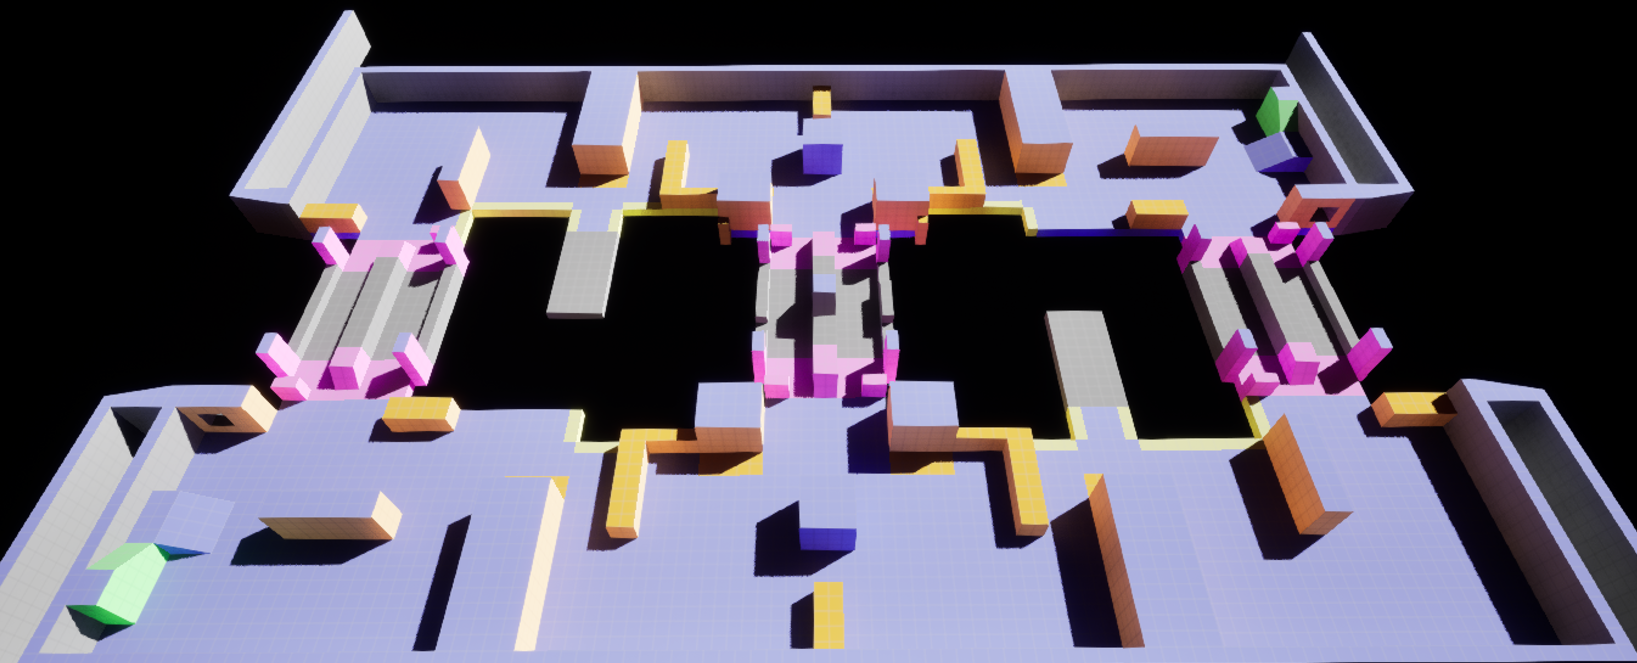
Chasm Prototype Floor 1
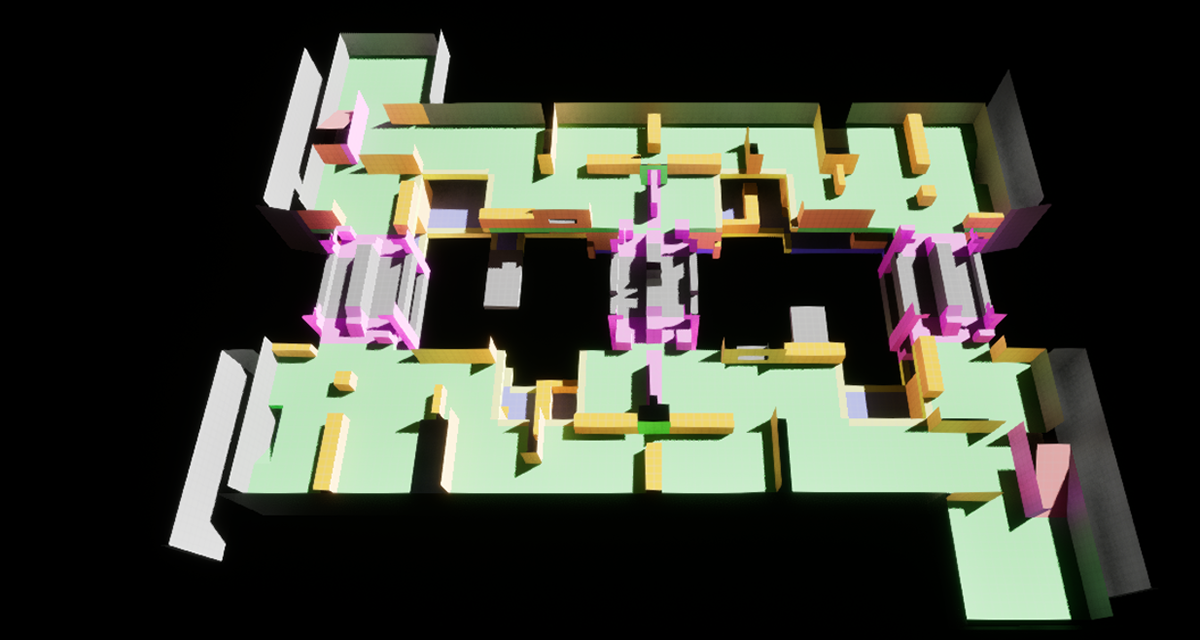
Chasm Prototype Floor 2
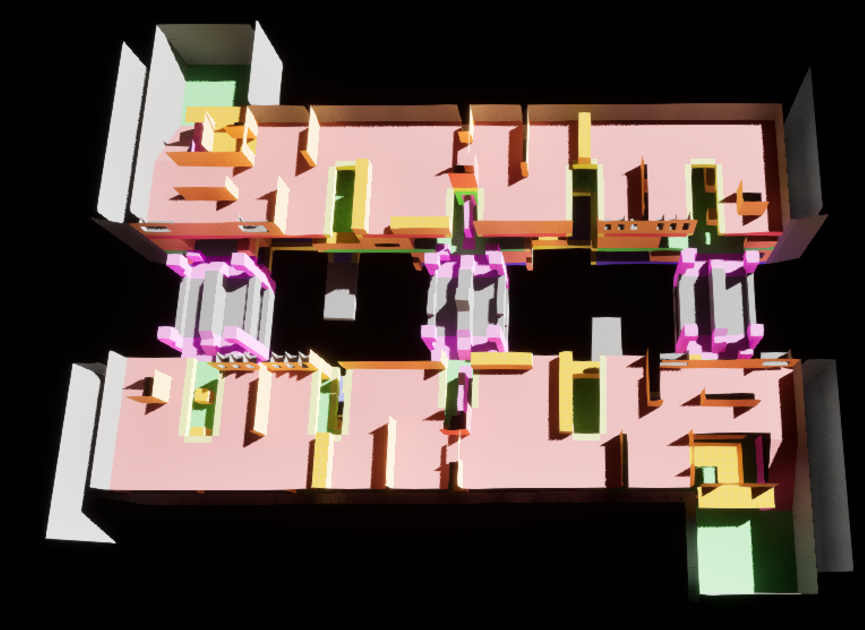
Chasm Prototype Floor 3
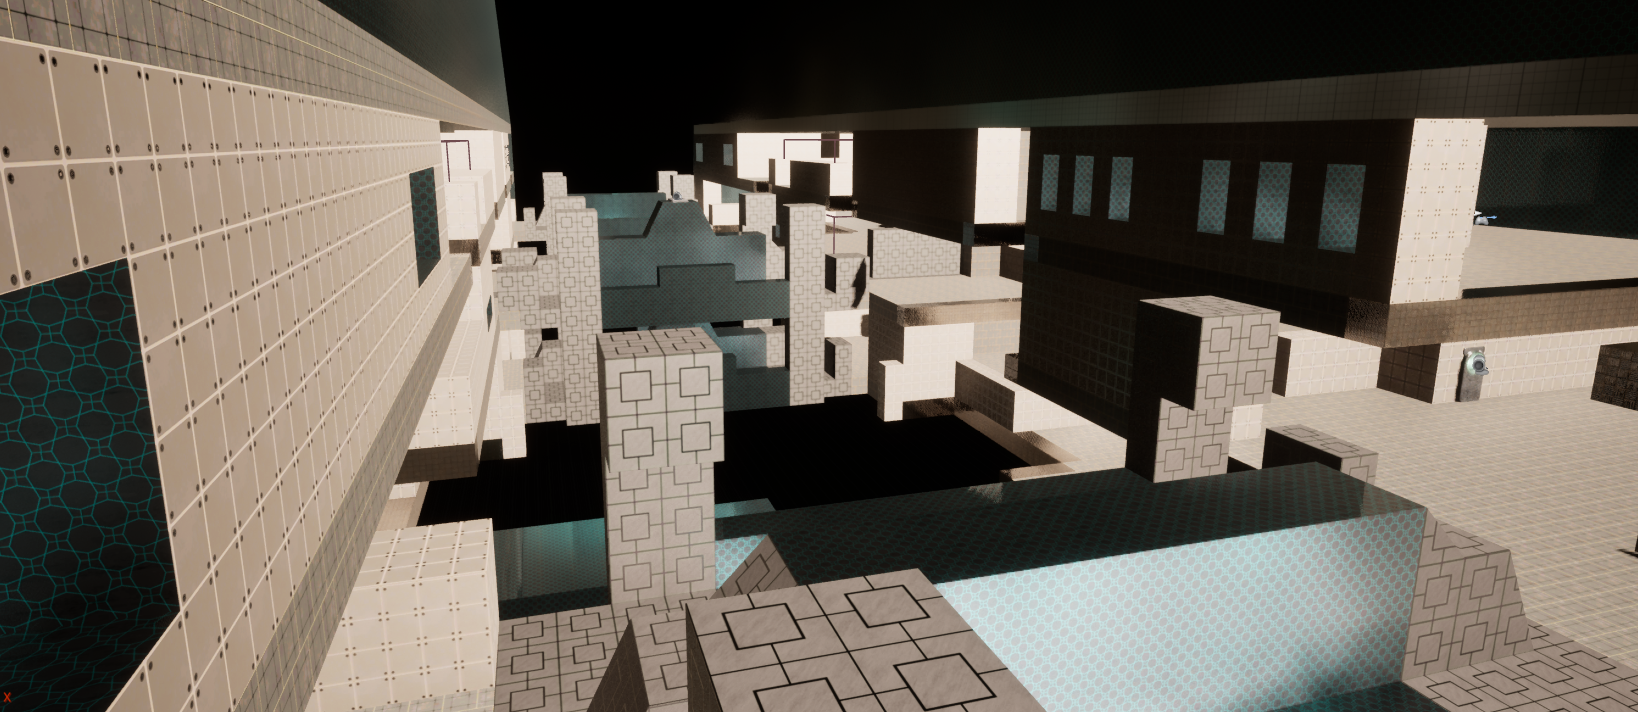
Chasm Texture Pass
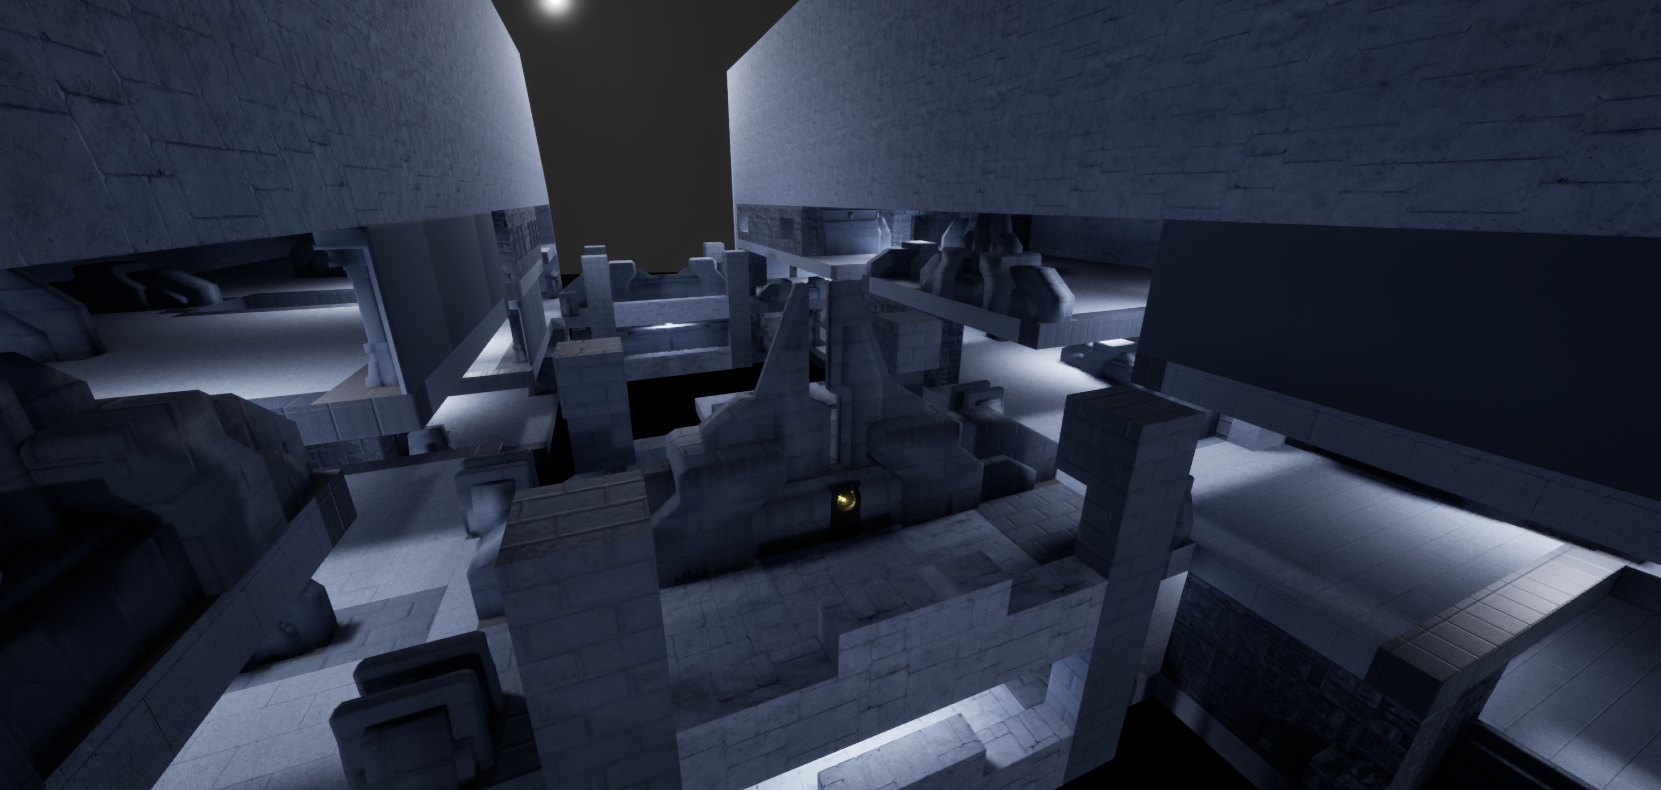
Chasm Initial Prop Pass
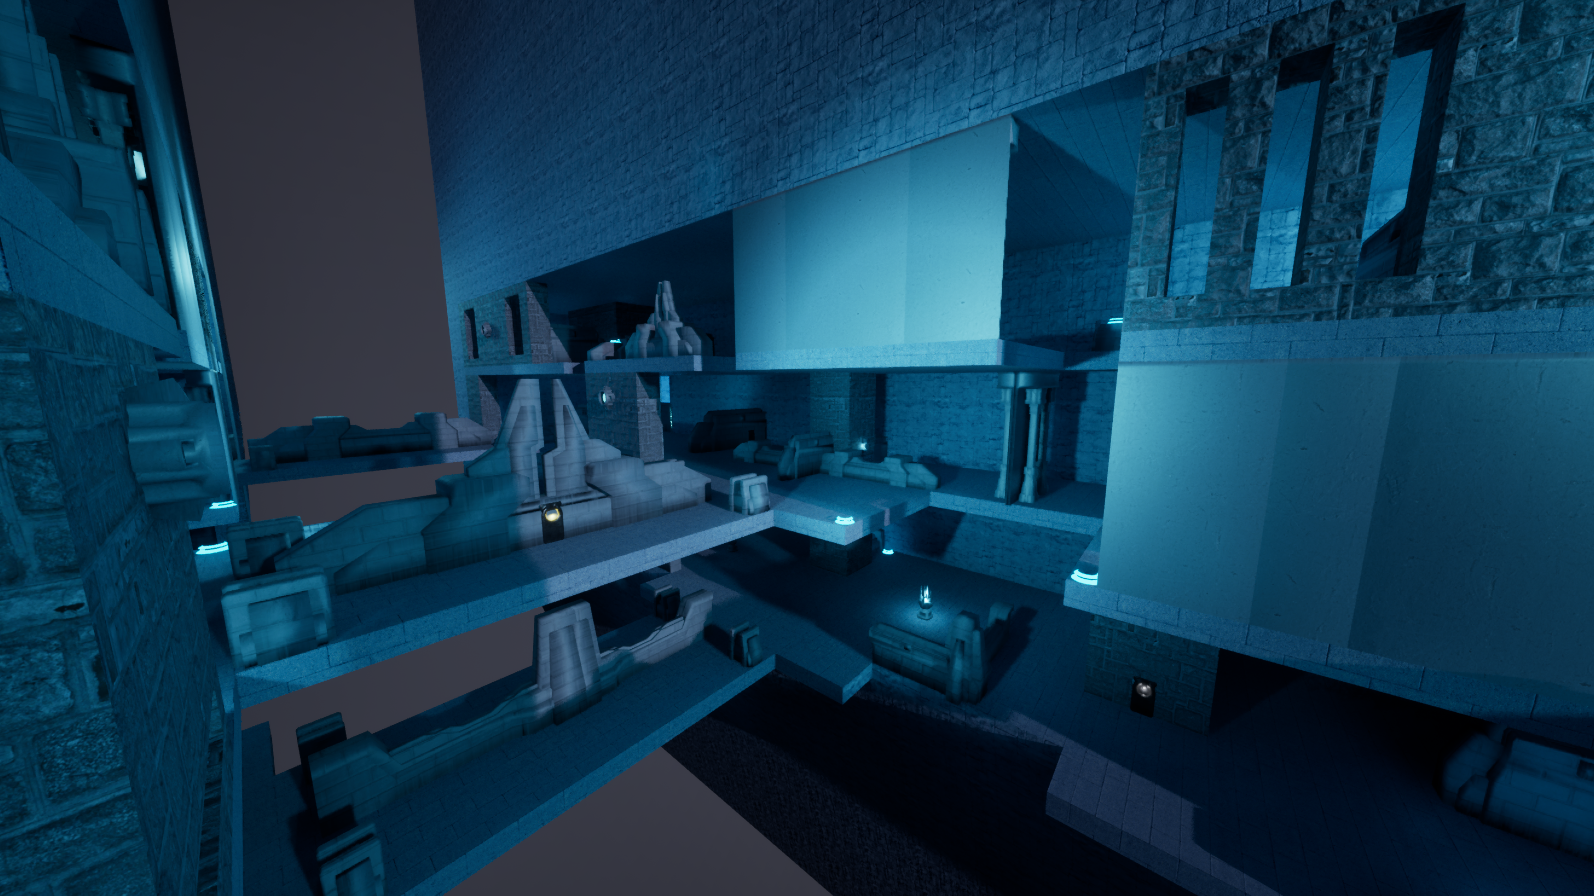
Chasm First Lighting Pass
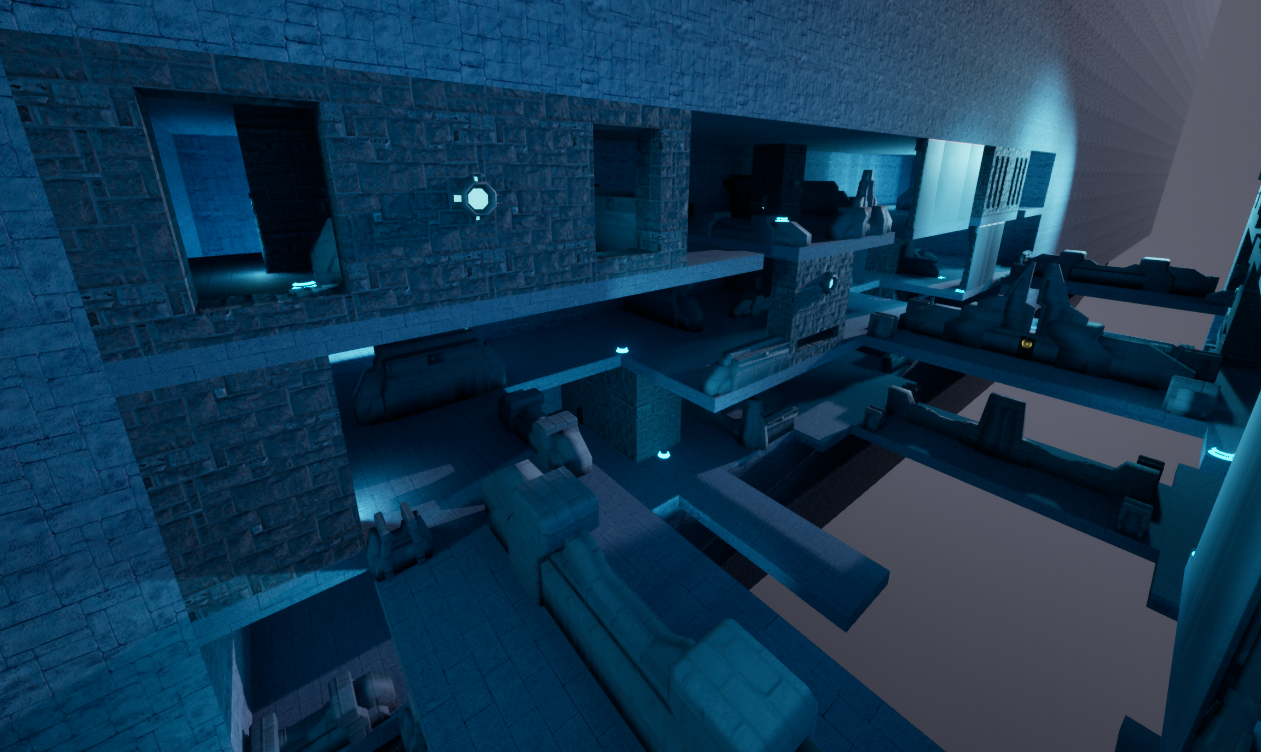
Chasm First Prop Pass
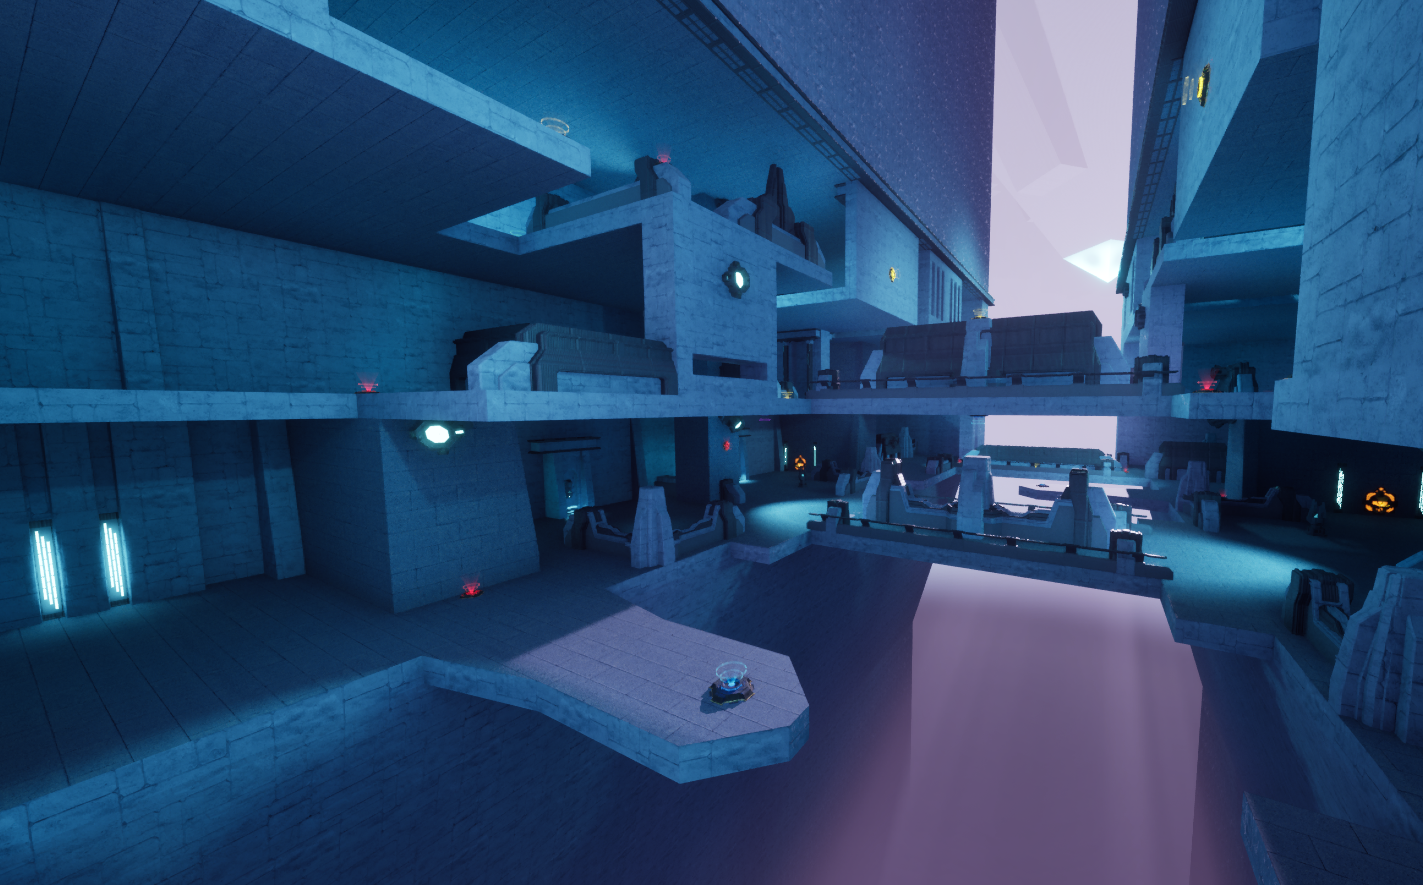
Chasm Lighting and Prop Pass 2
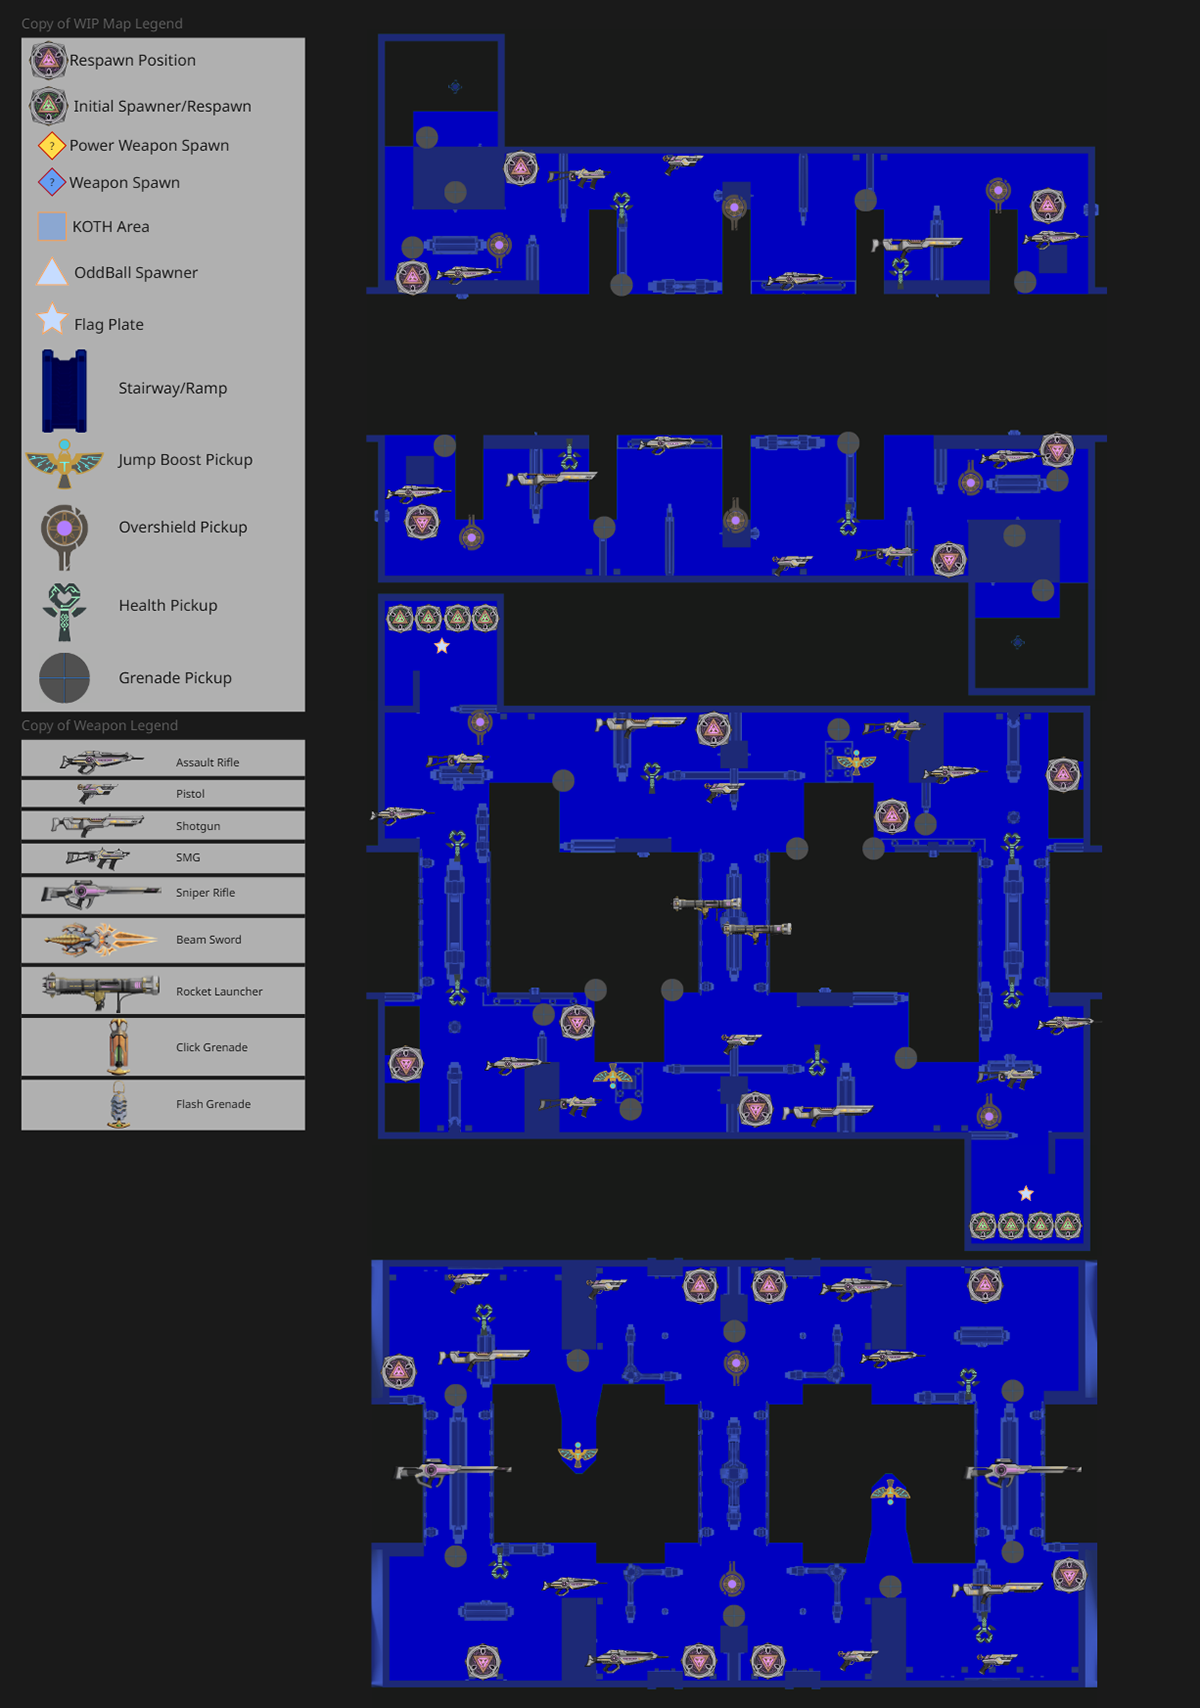
Chasm Detailed Layout
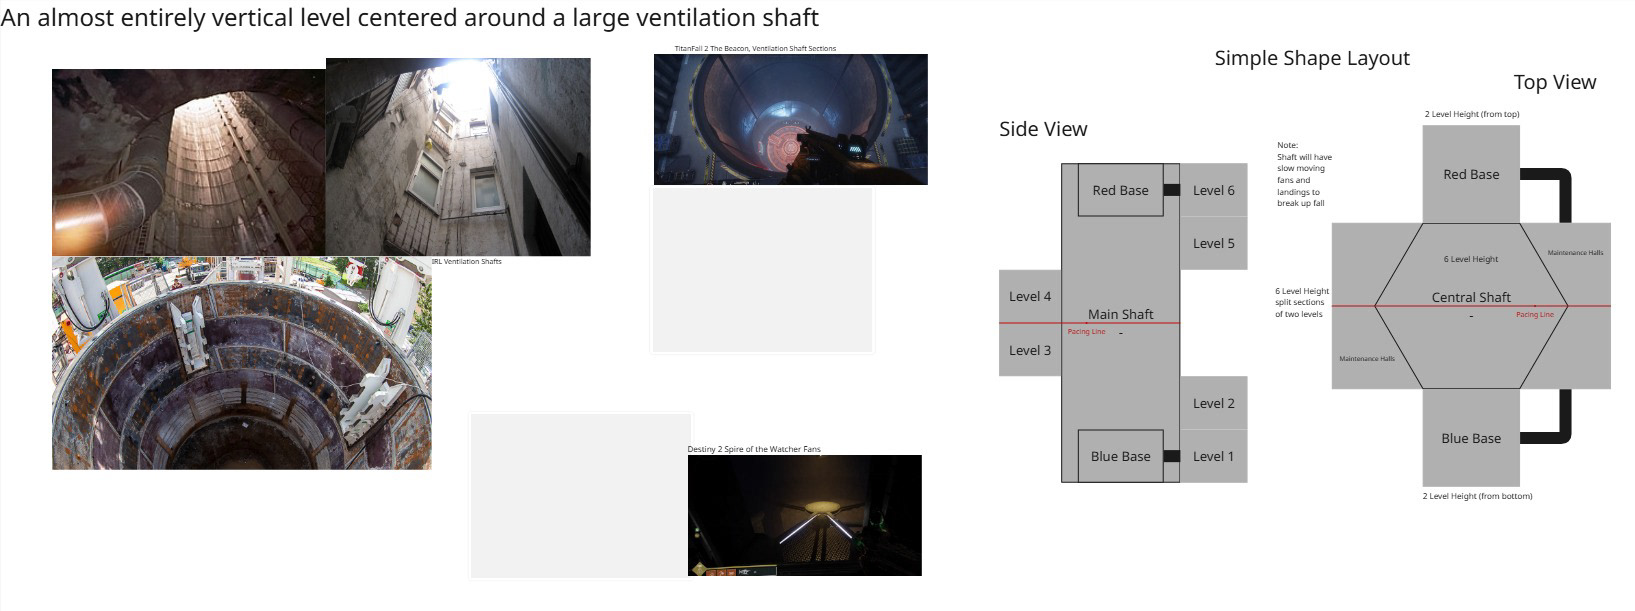
Megalophobia Initial Concept
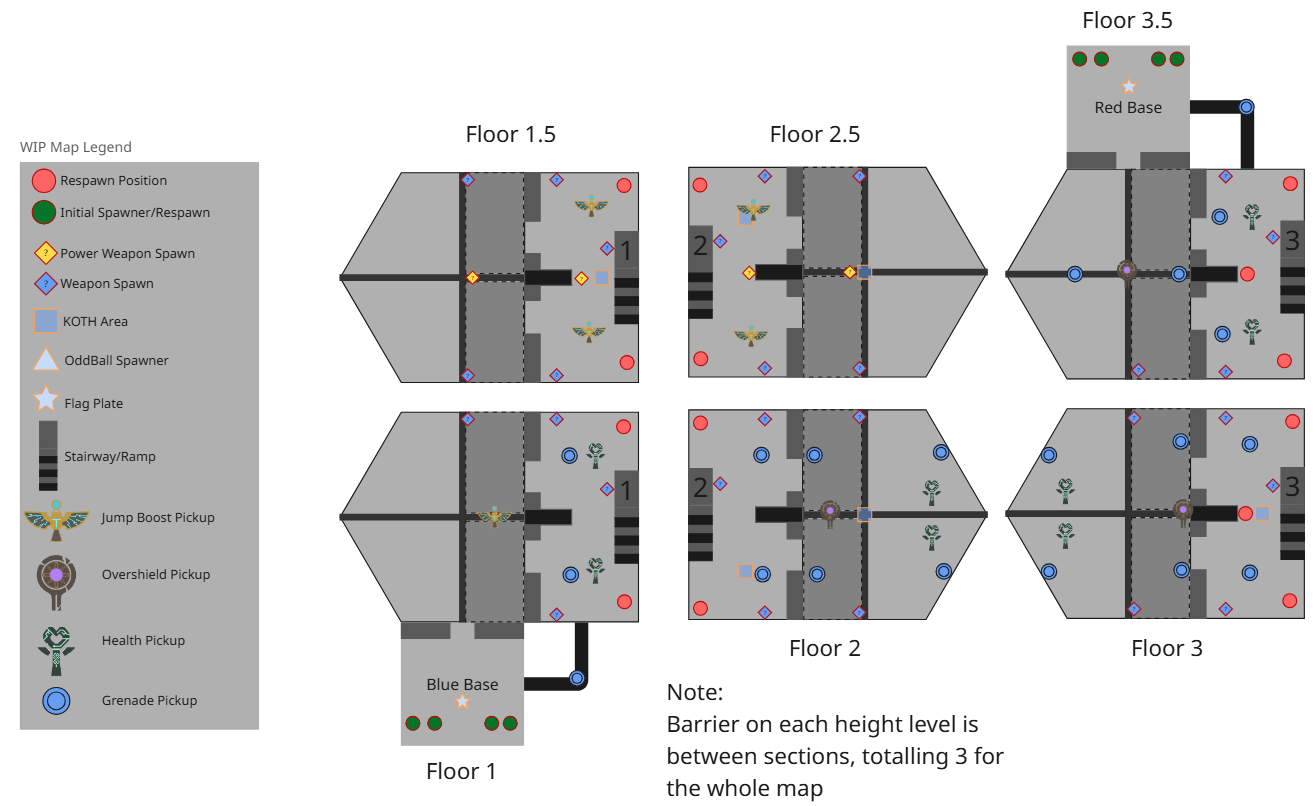
Megalophobia First Layout
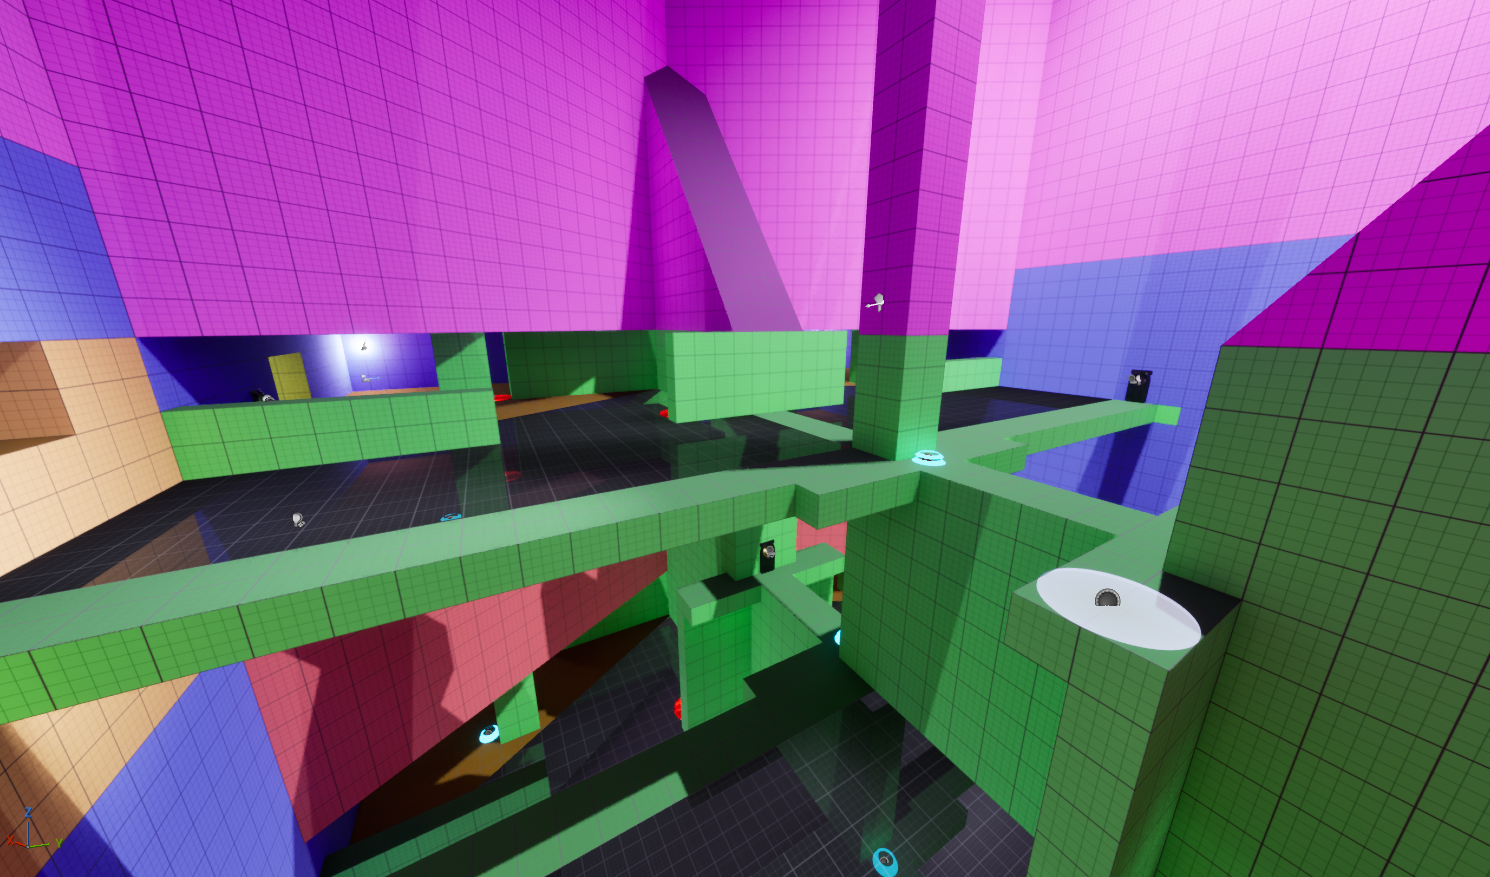
Megalophobia Prototype
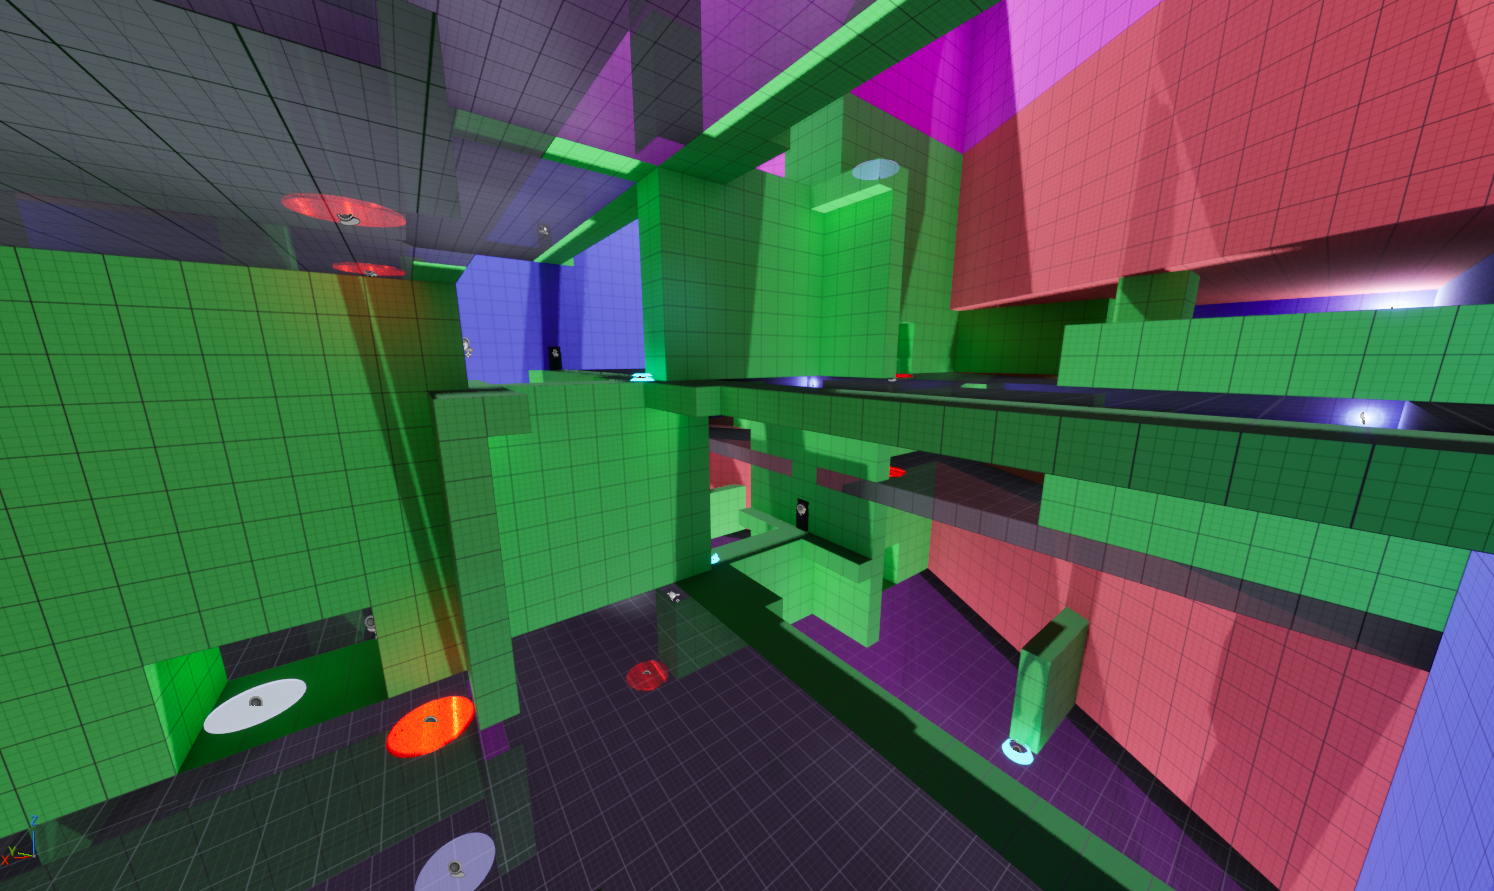
Megalophobia Prototype 2
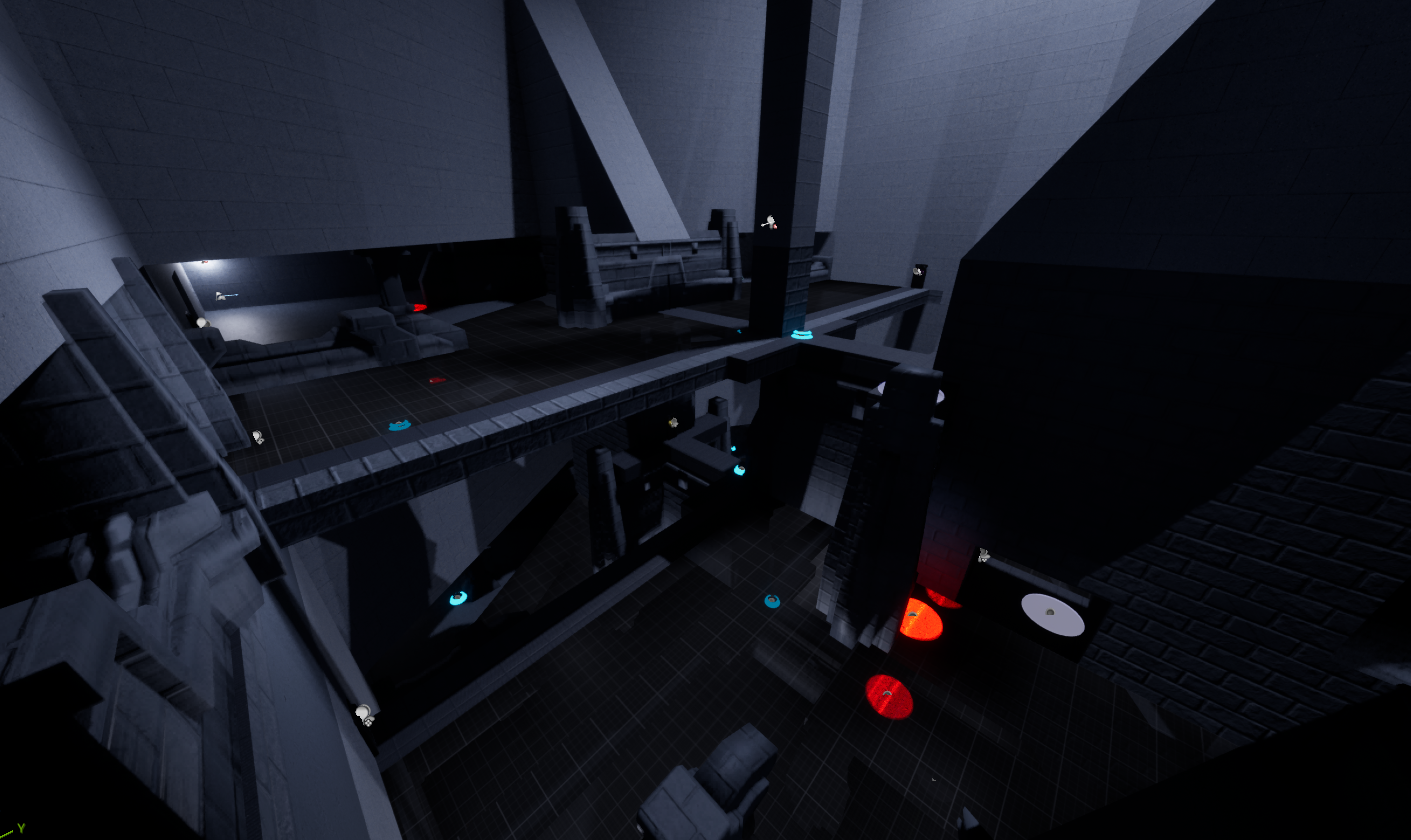
Megalophobia Prop Pass
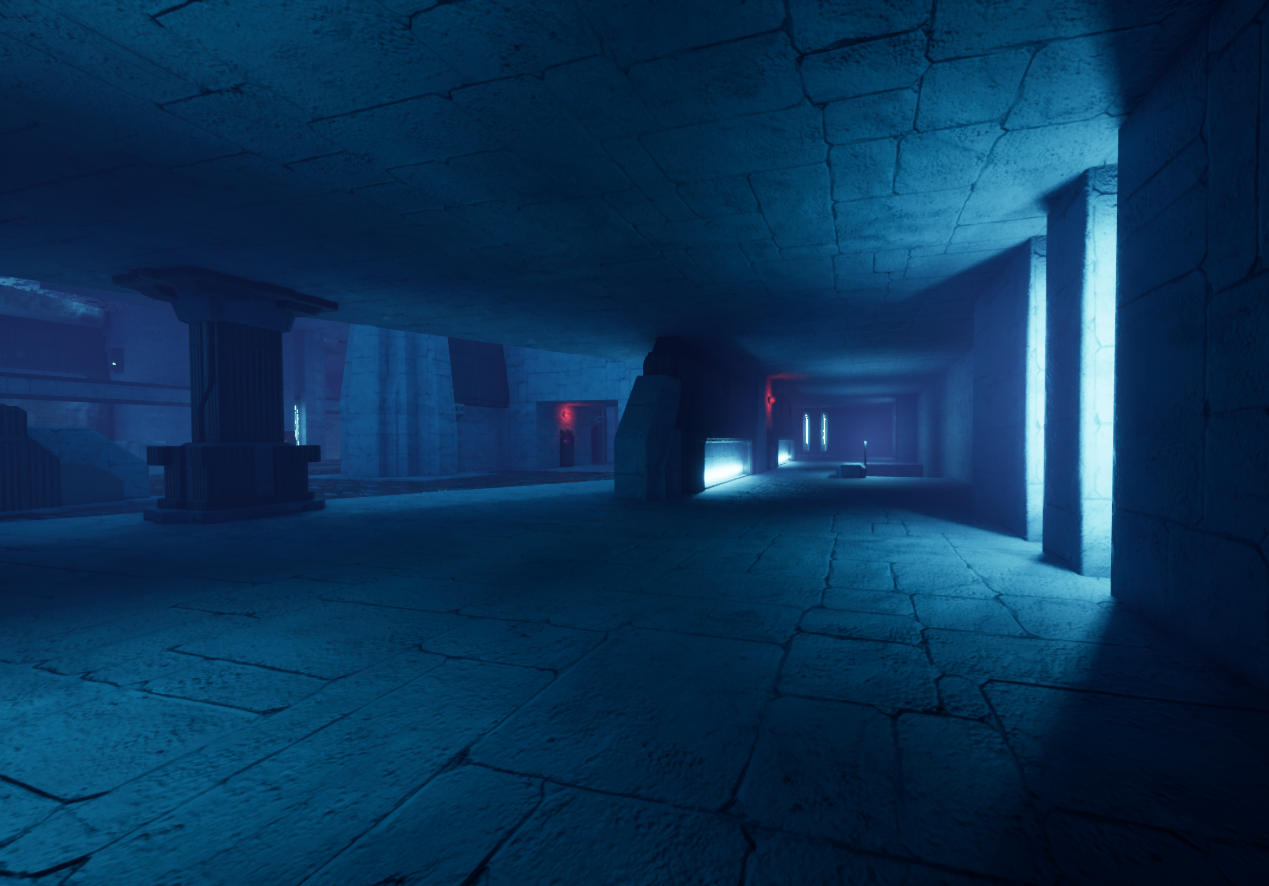
Megalophobia Lighting Pass
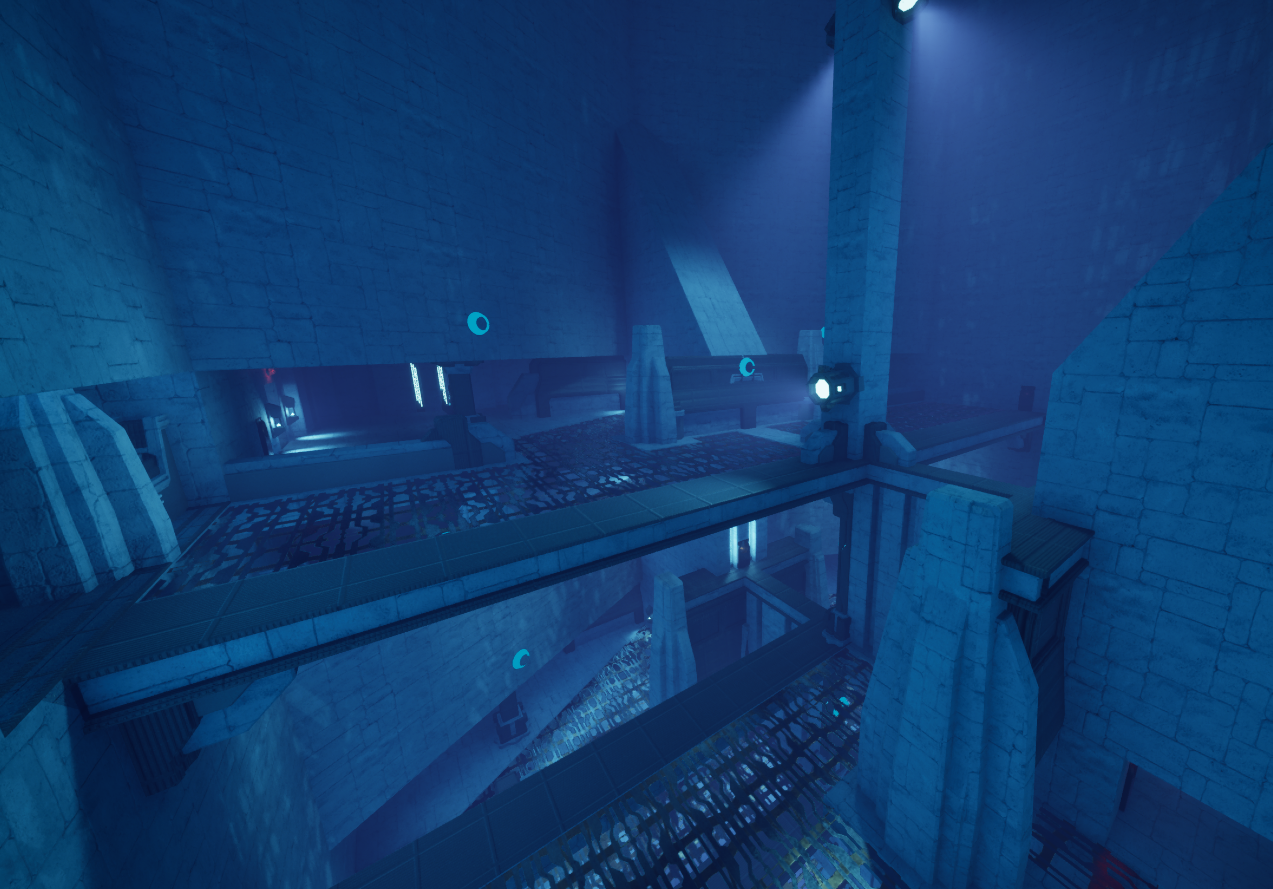
Megalophobia Lighting Pass 2
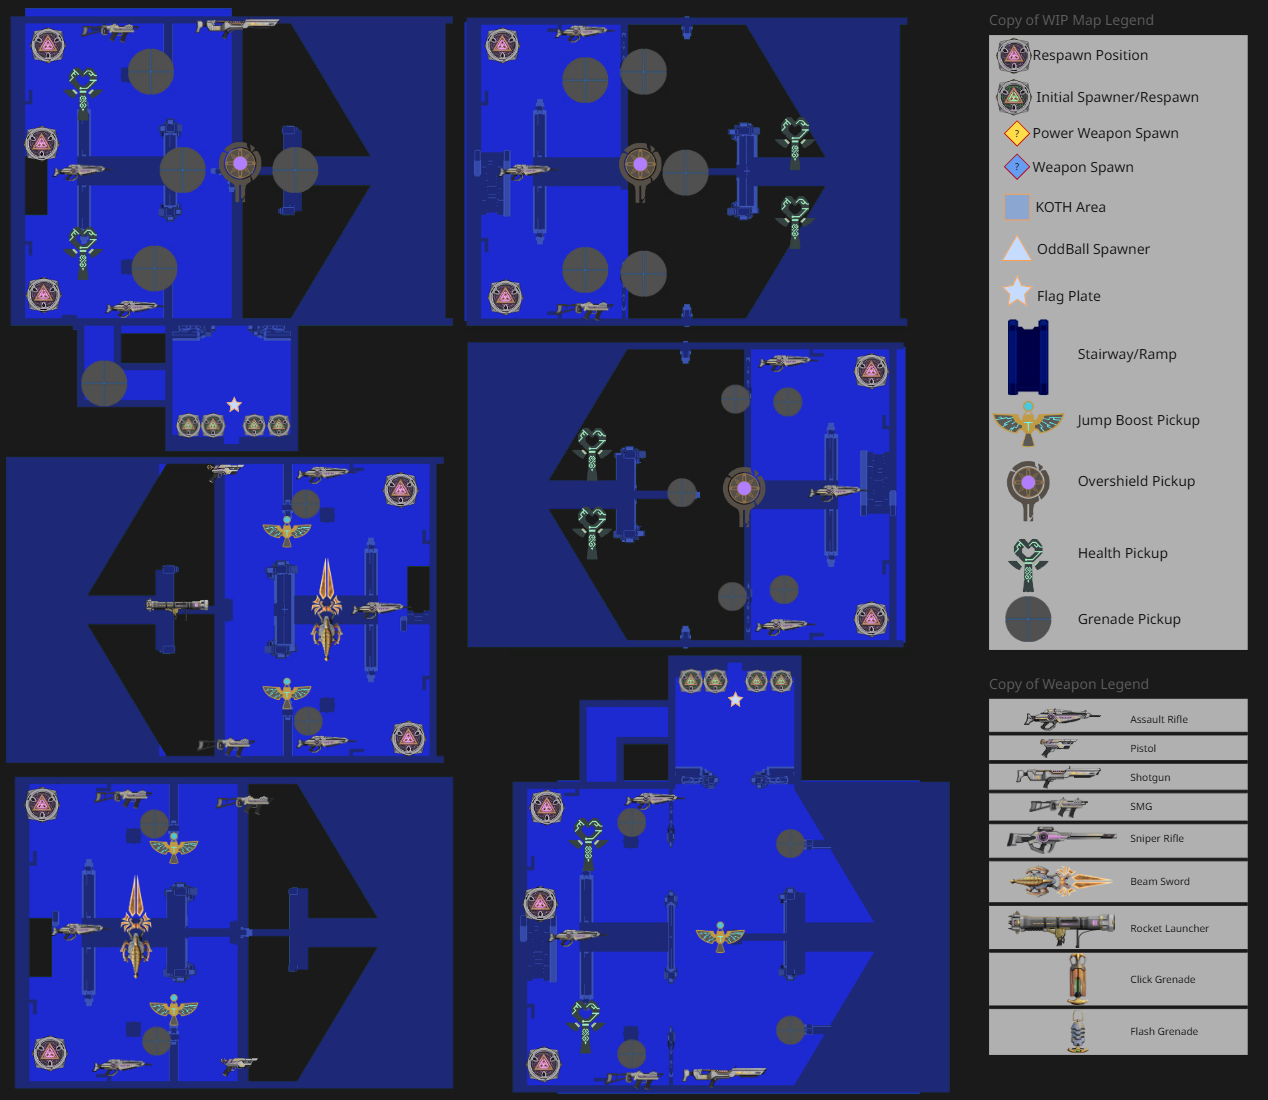
Megalophobia Detailed Layout
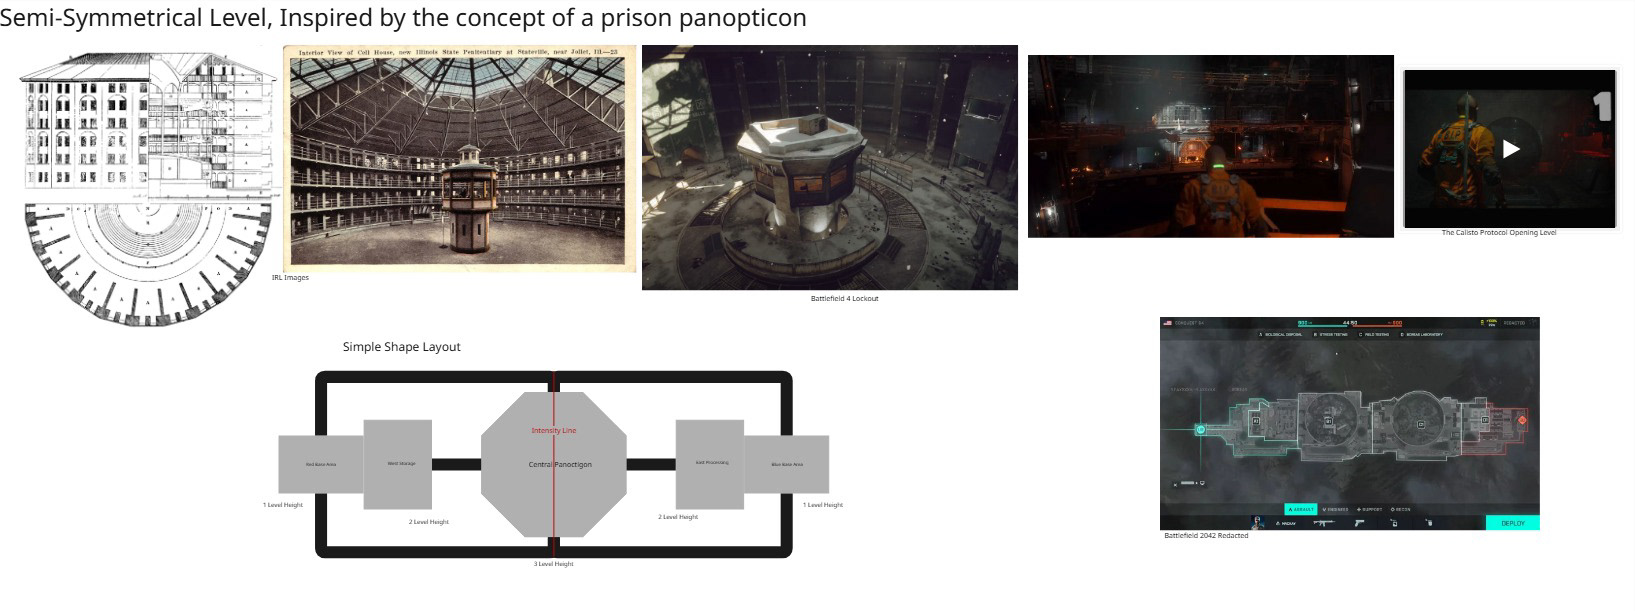
Panoctigon Initial Concept
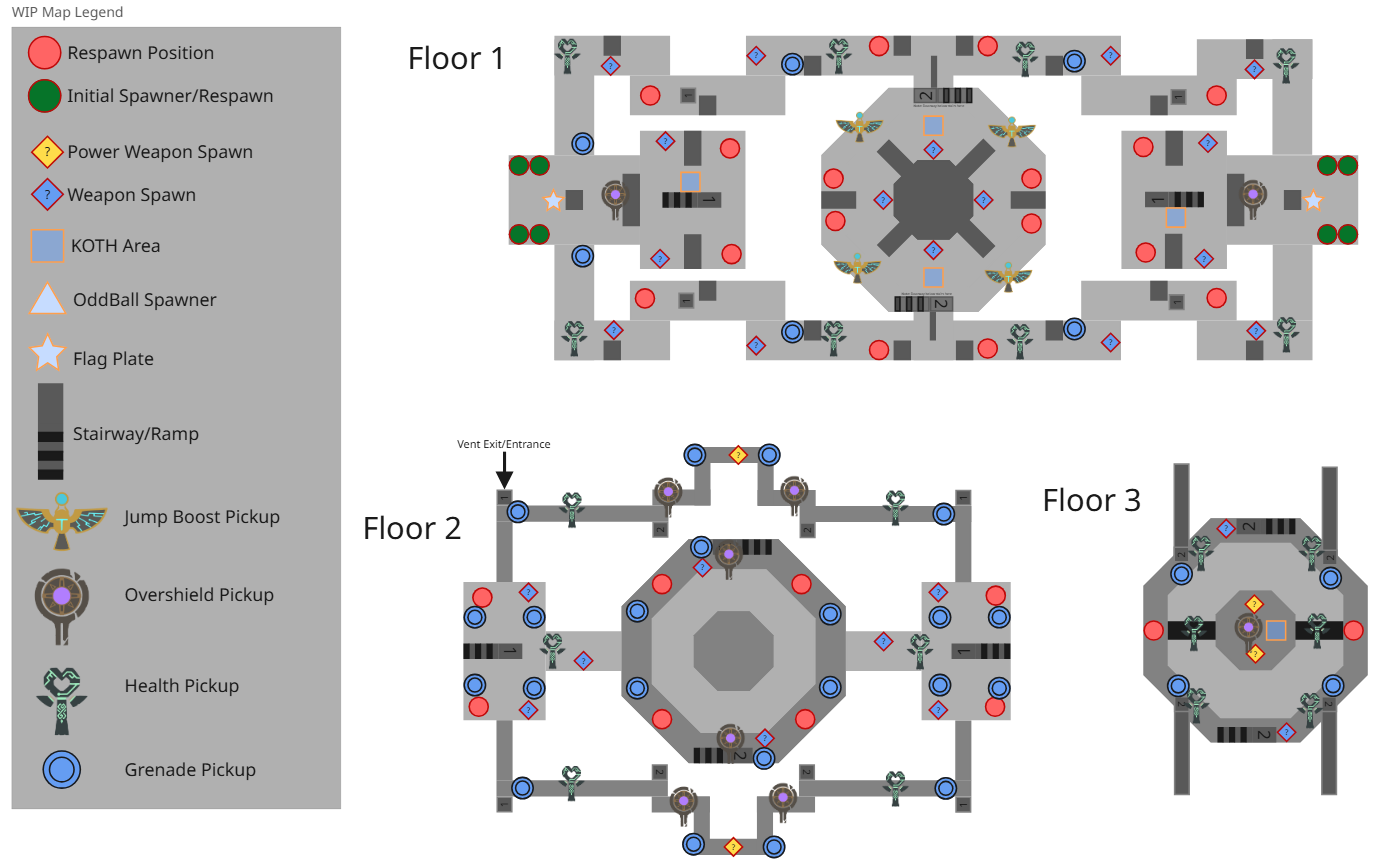
Panoctigon First 2D Layout
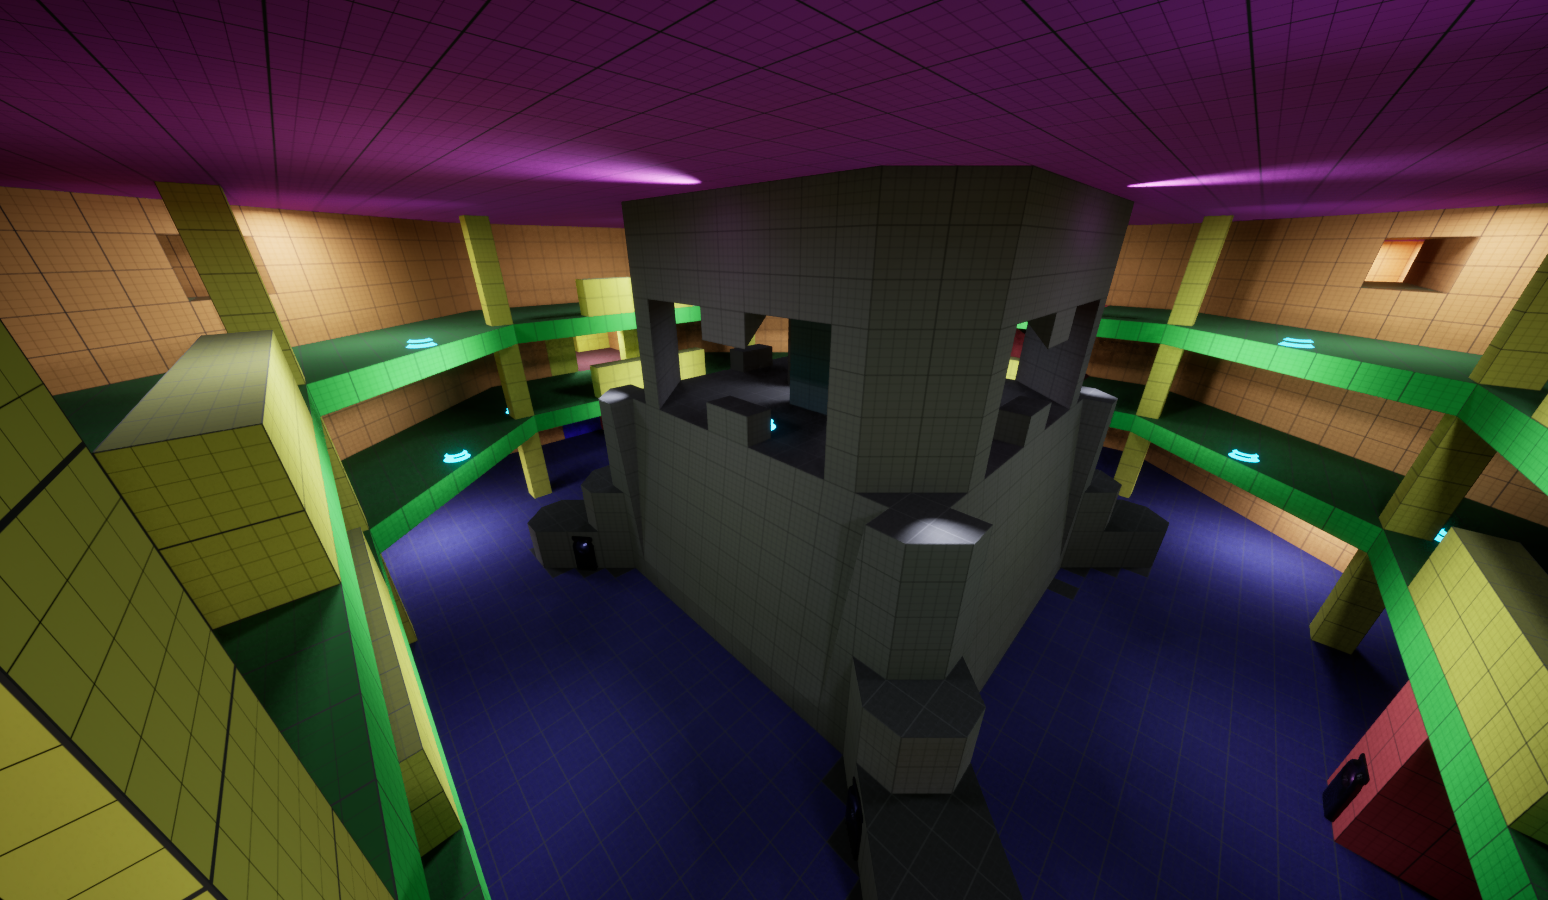
Panoctigon Prototype
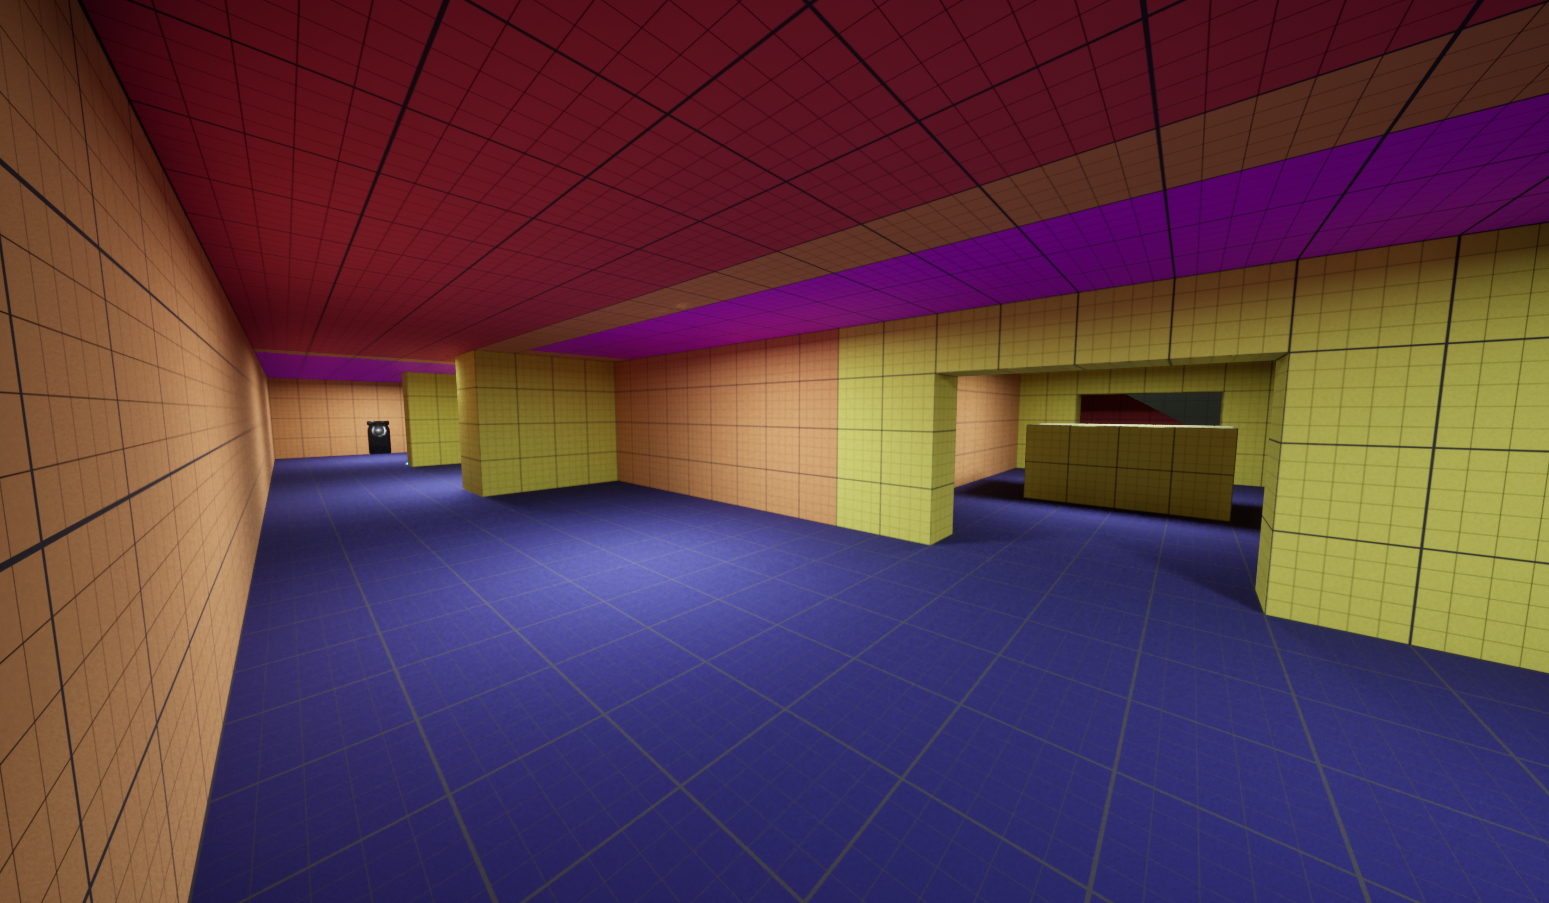
Panoctigon Prototype 2
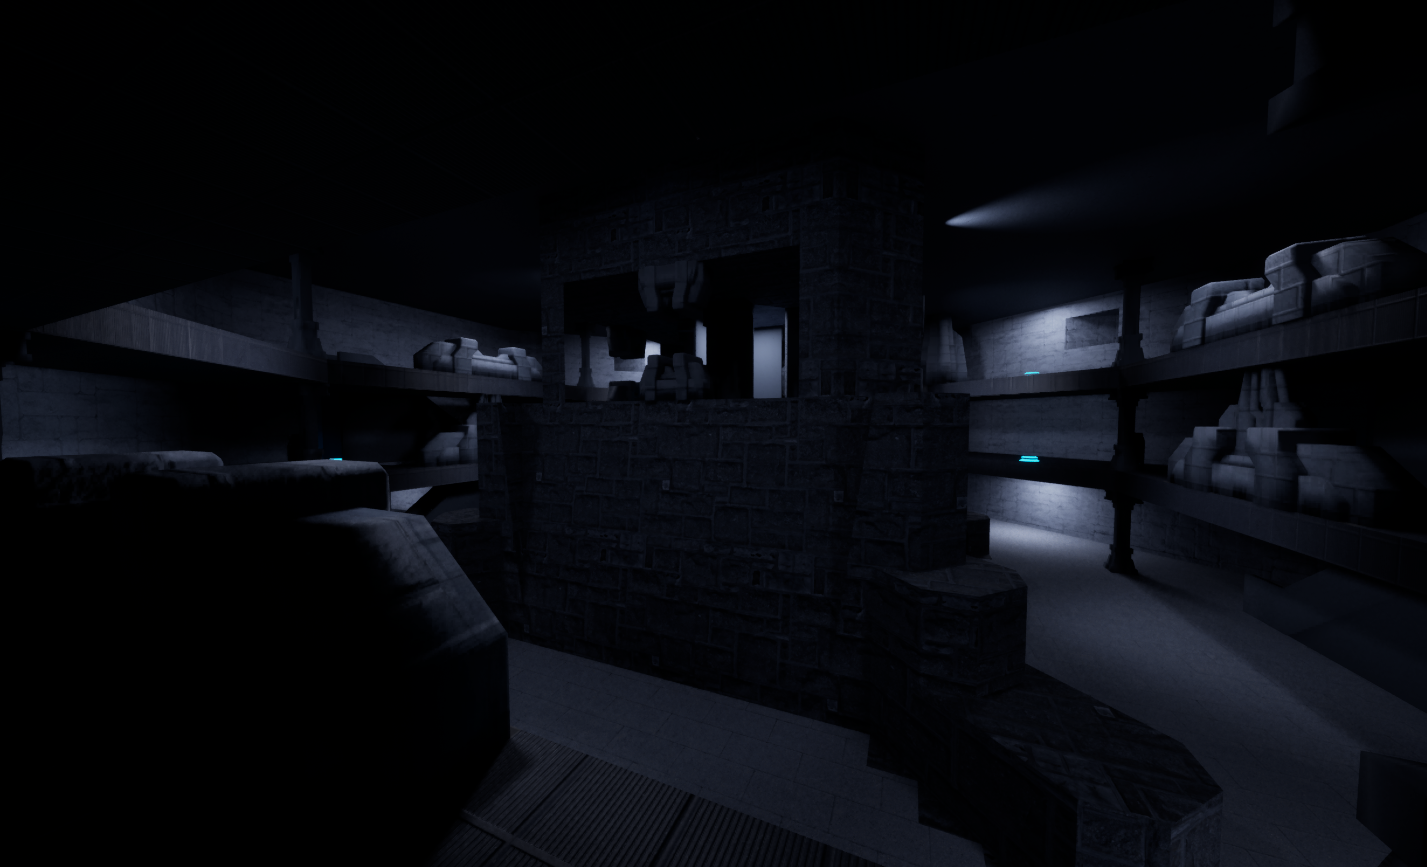
Panoctigon First Prop Pass
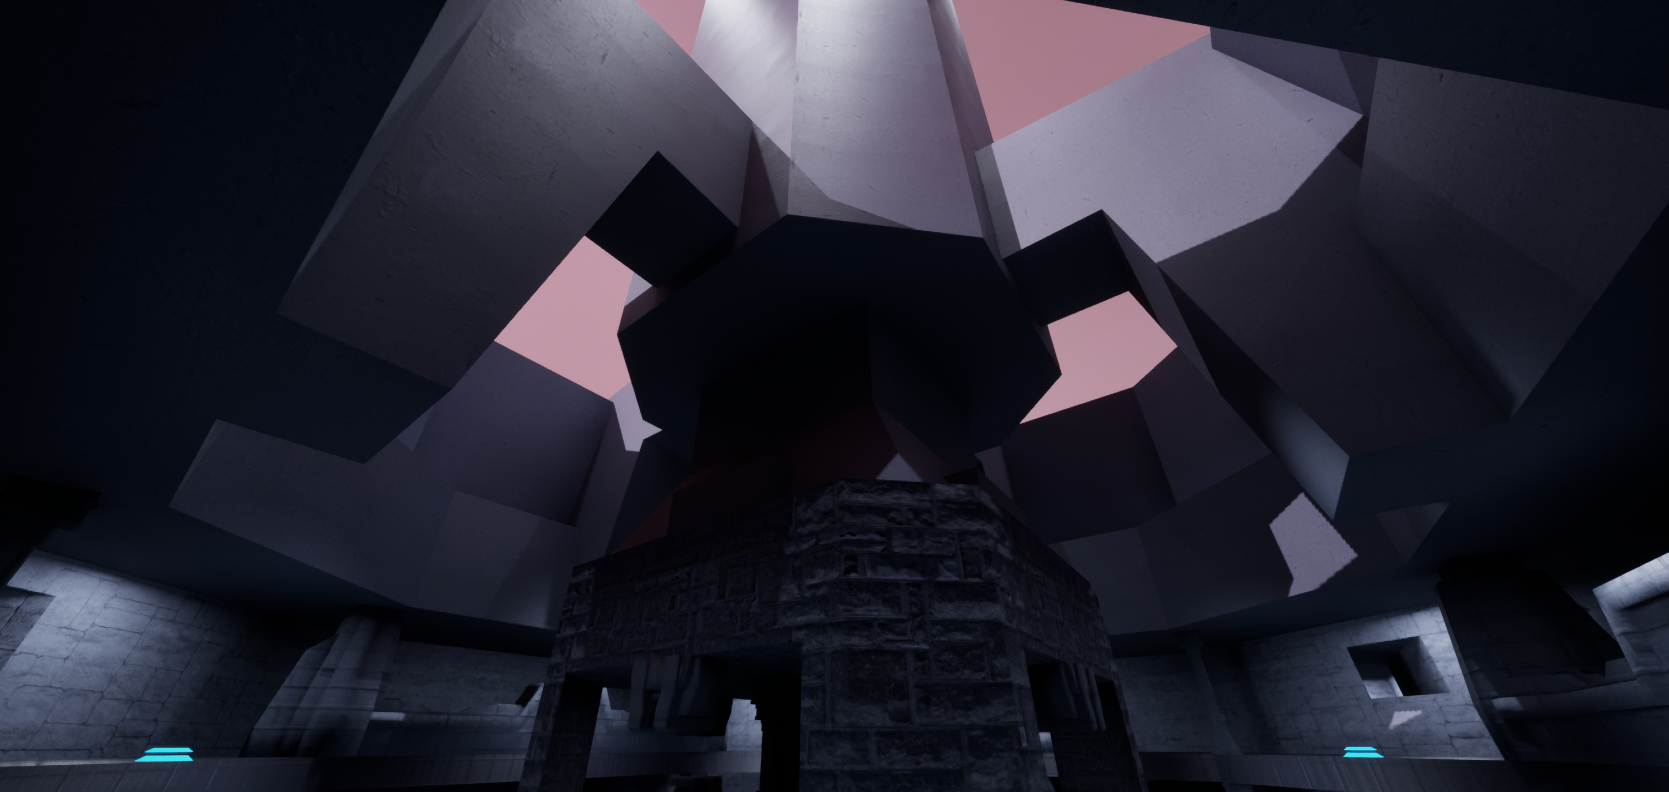
Panoctigon Concept Lighting Matching
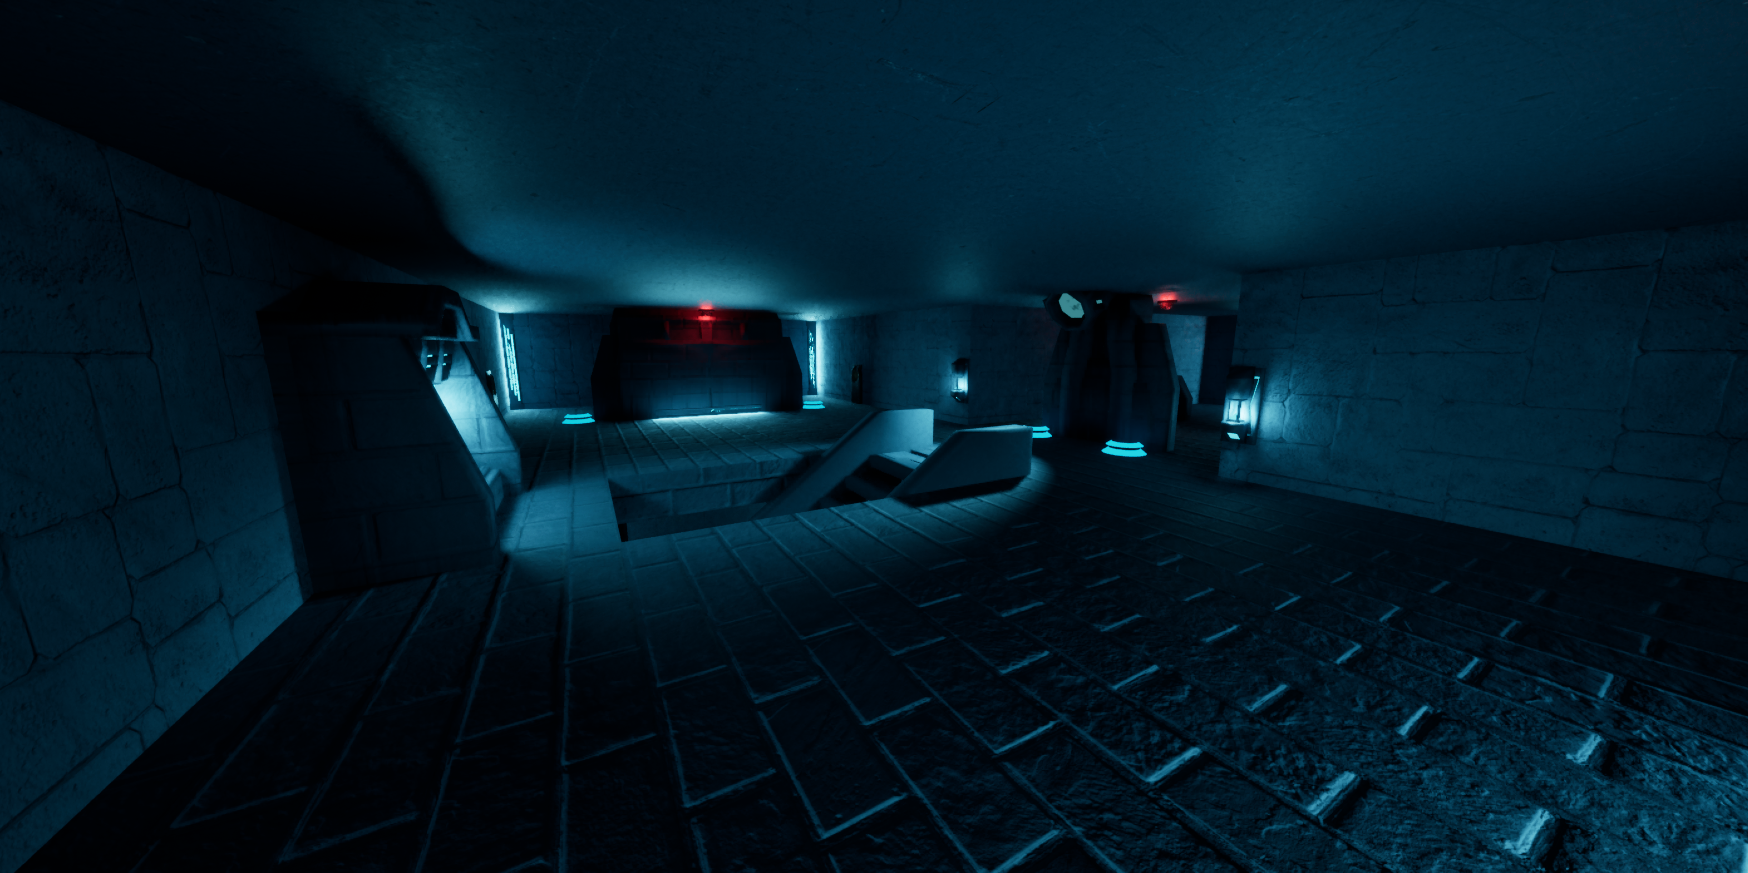
Panoctigon Initial Prop and Lighting Pass
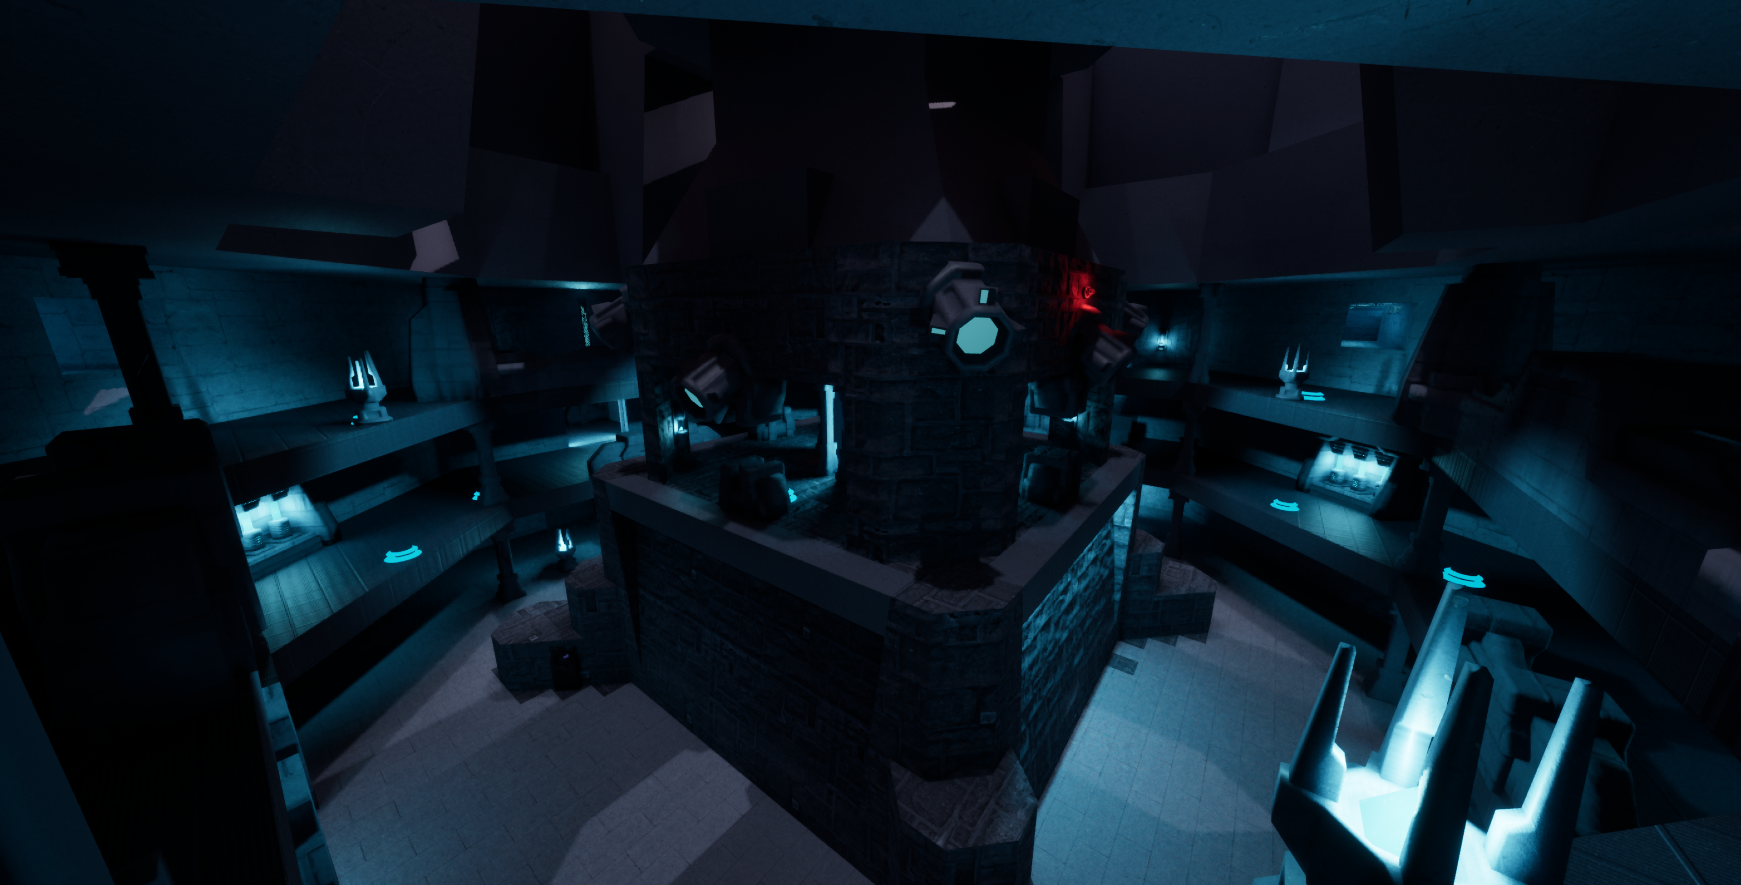
Panoctigon Initial Prop and Lighting Pass 2
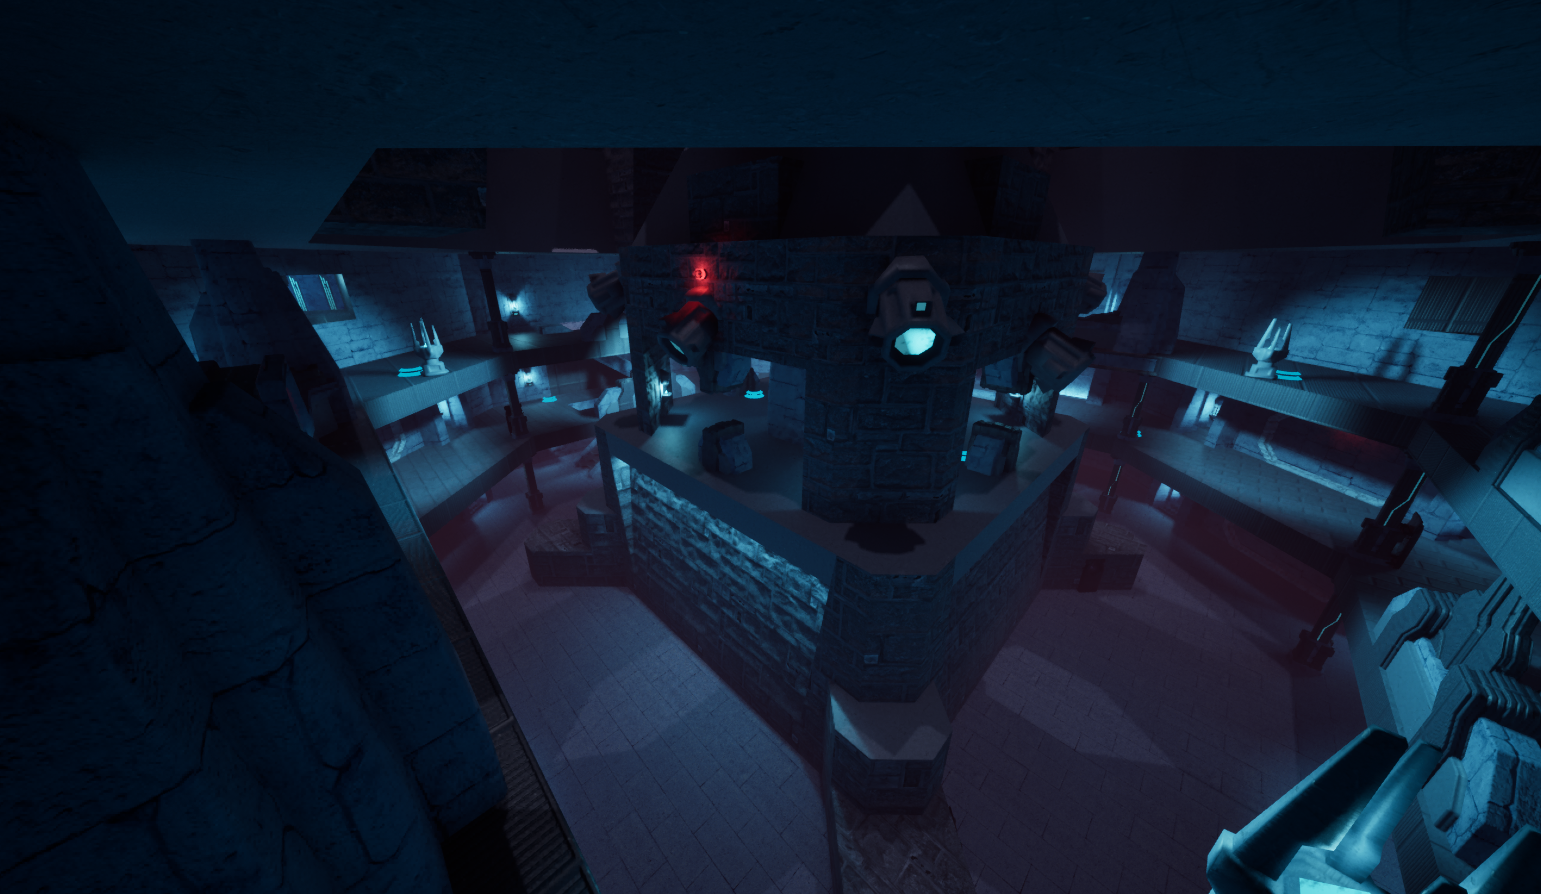
Panoctigon Initial Prop and Lighting Pass 3
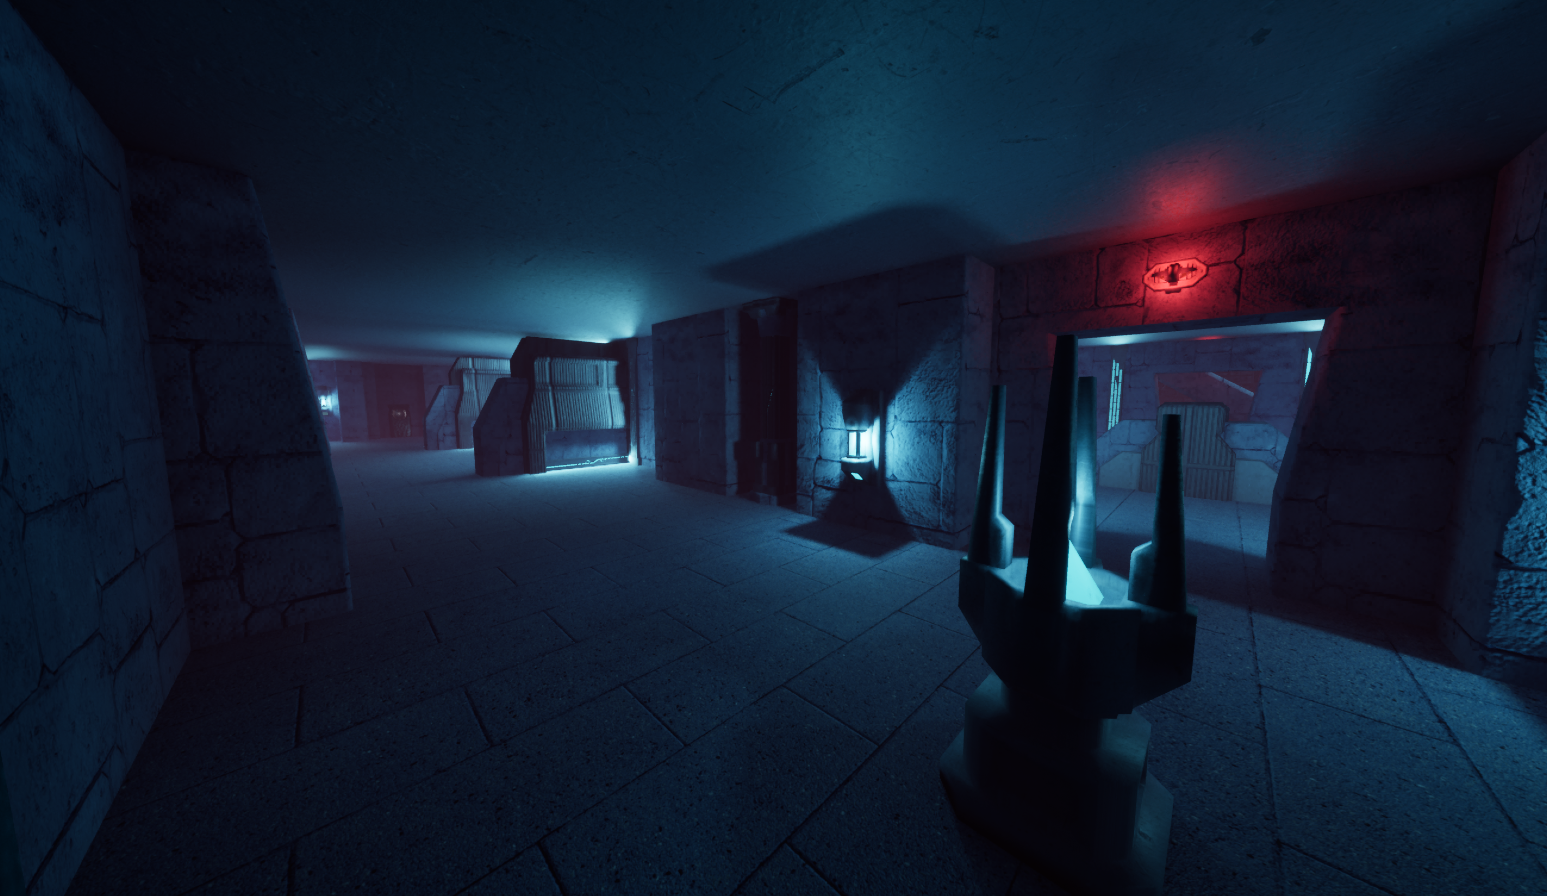
Panoctigon Initial Prop and Lighting Pass 4
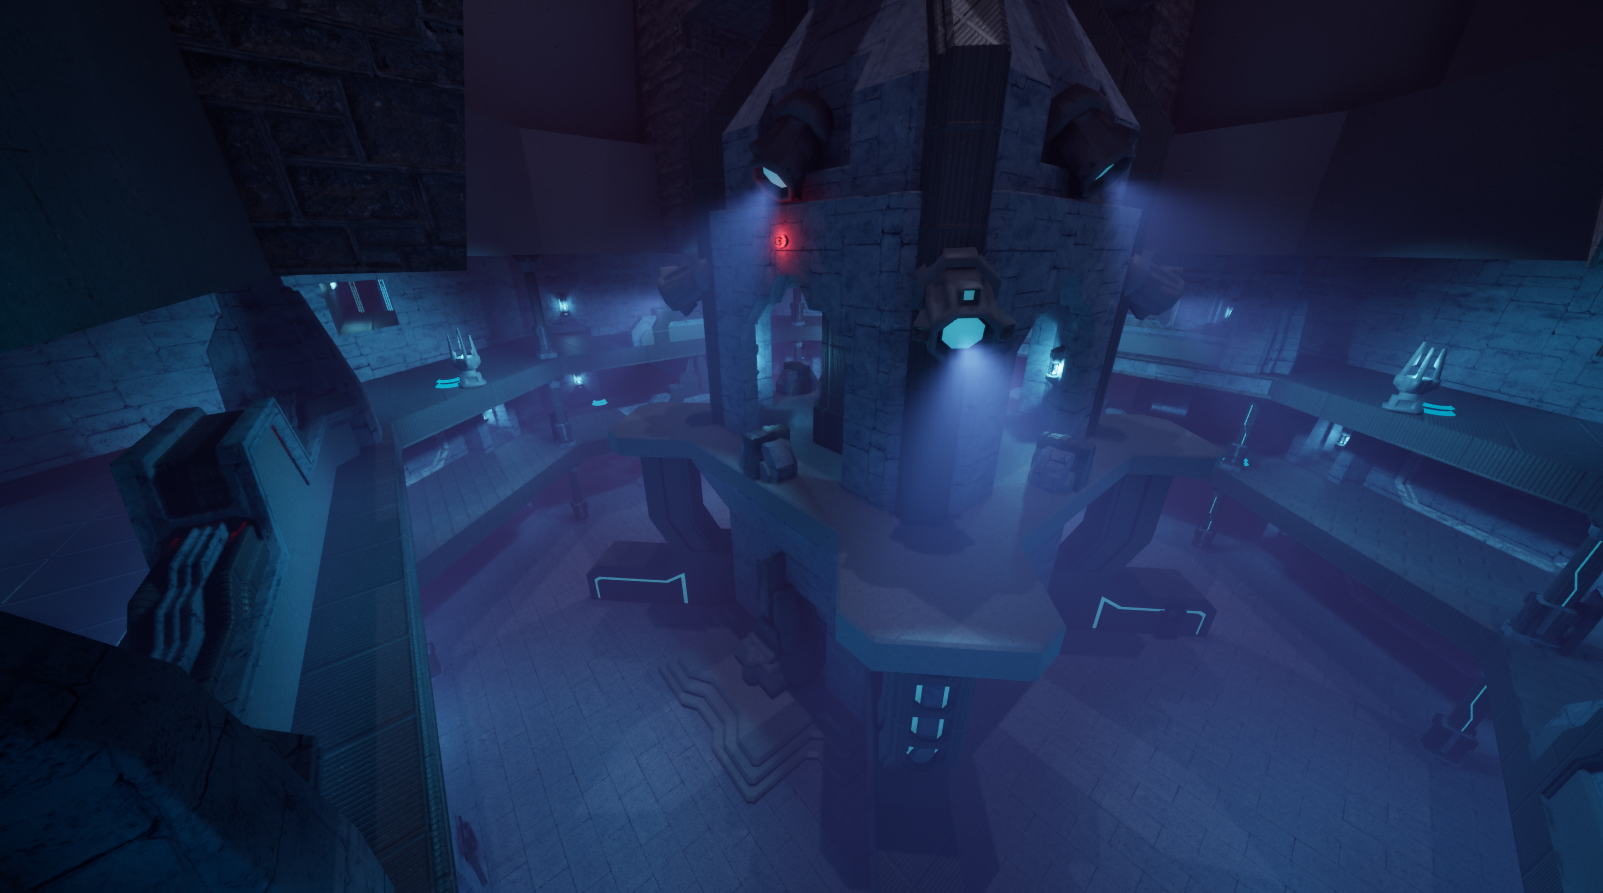
Panoctigon Fog Test
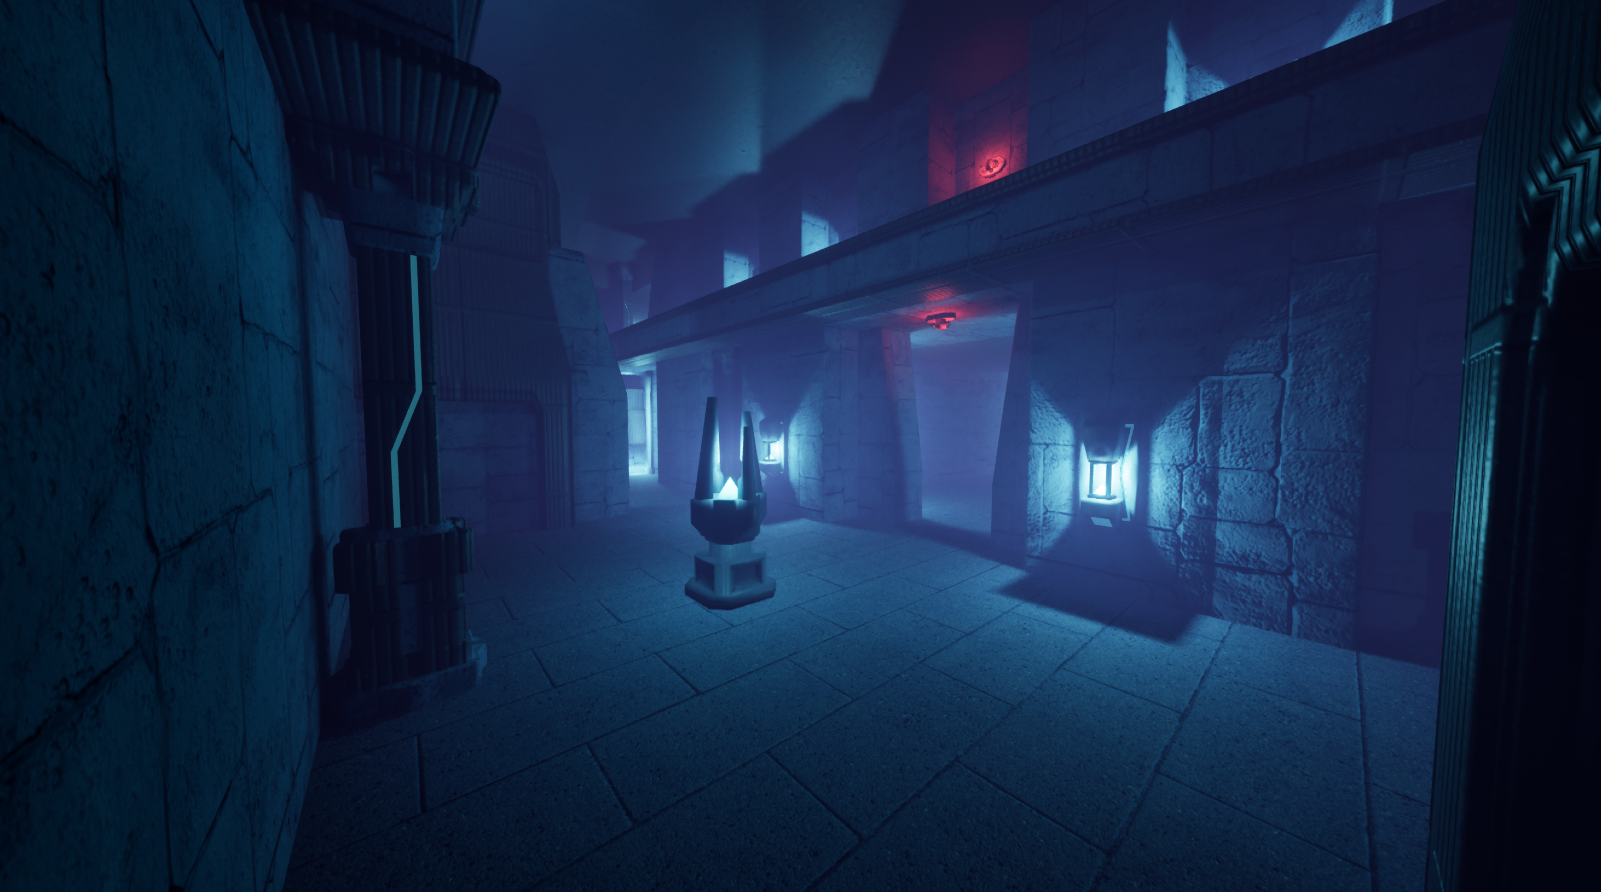
Panoctigon Lighting Pass
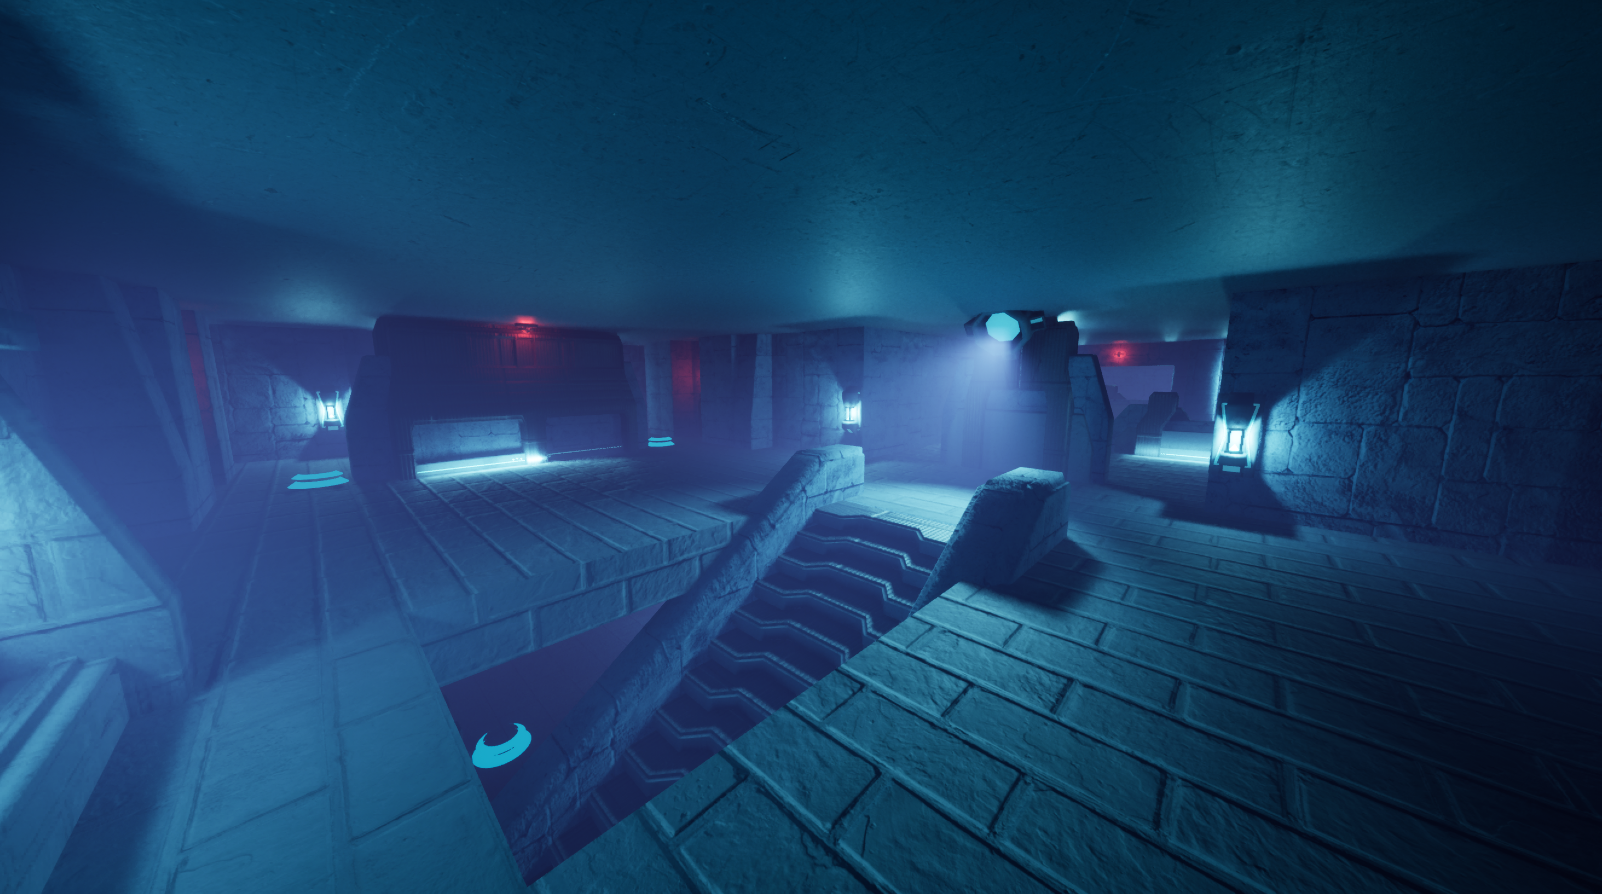
Panoctigon Lighting Pass 2
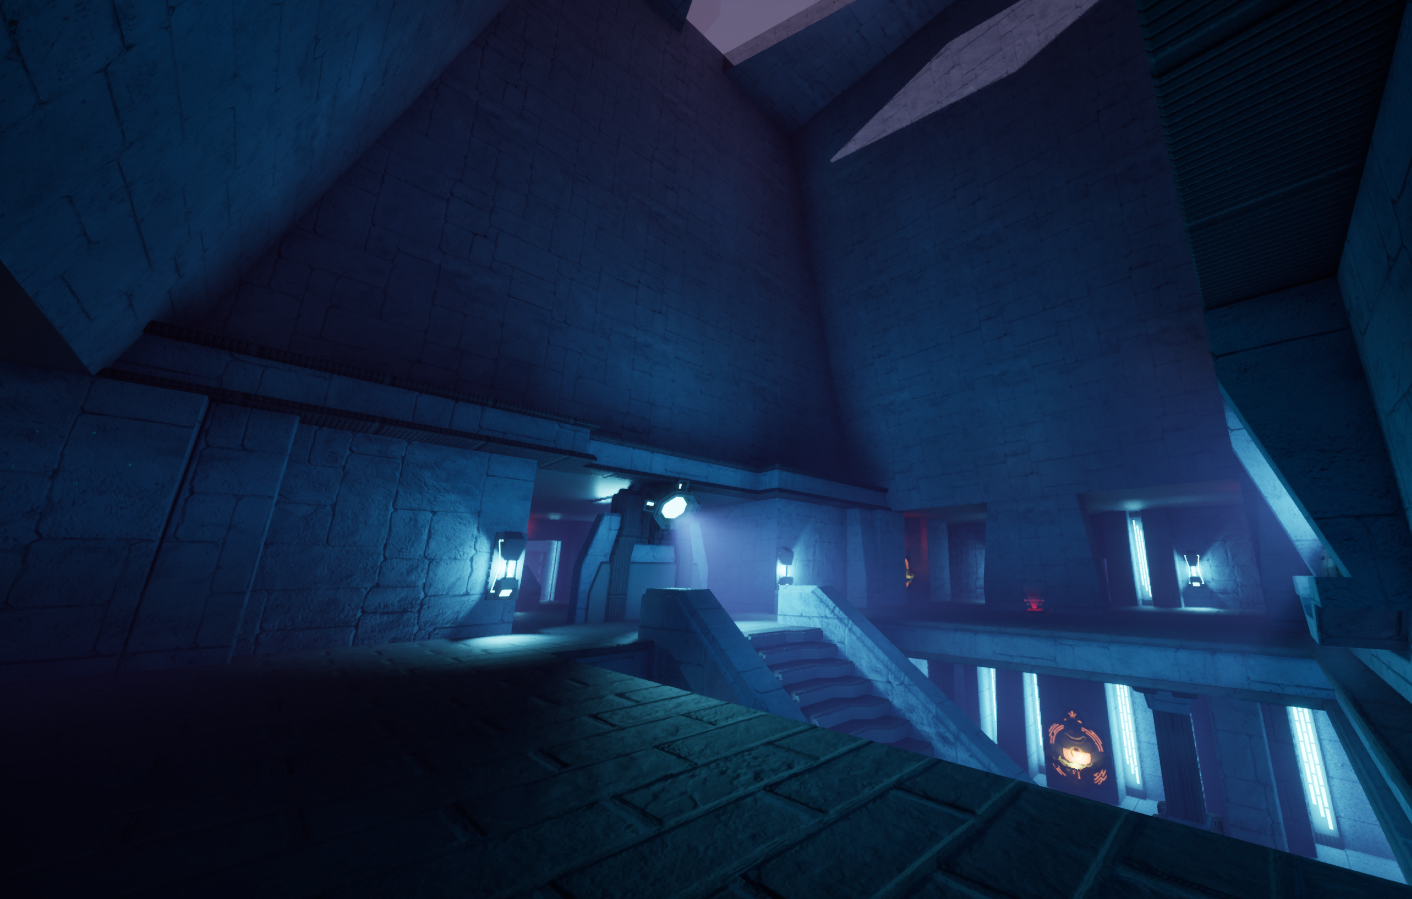
Panoctigon Verticality Updates
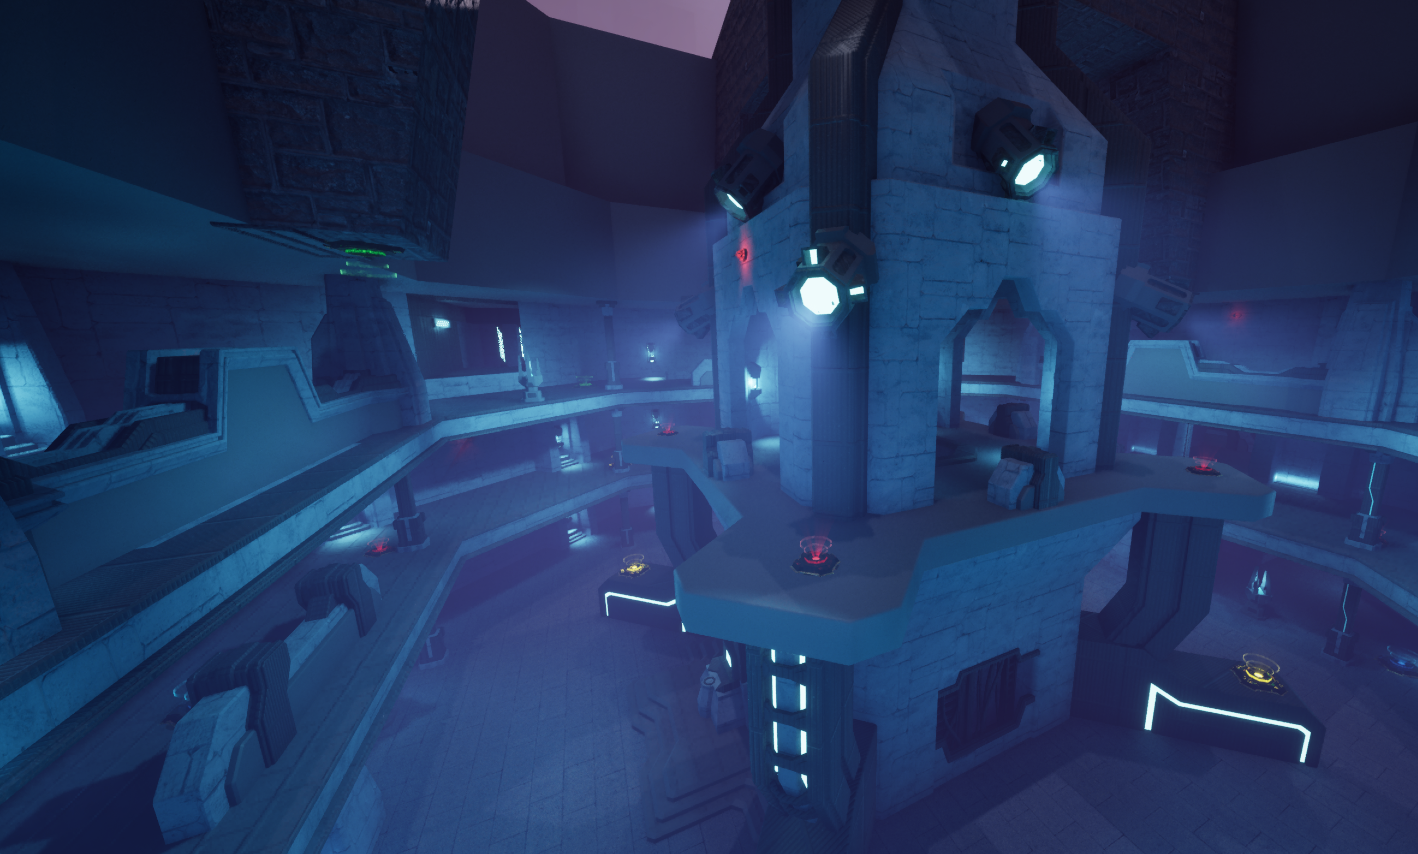
Panoctigon Lighting and Weapon Pass
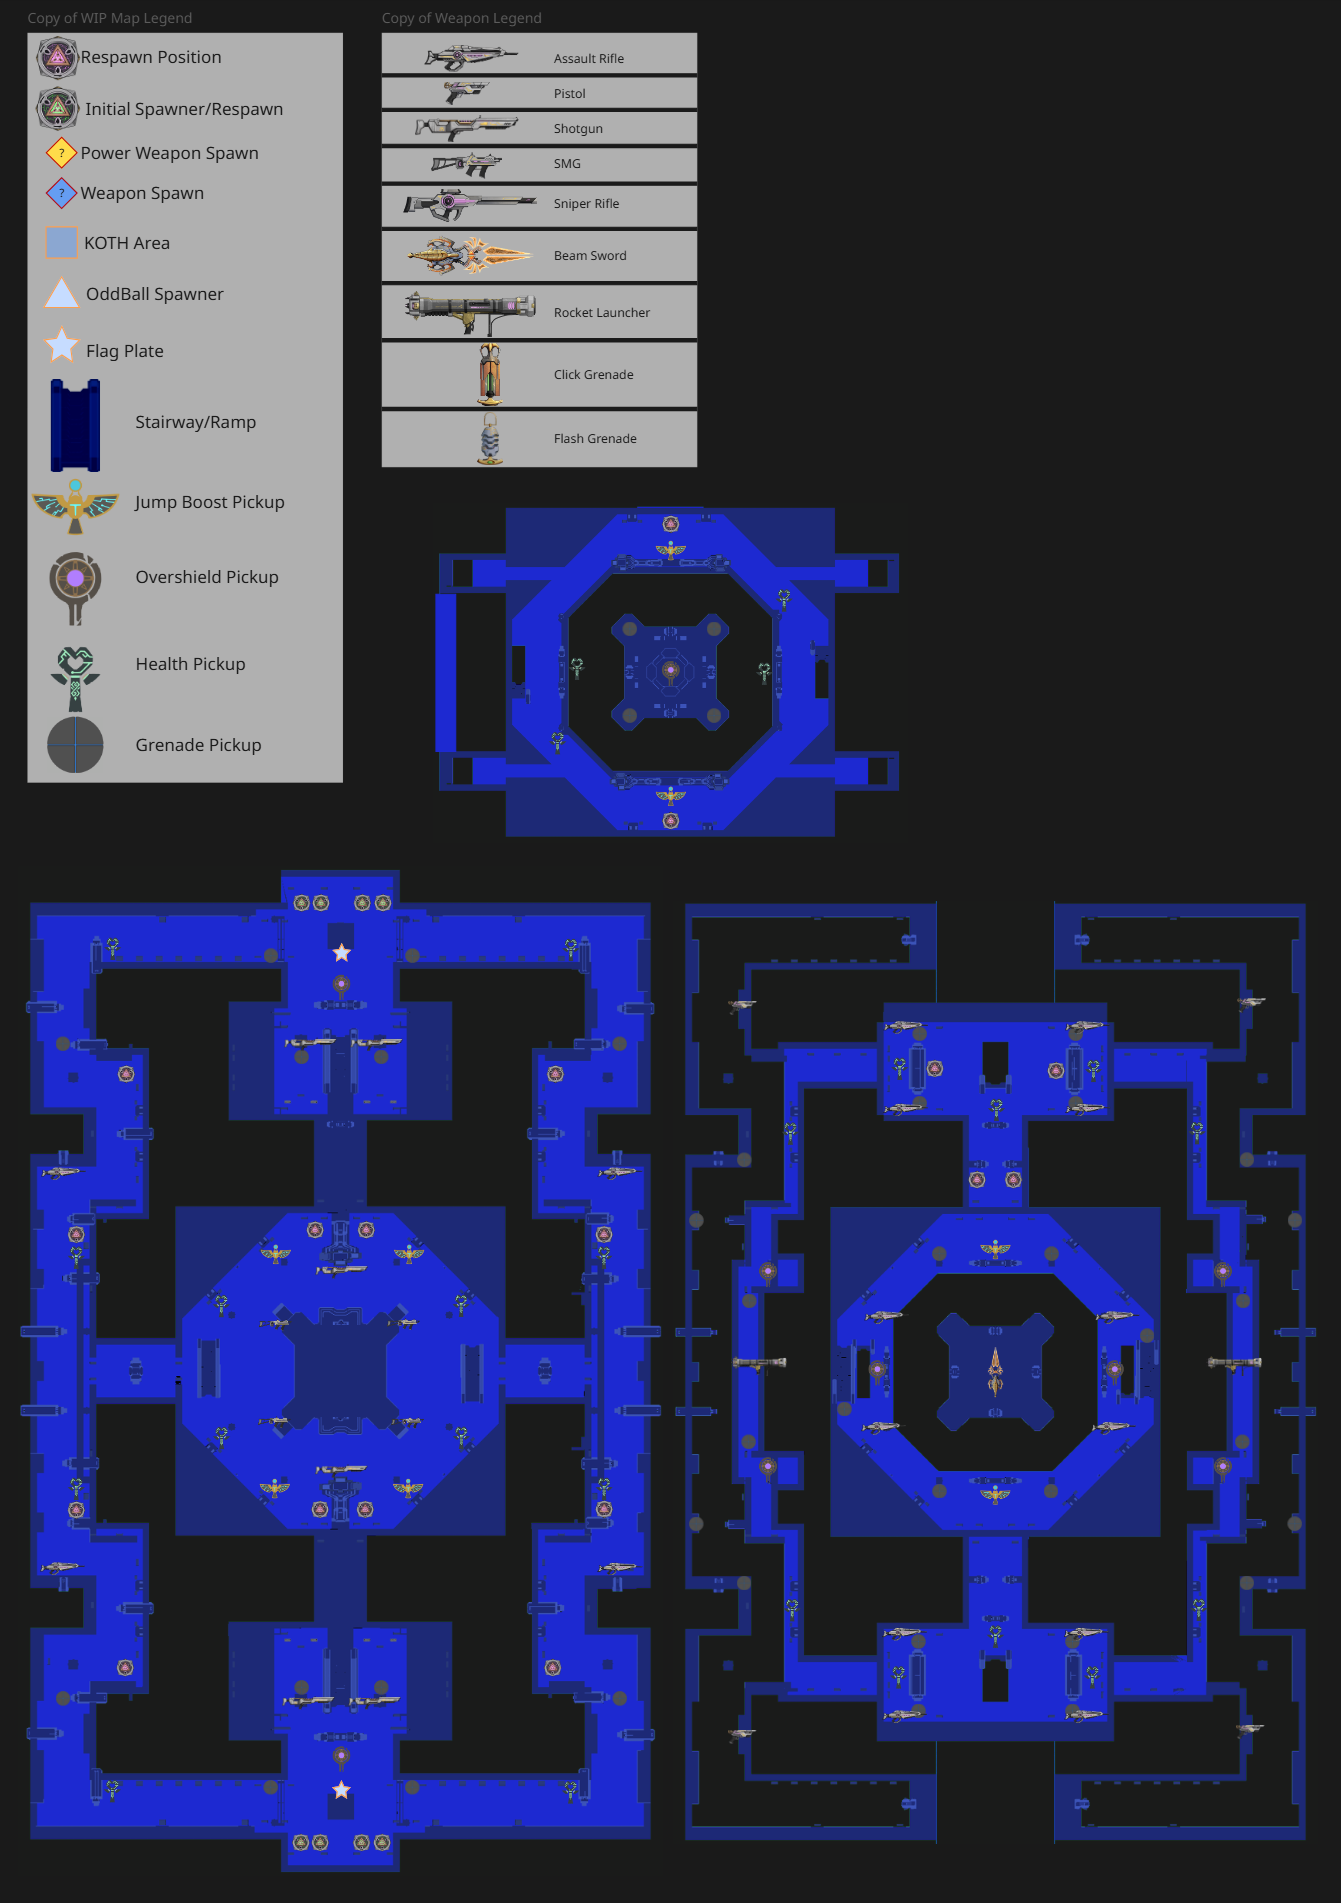
Panoctigon Detailed 2D Layout
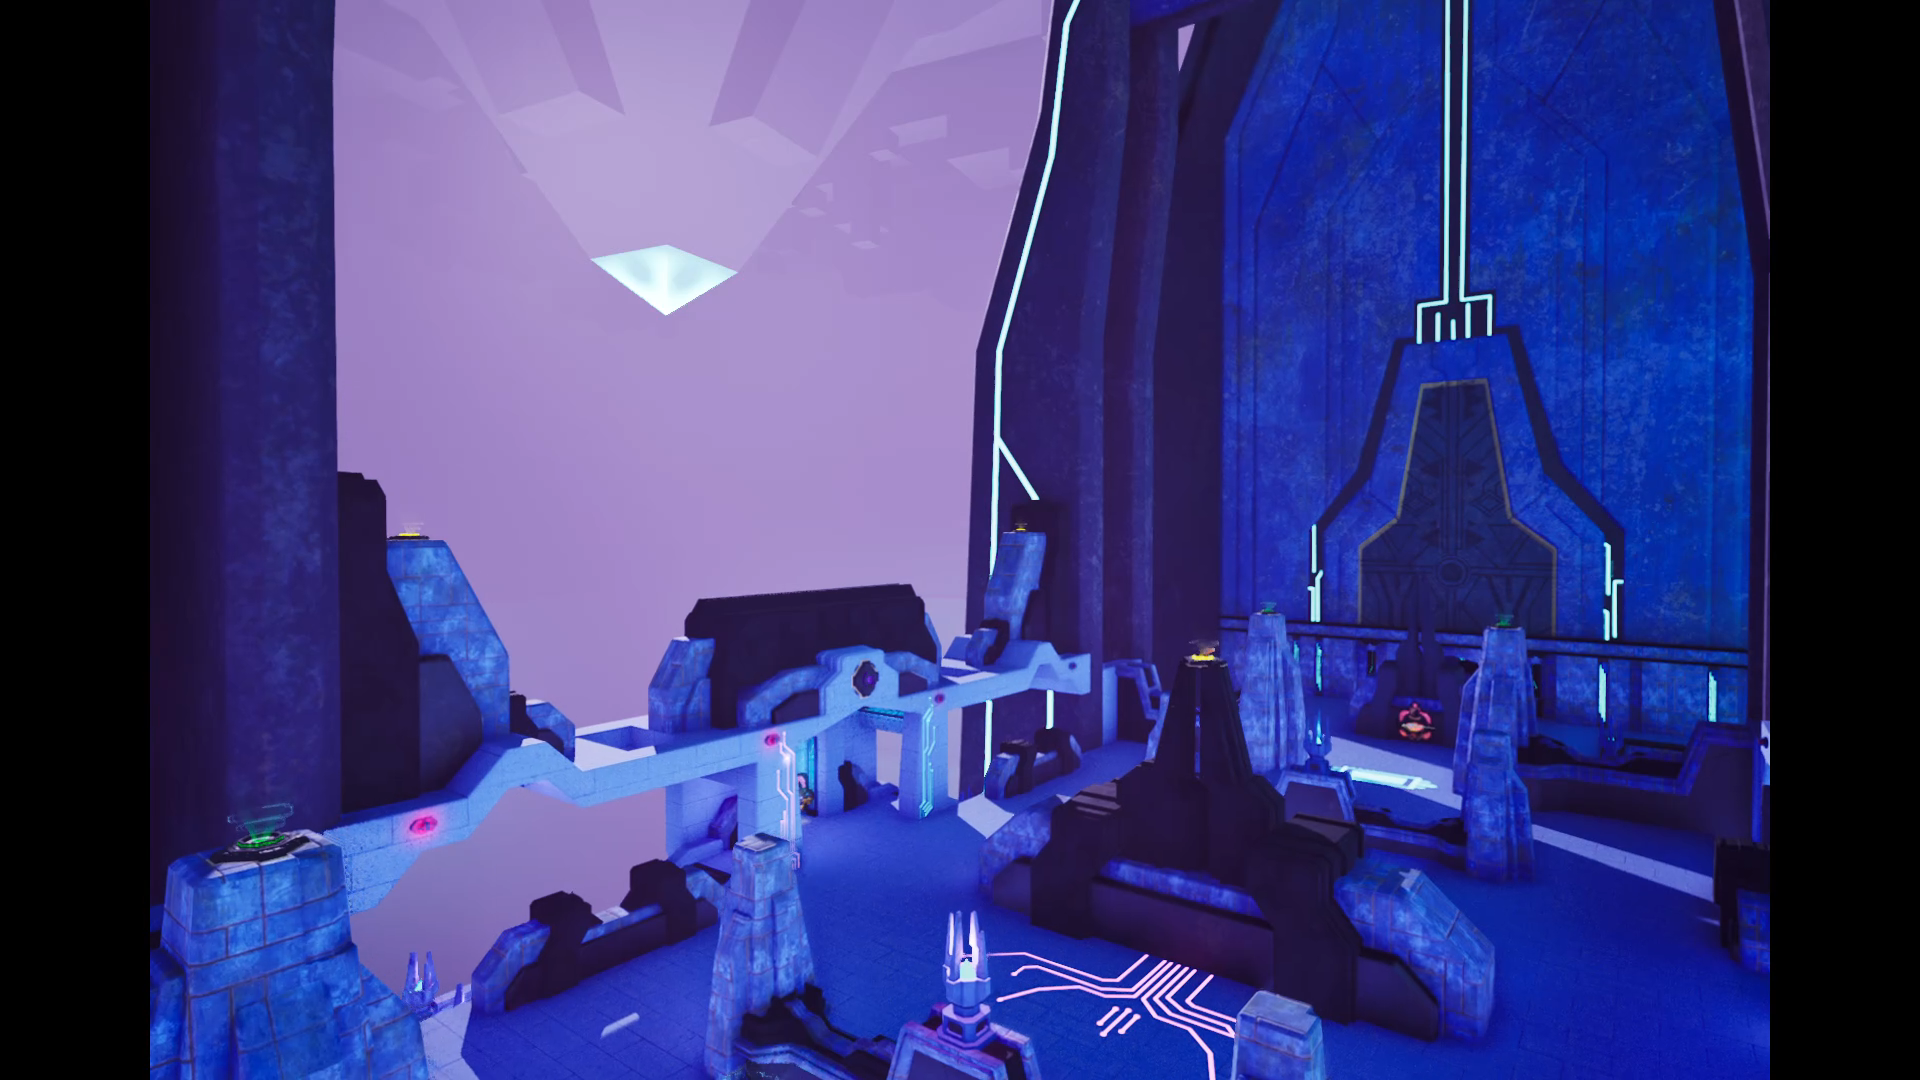
Bridge Round 2 Pass
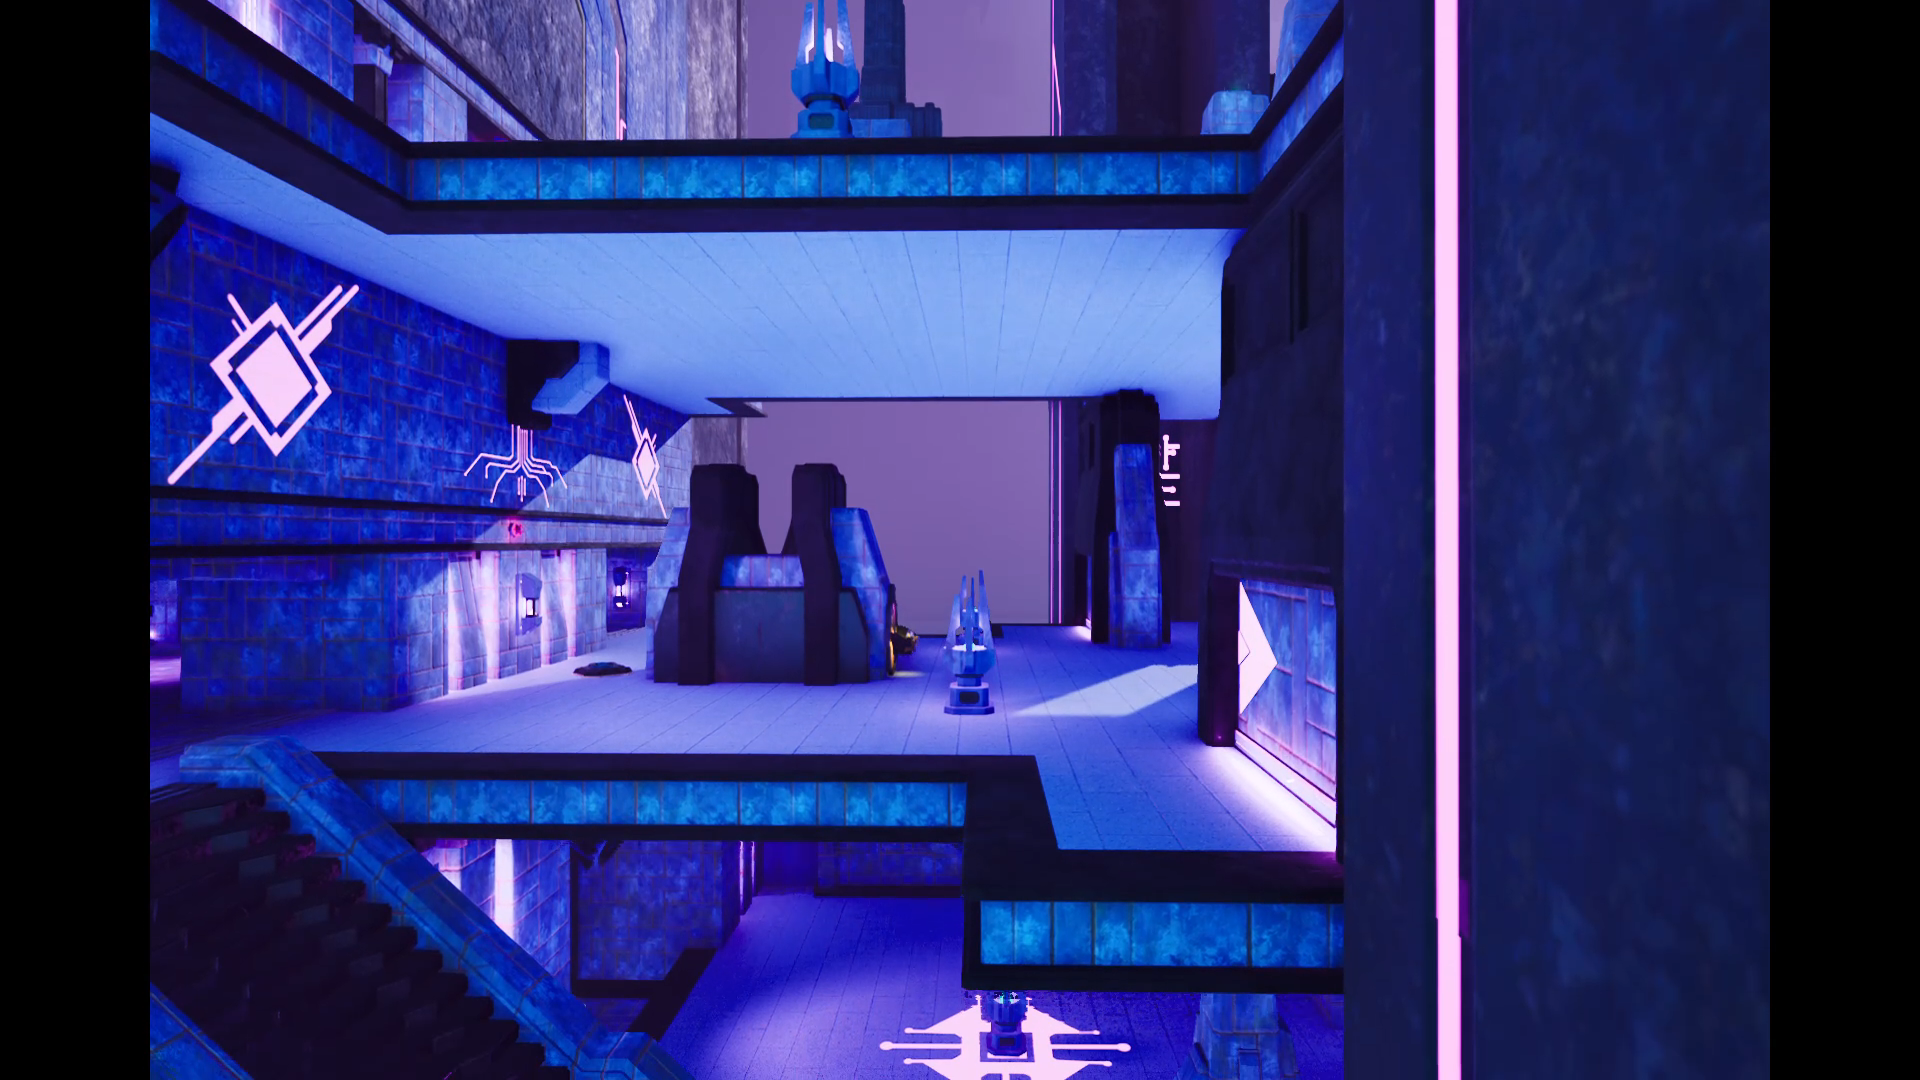
Bridge Round 2 Pass
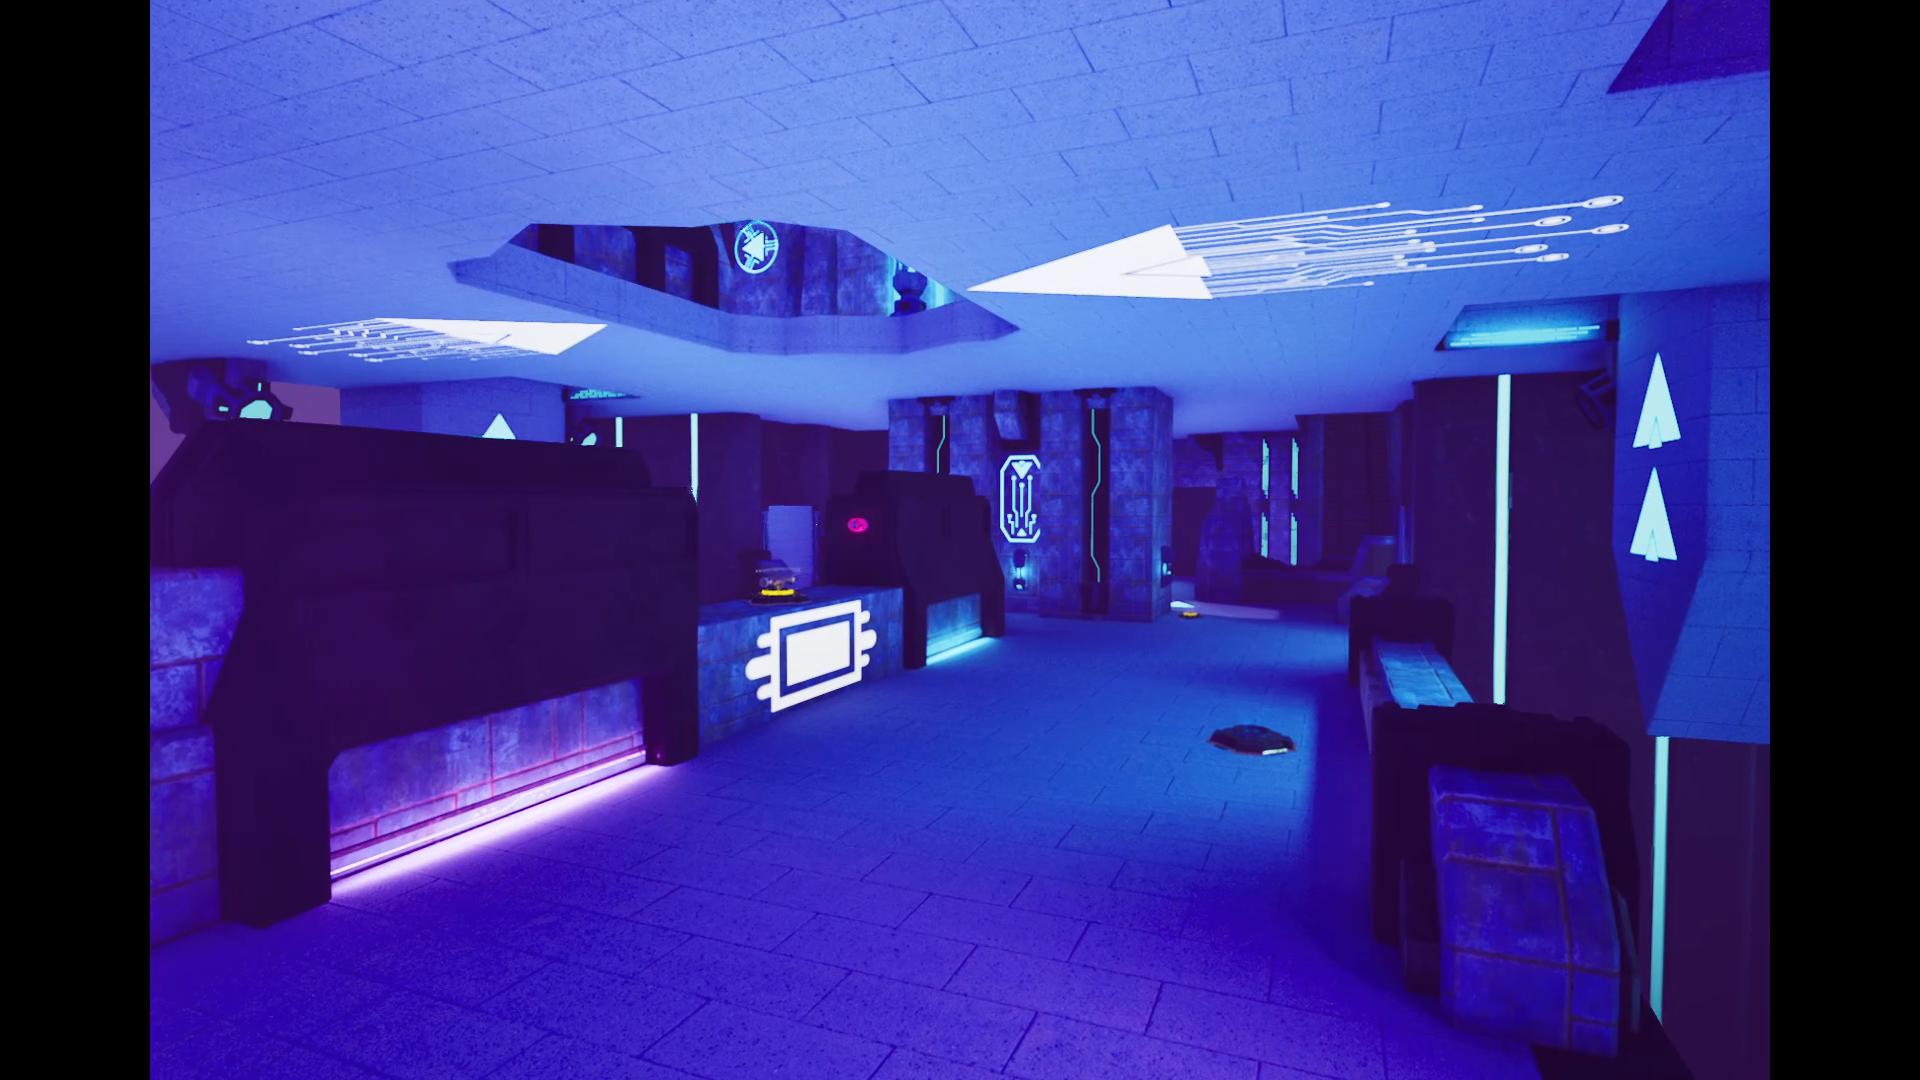
Bridge Round 2 Pass
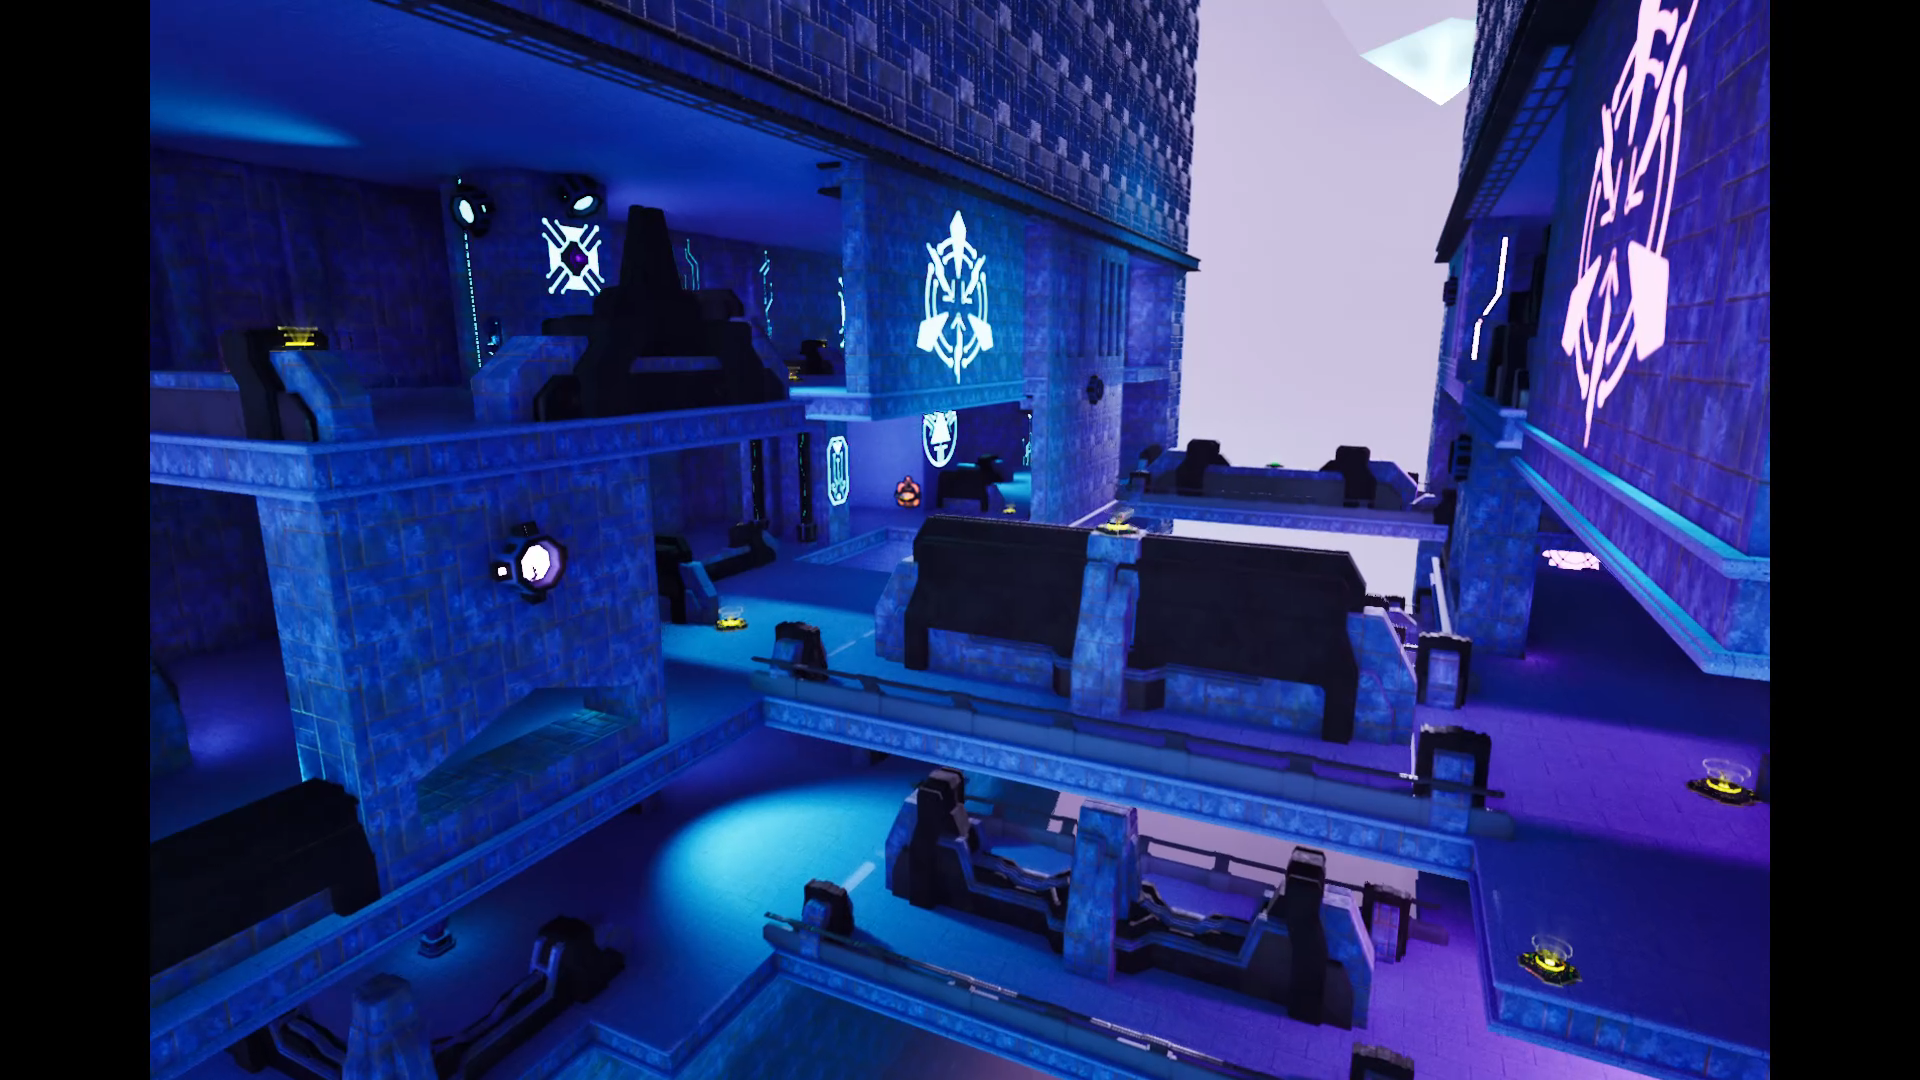
Chasm Round 2 Pass
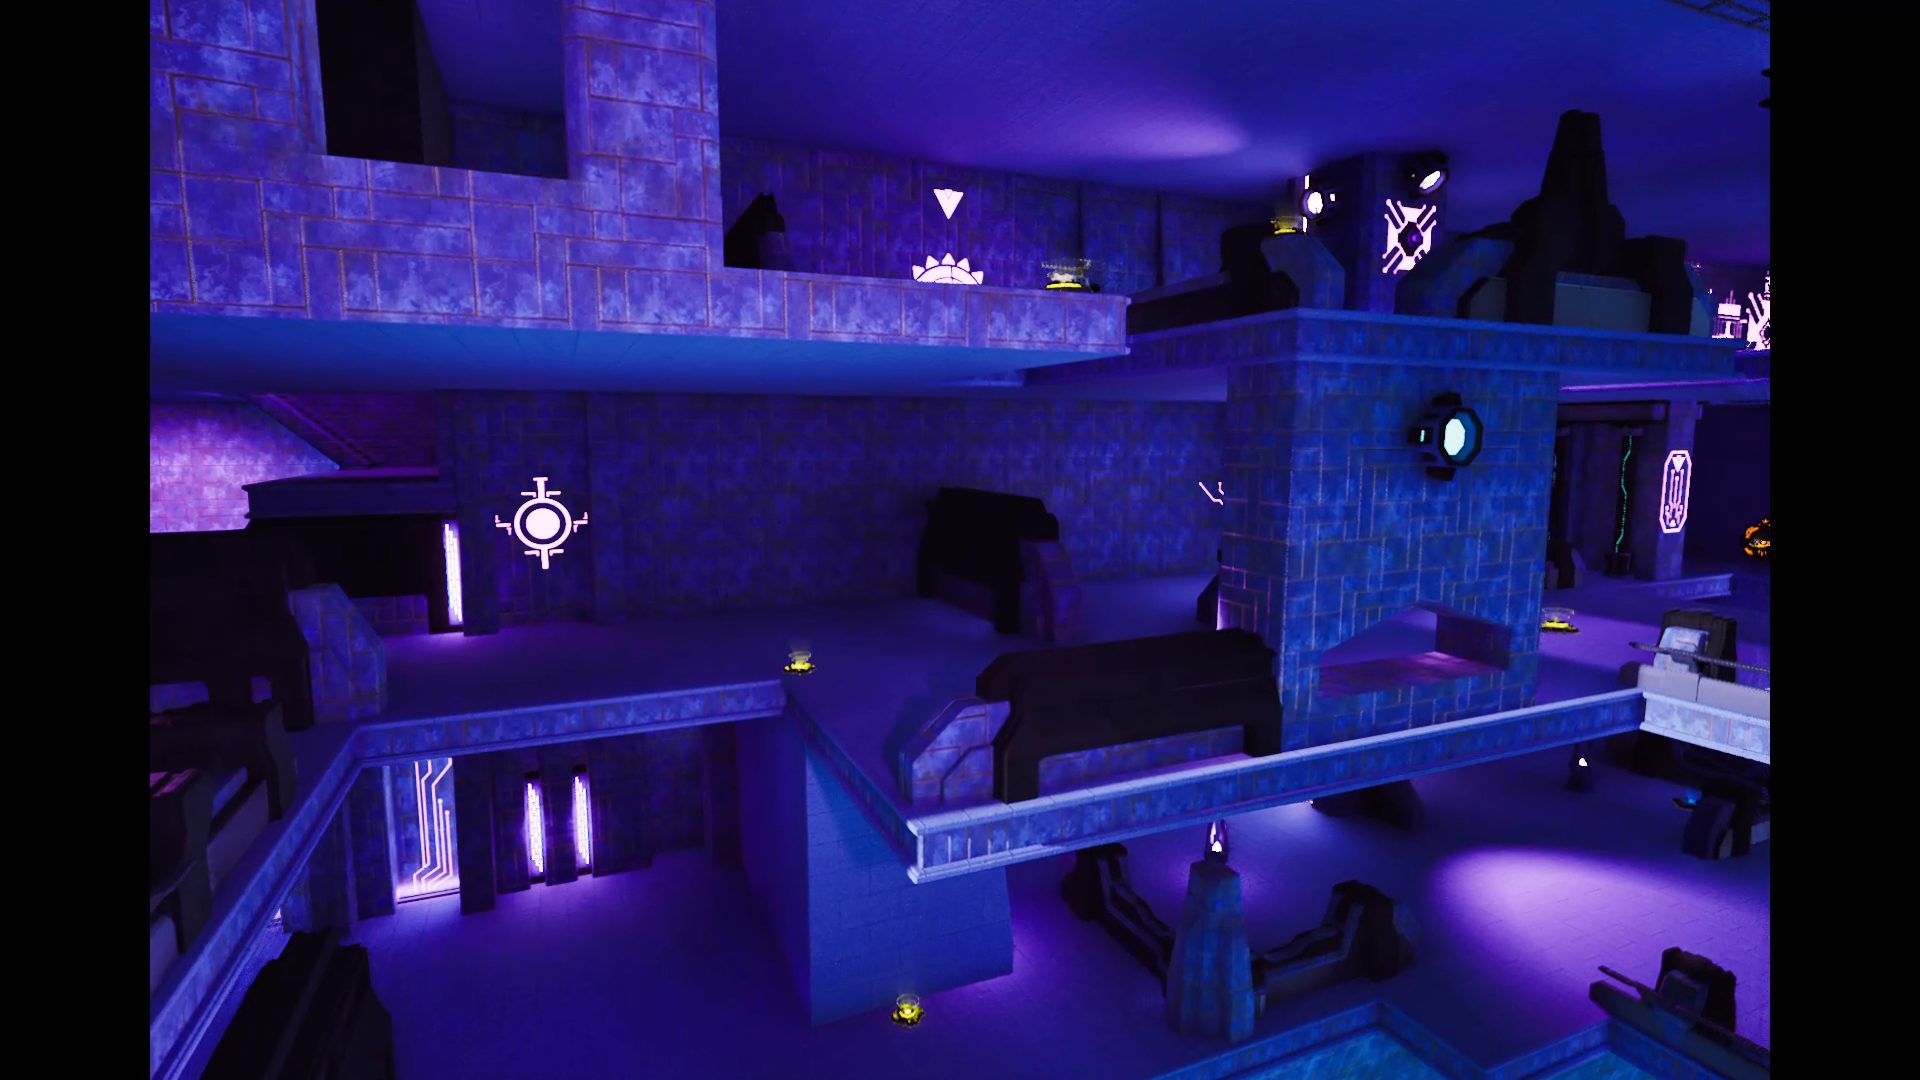
Chasm Round 2 Pass
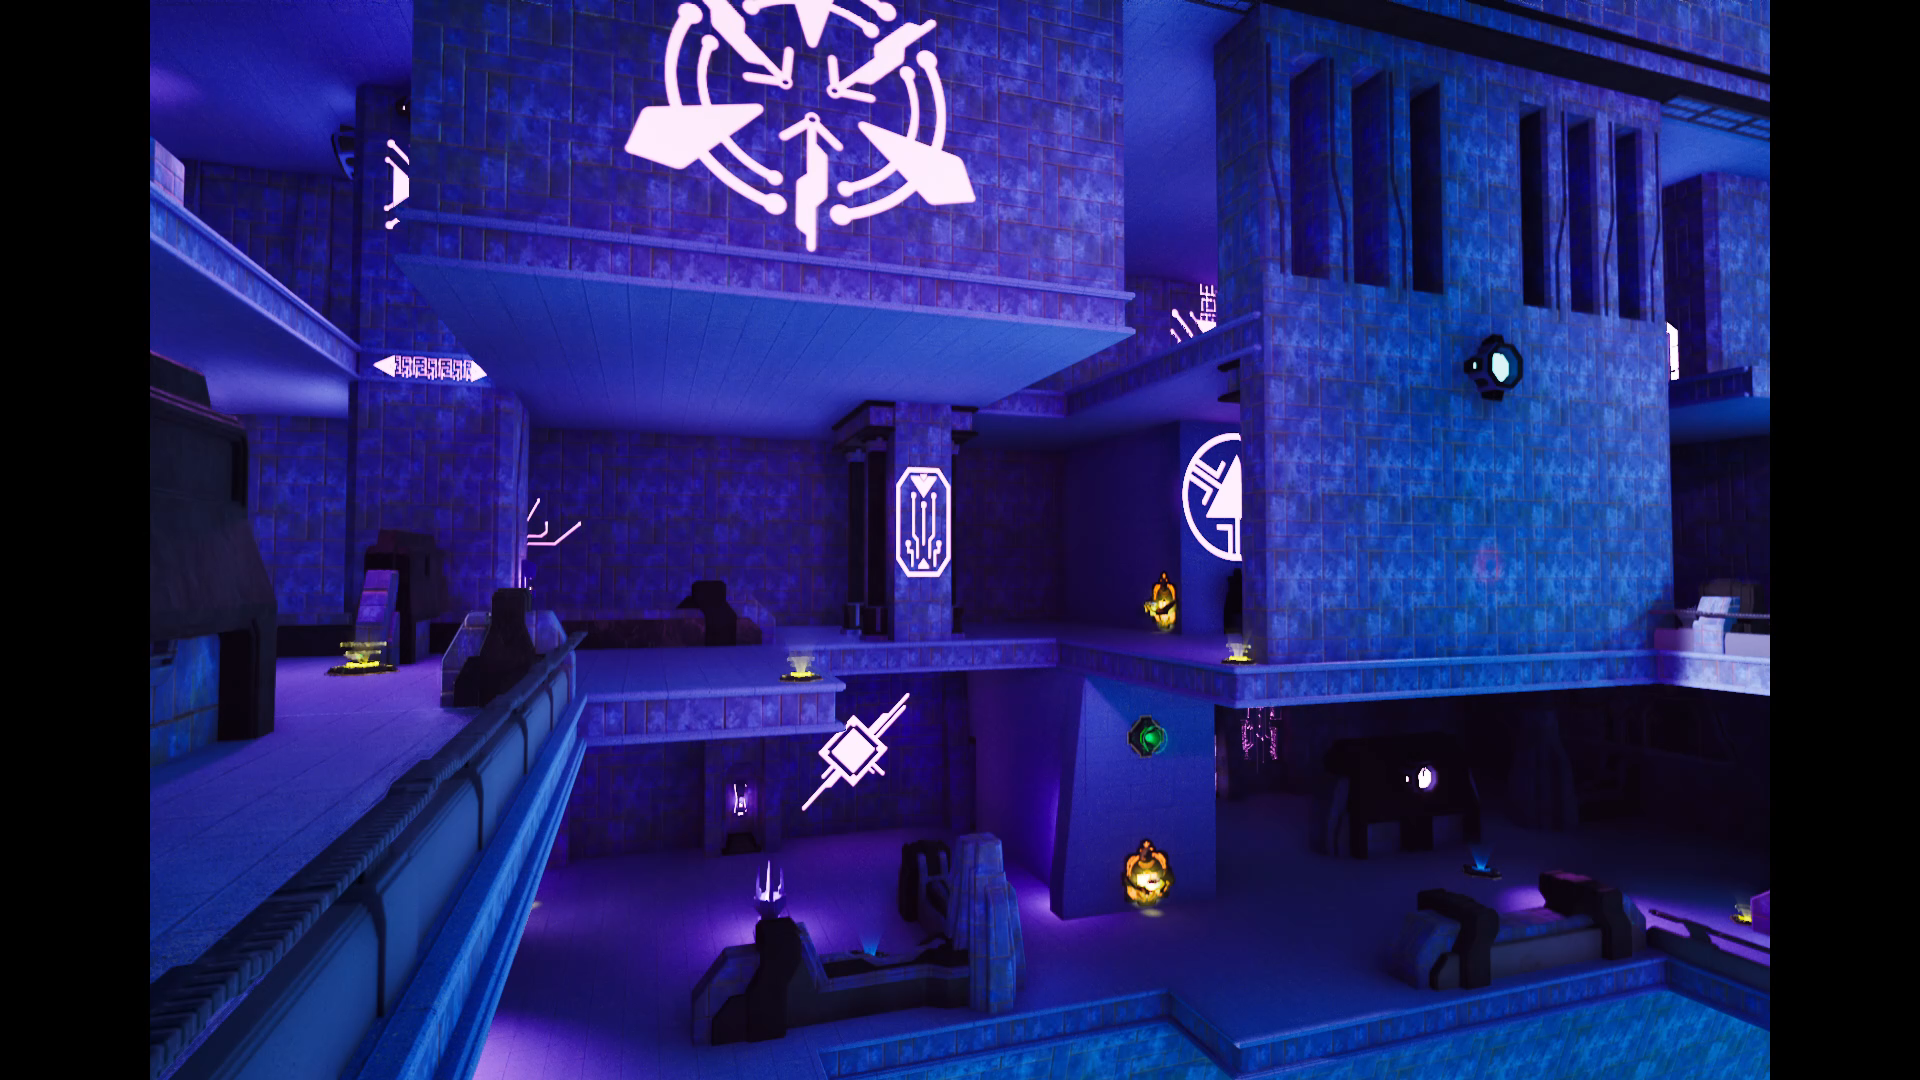
Chasm Round 2 Pass
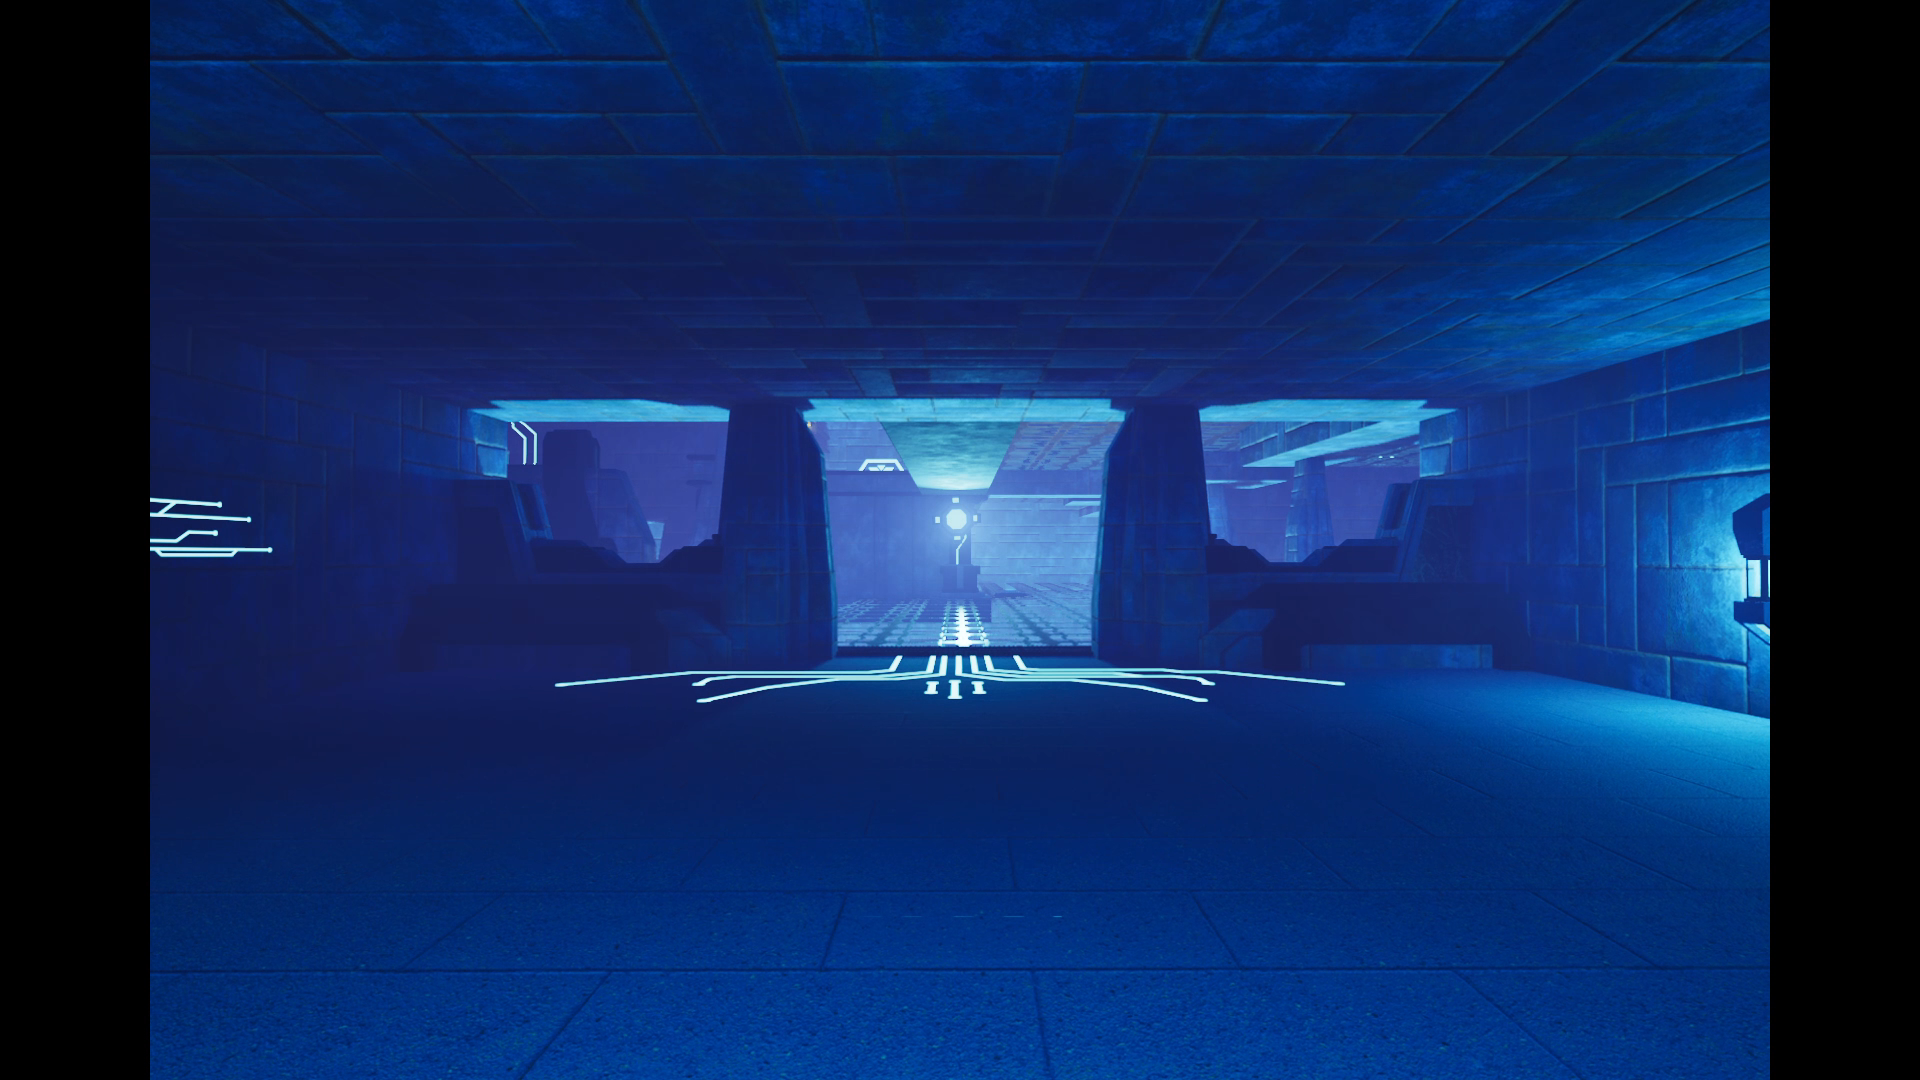
Megalophobia Round 2 Pass
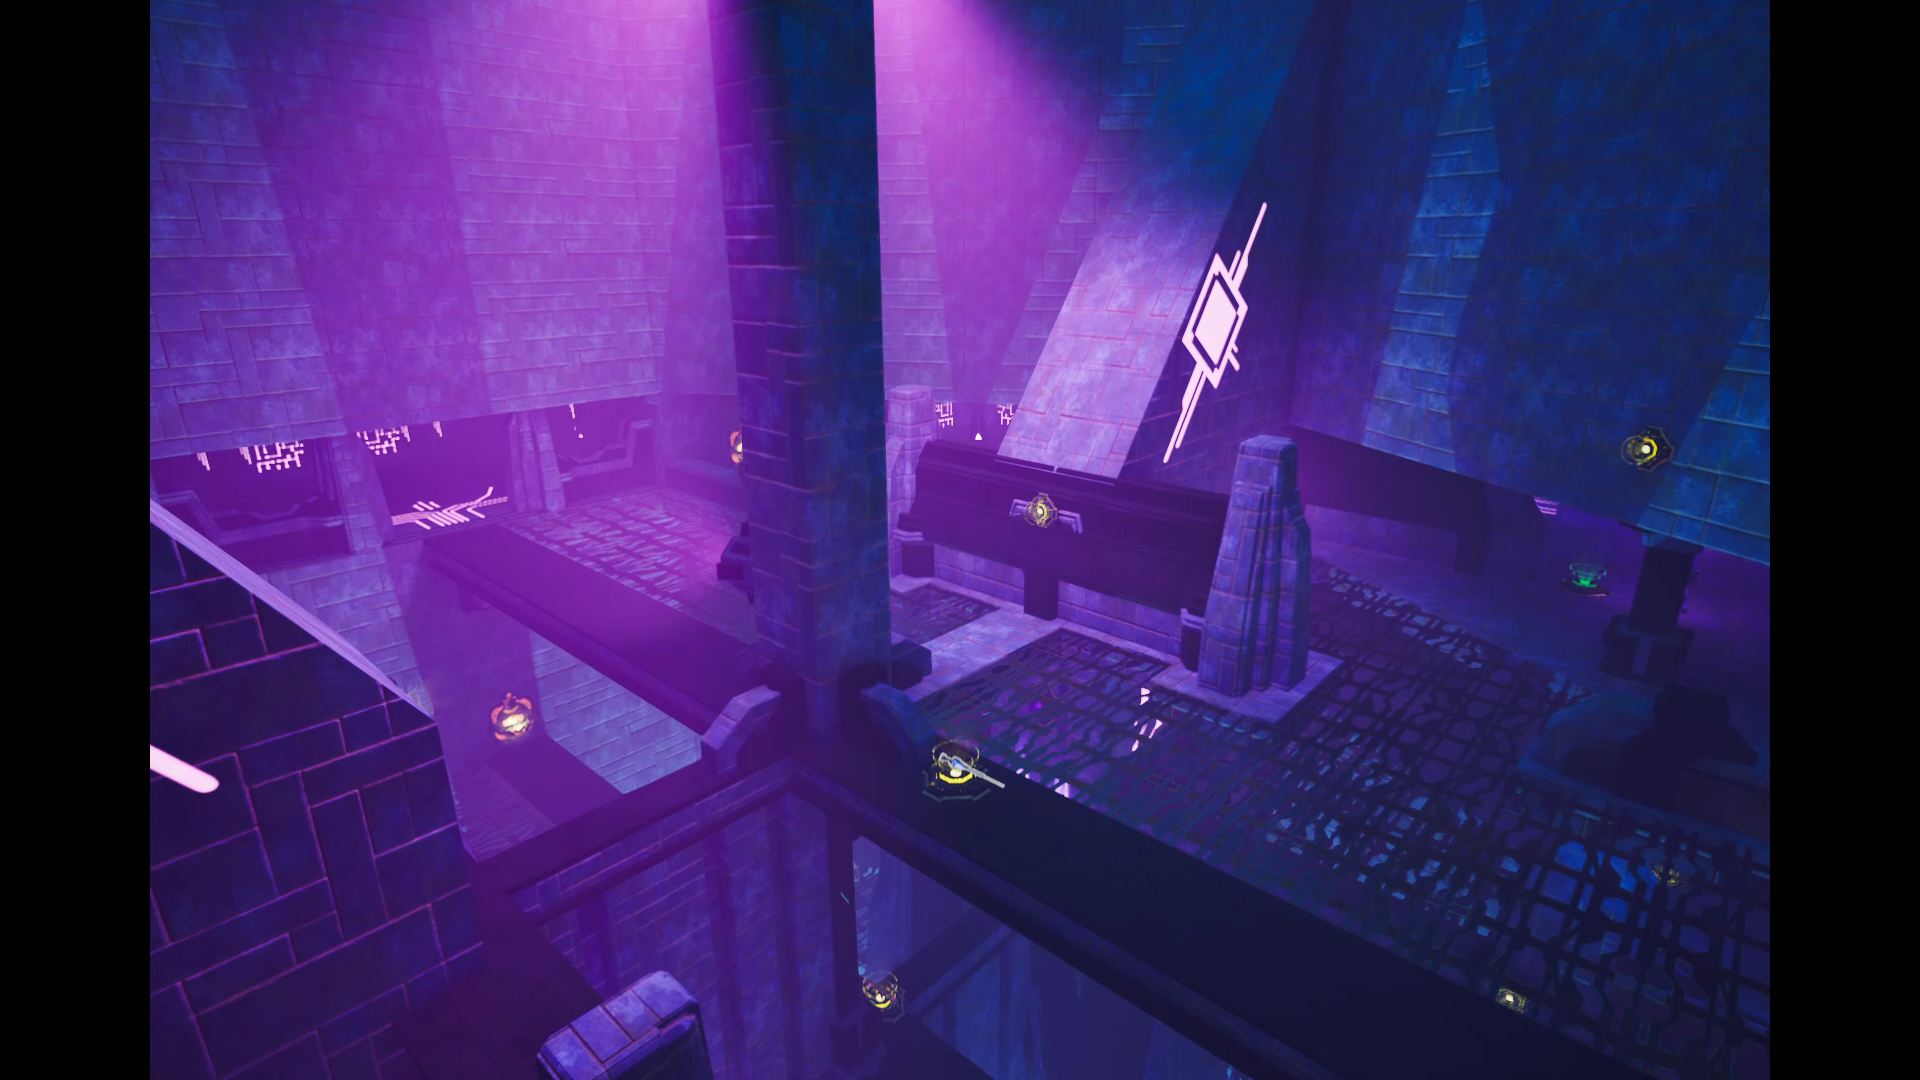
Megalophobia Round 2 Pass
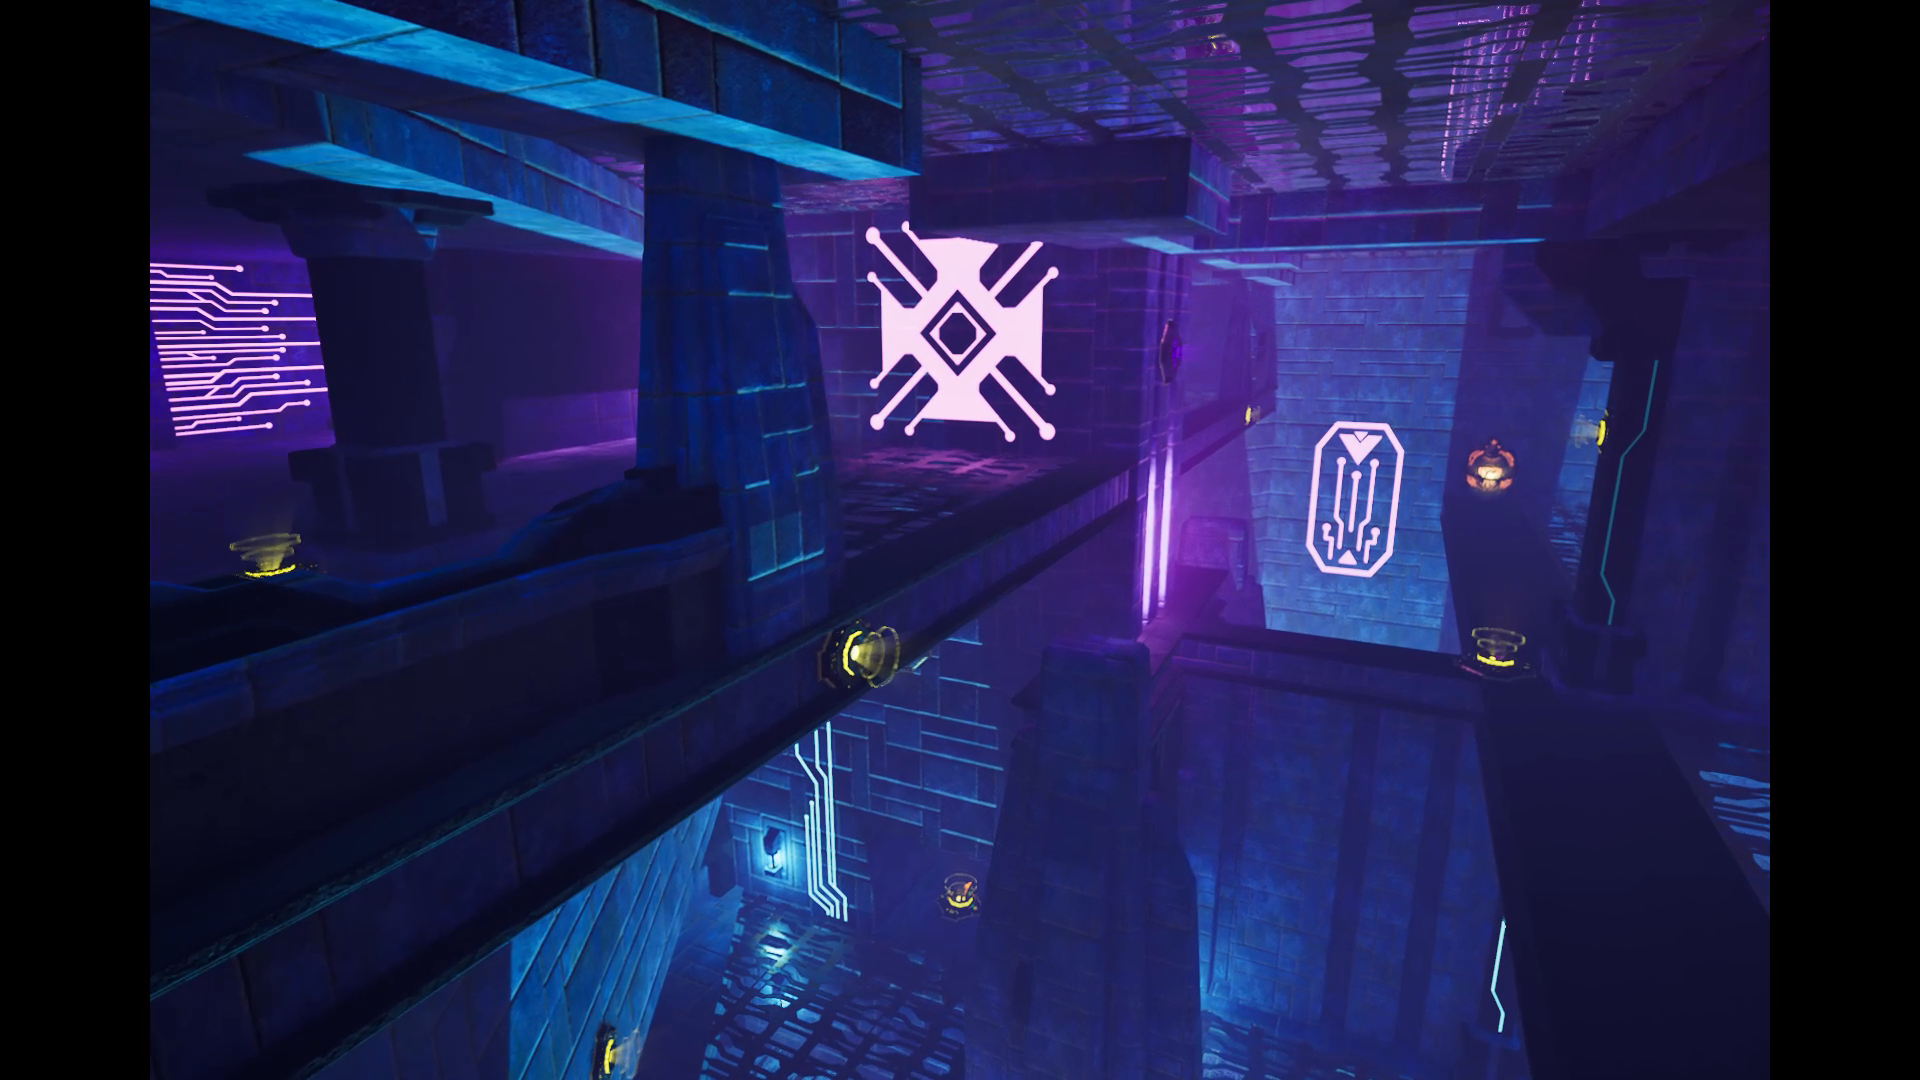
Megalophobia Round 2 Pass
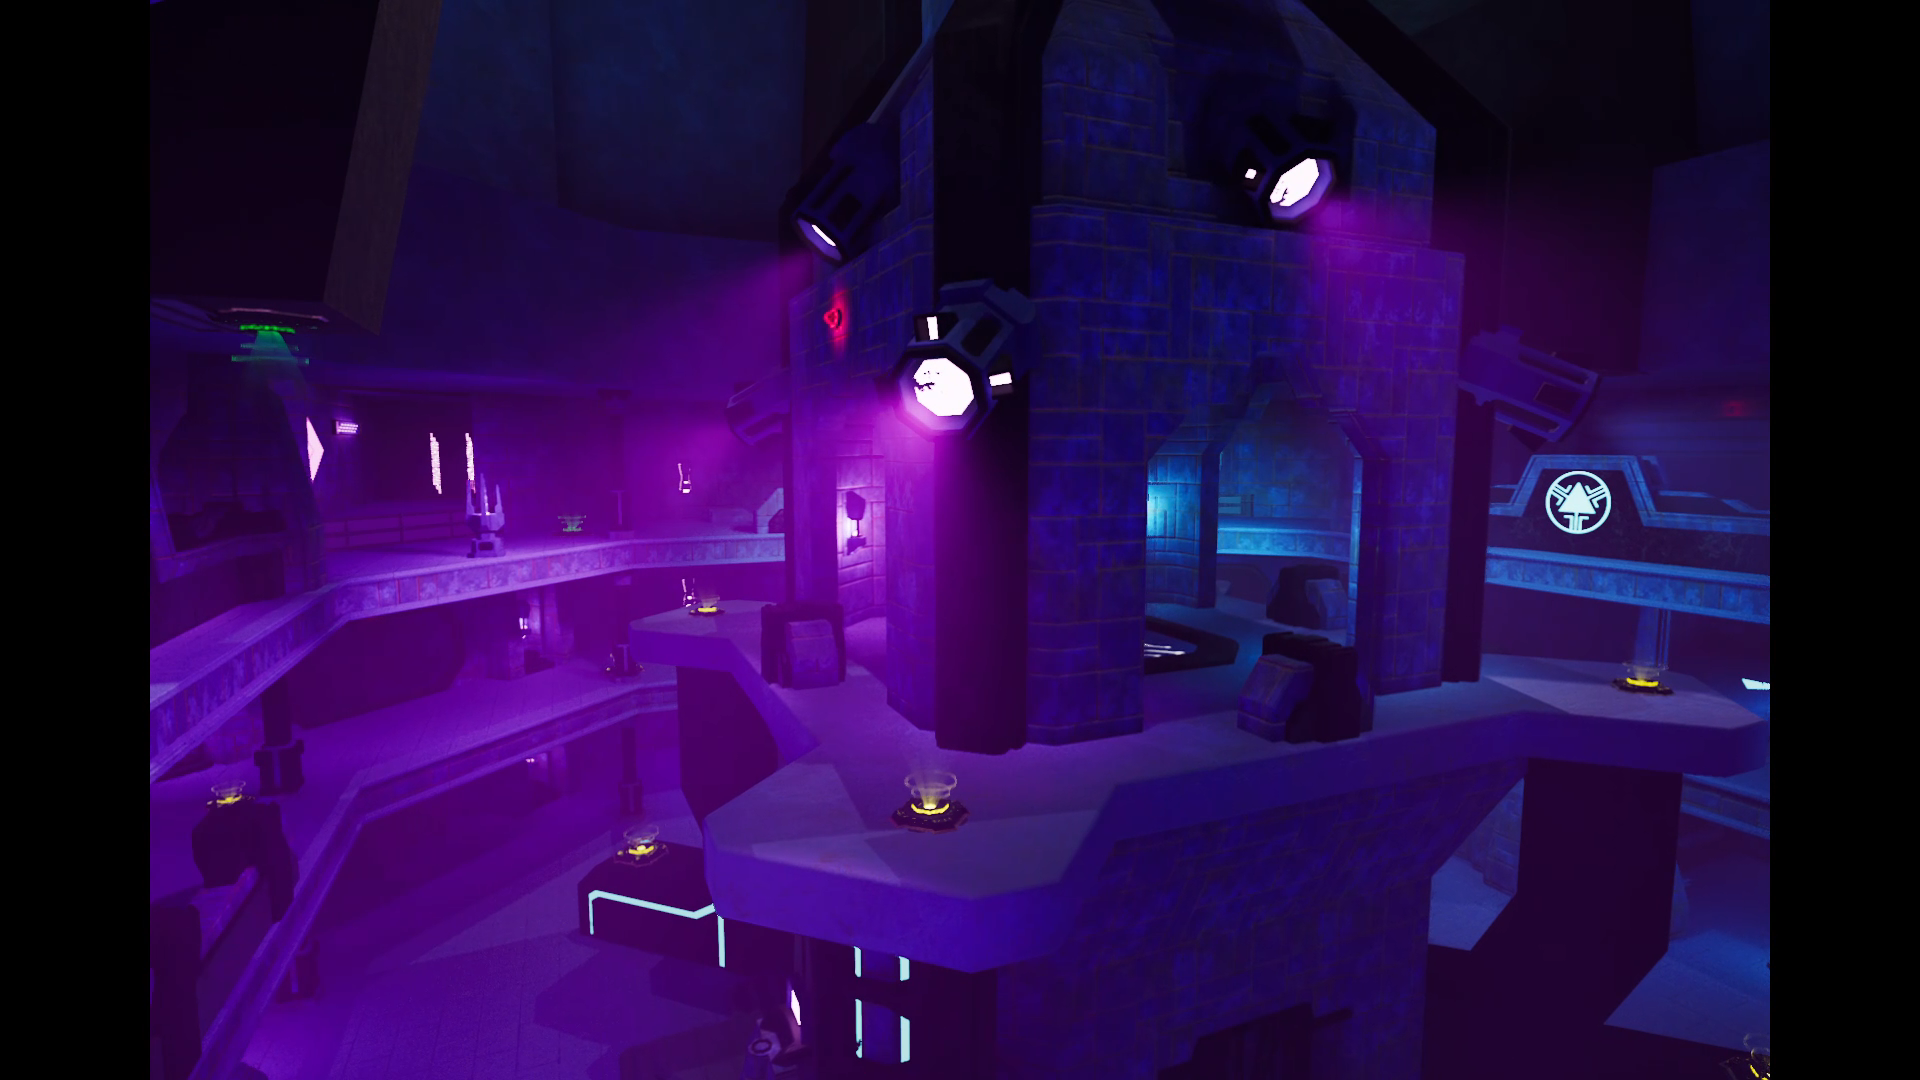
Panoctigon Round 2 Pass
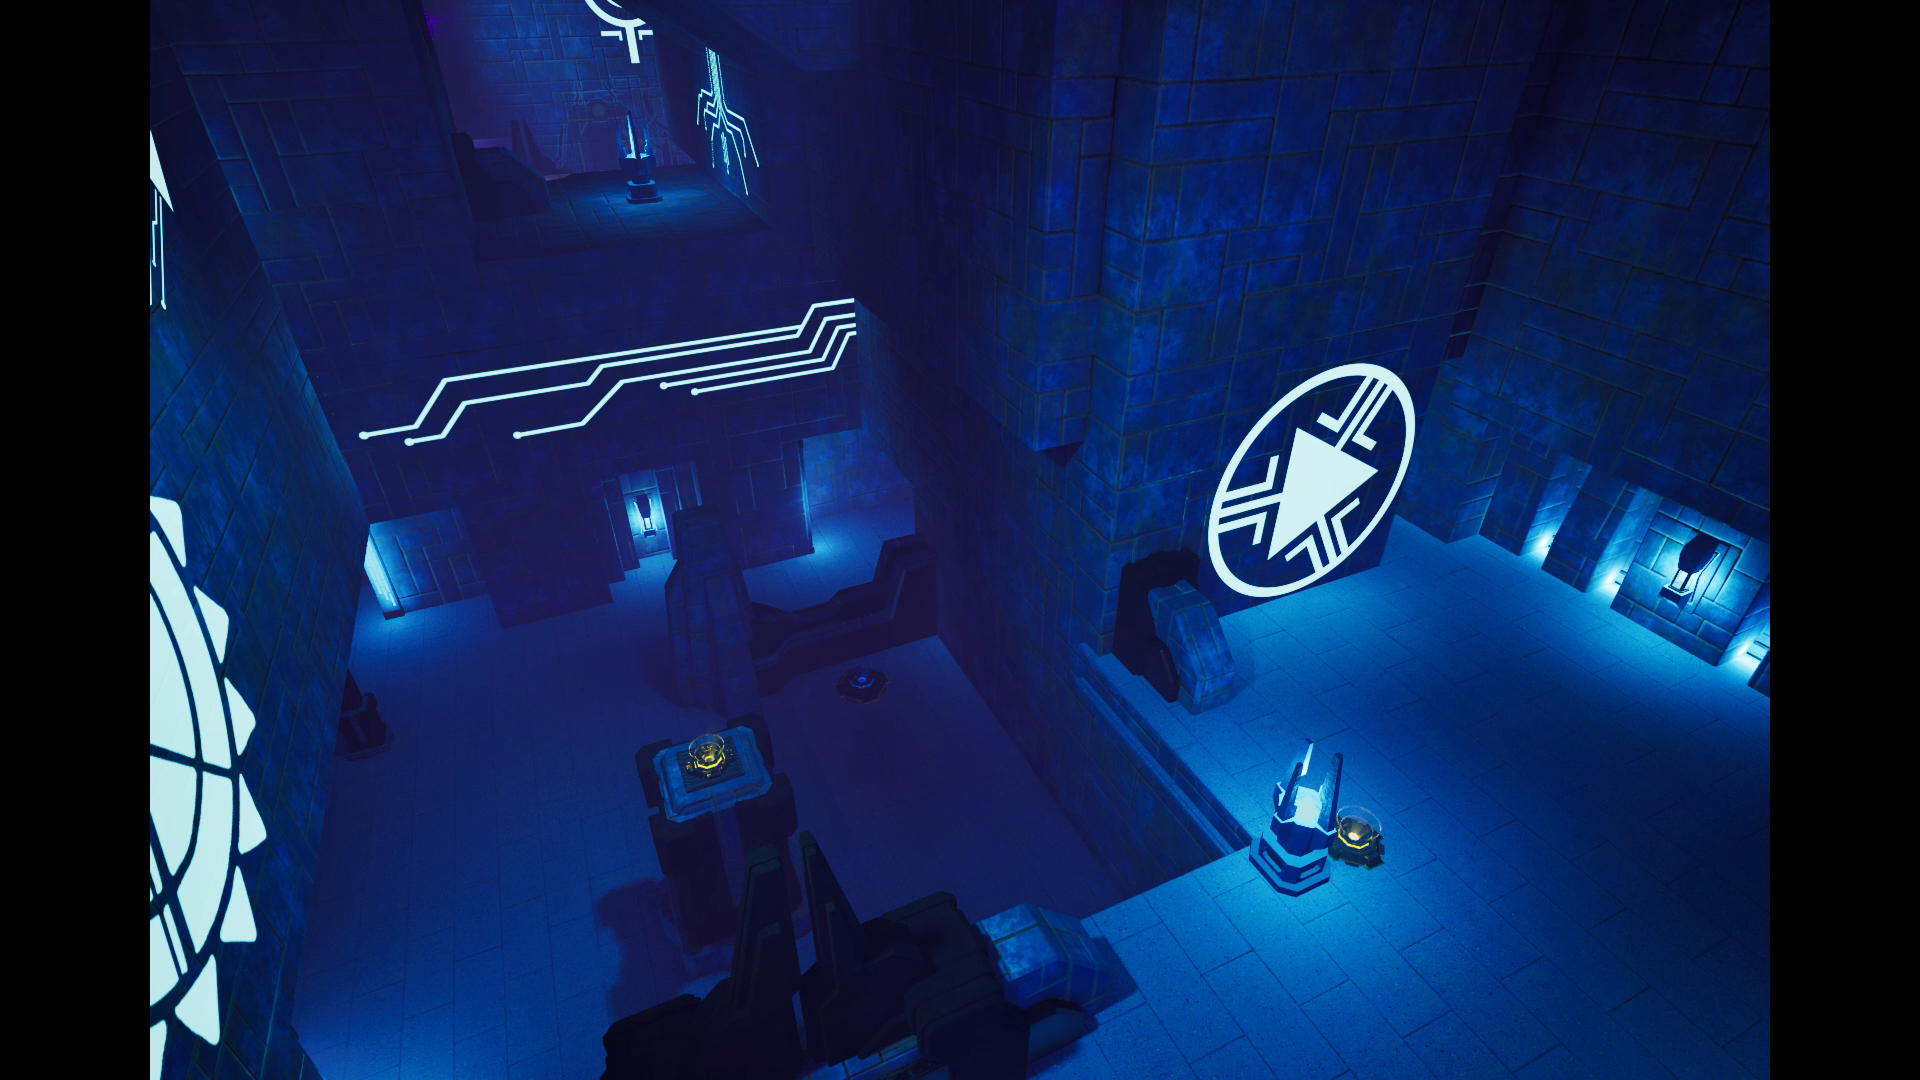
Panoctigon Round 2 Pass
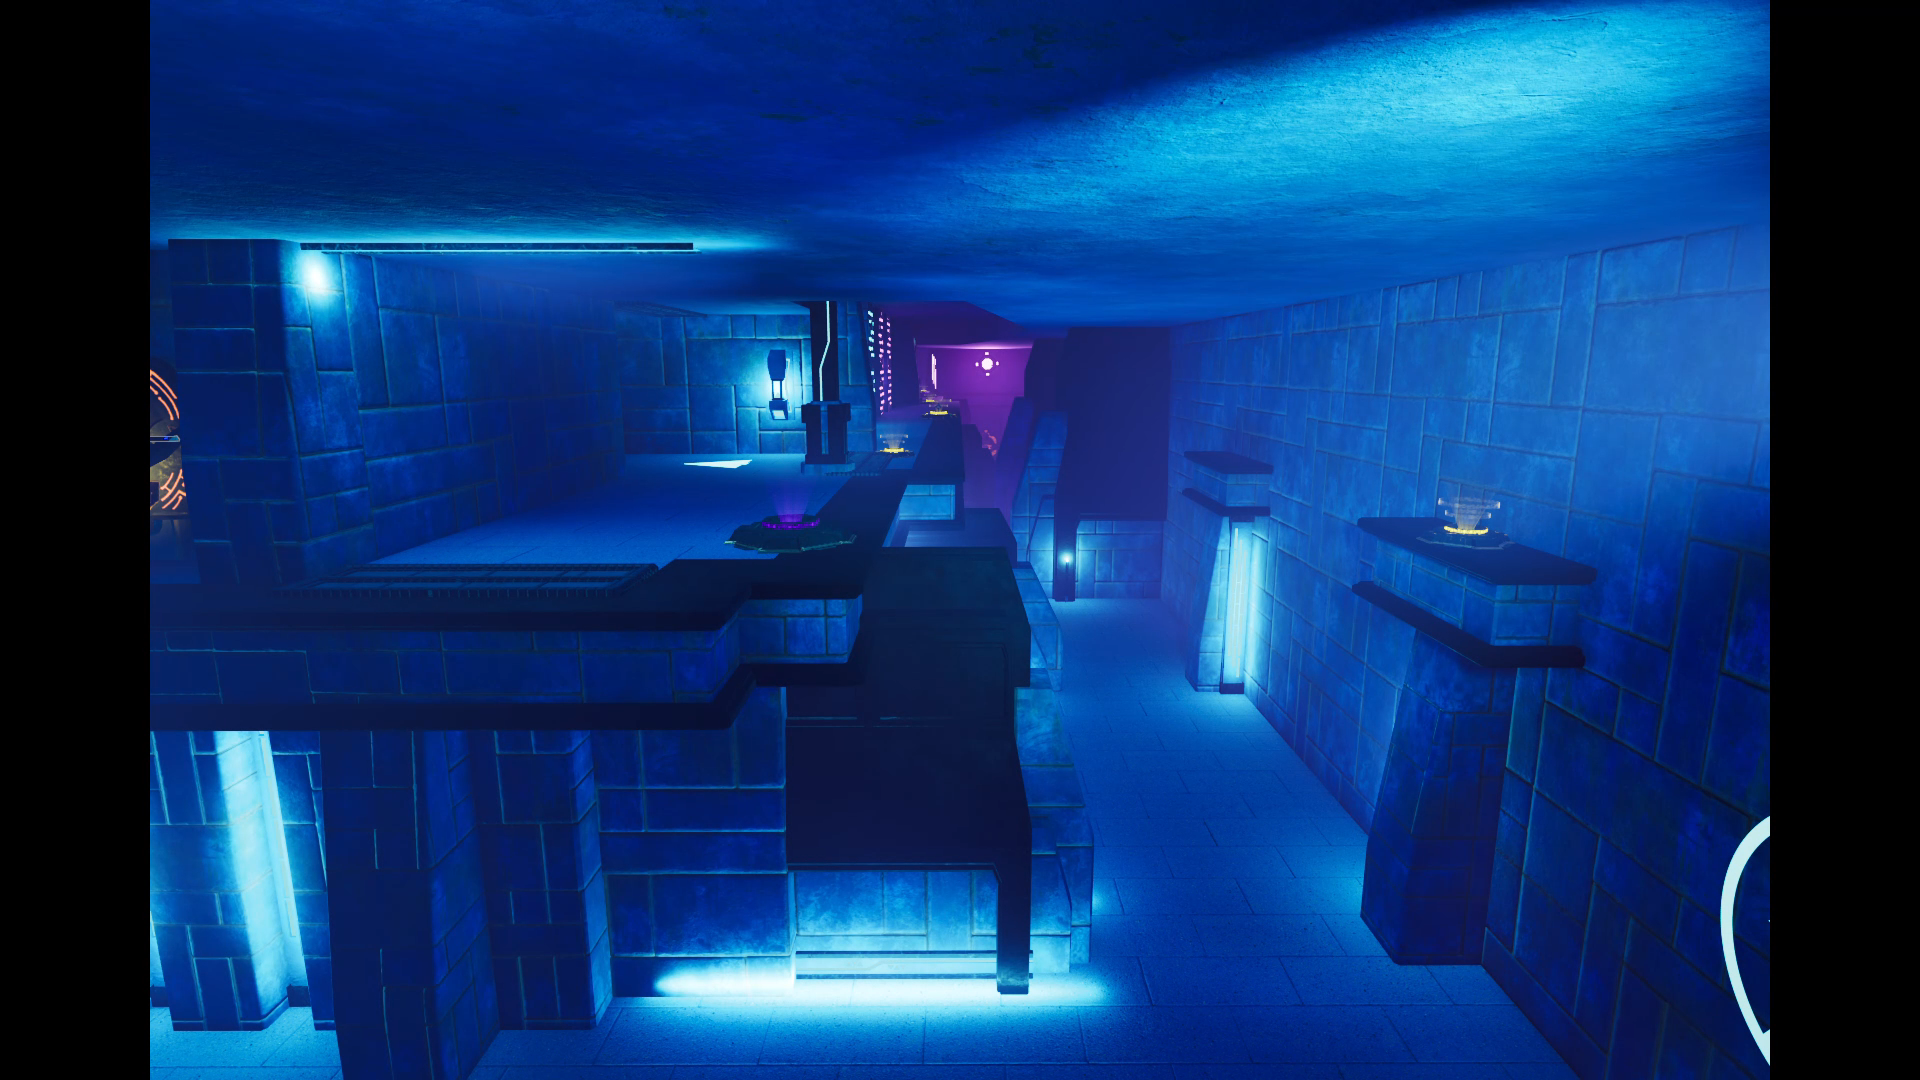
Panoctigon Round 2 Pass
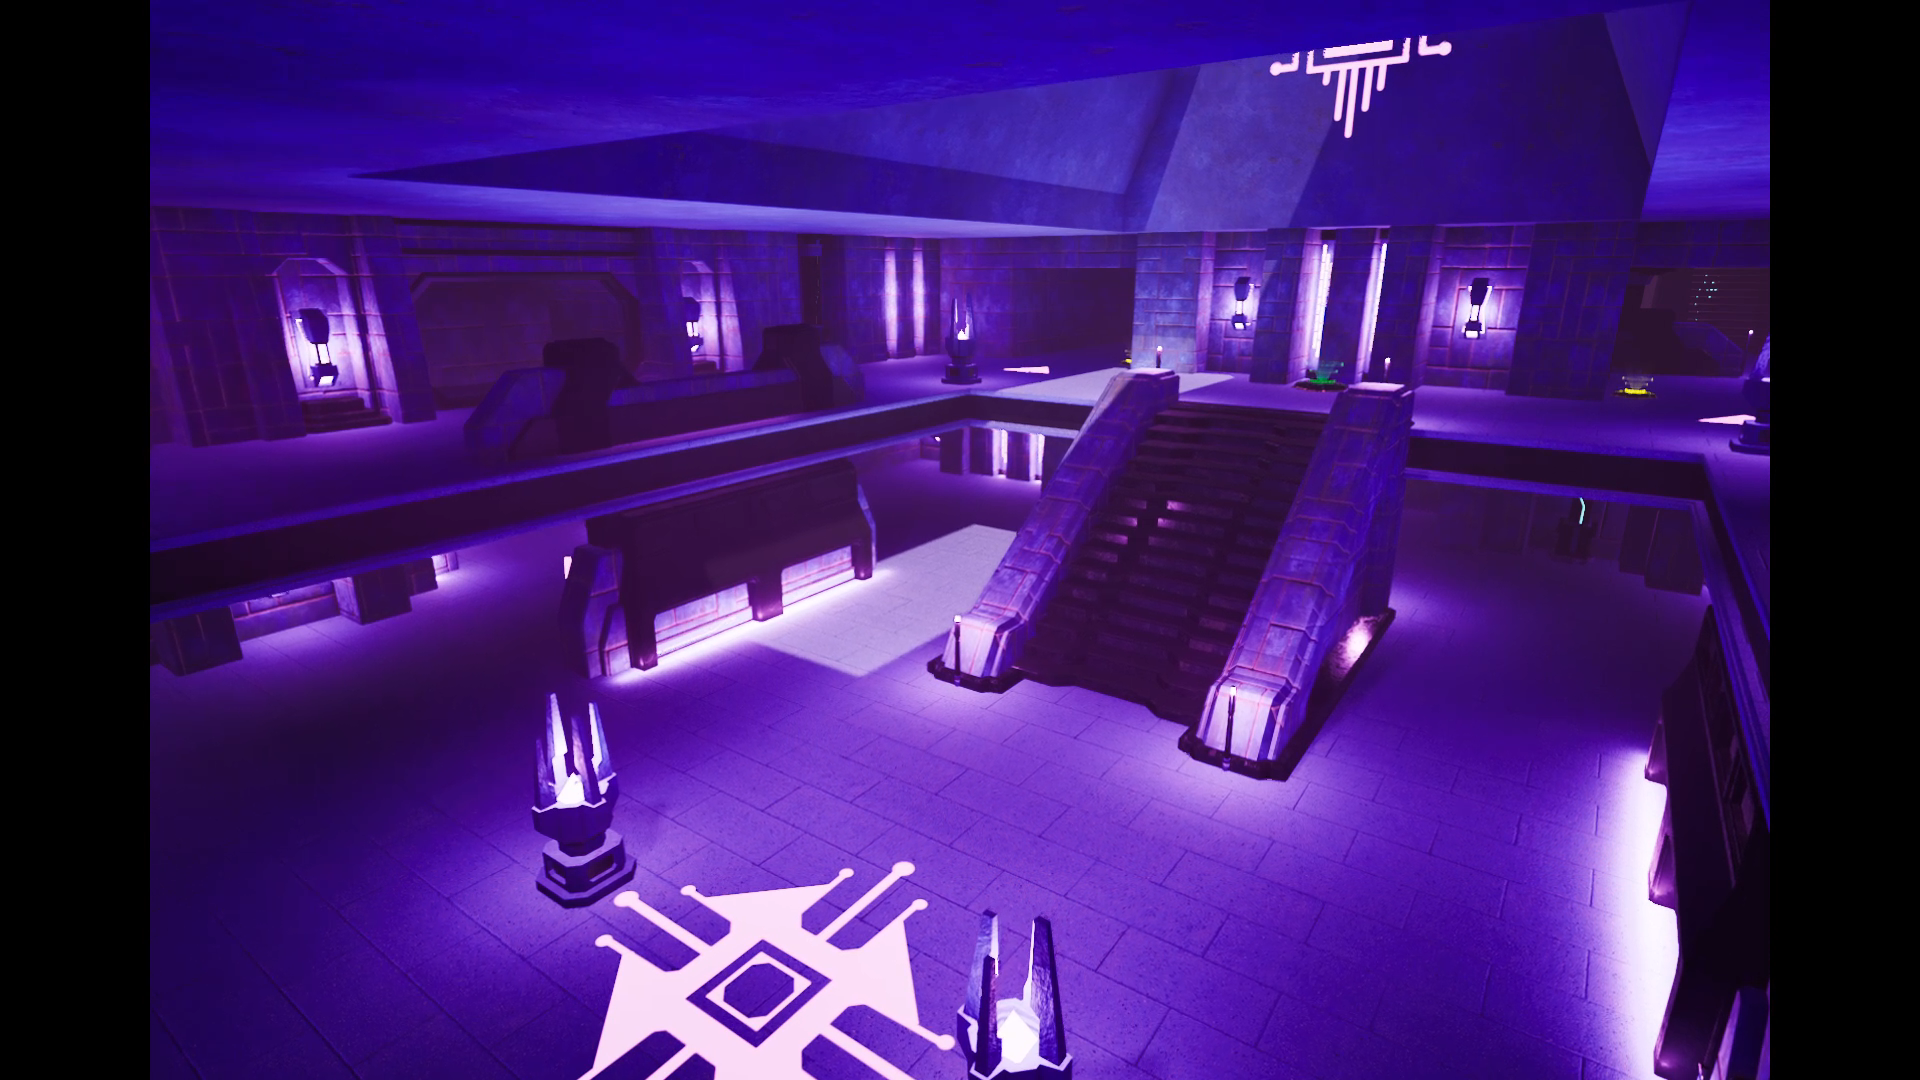
Cell Block Round 2 Pass
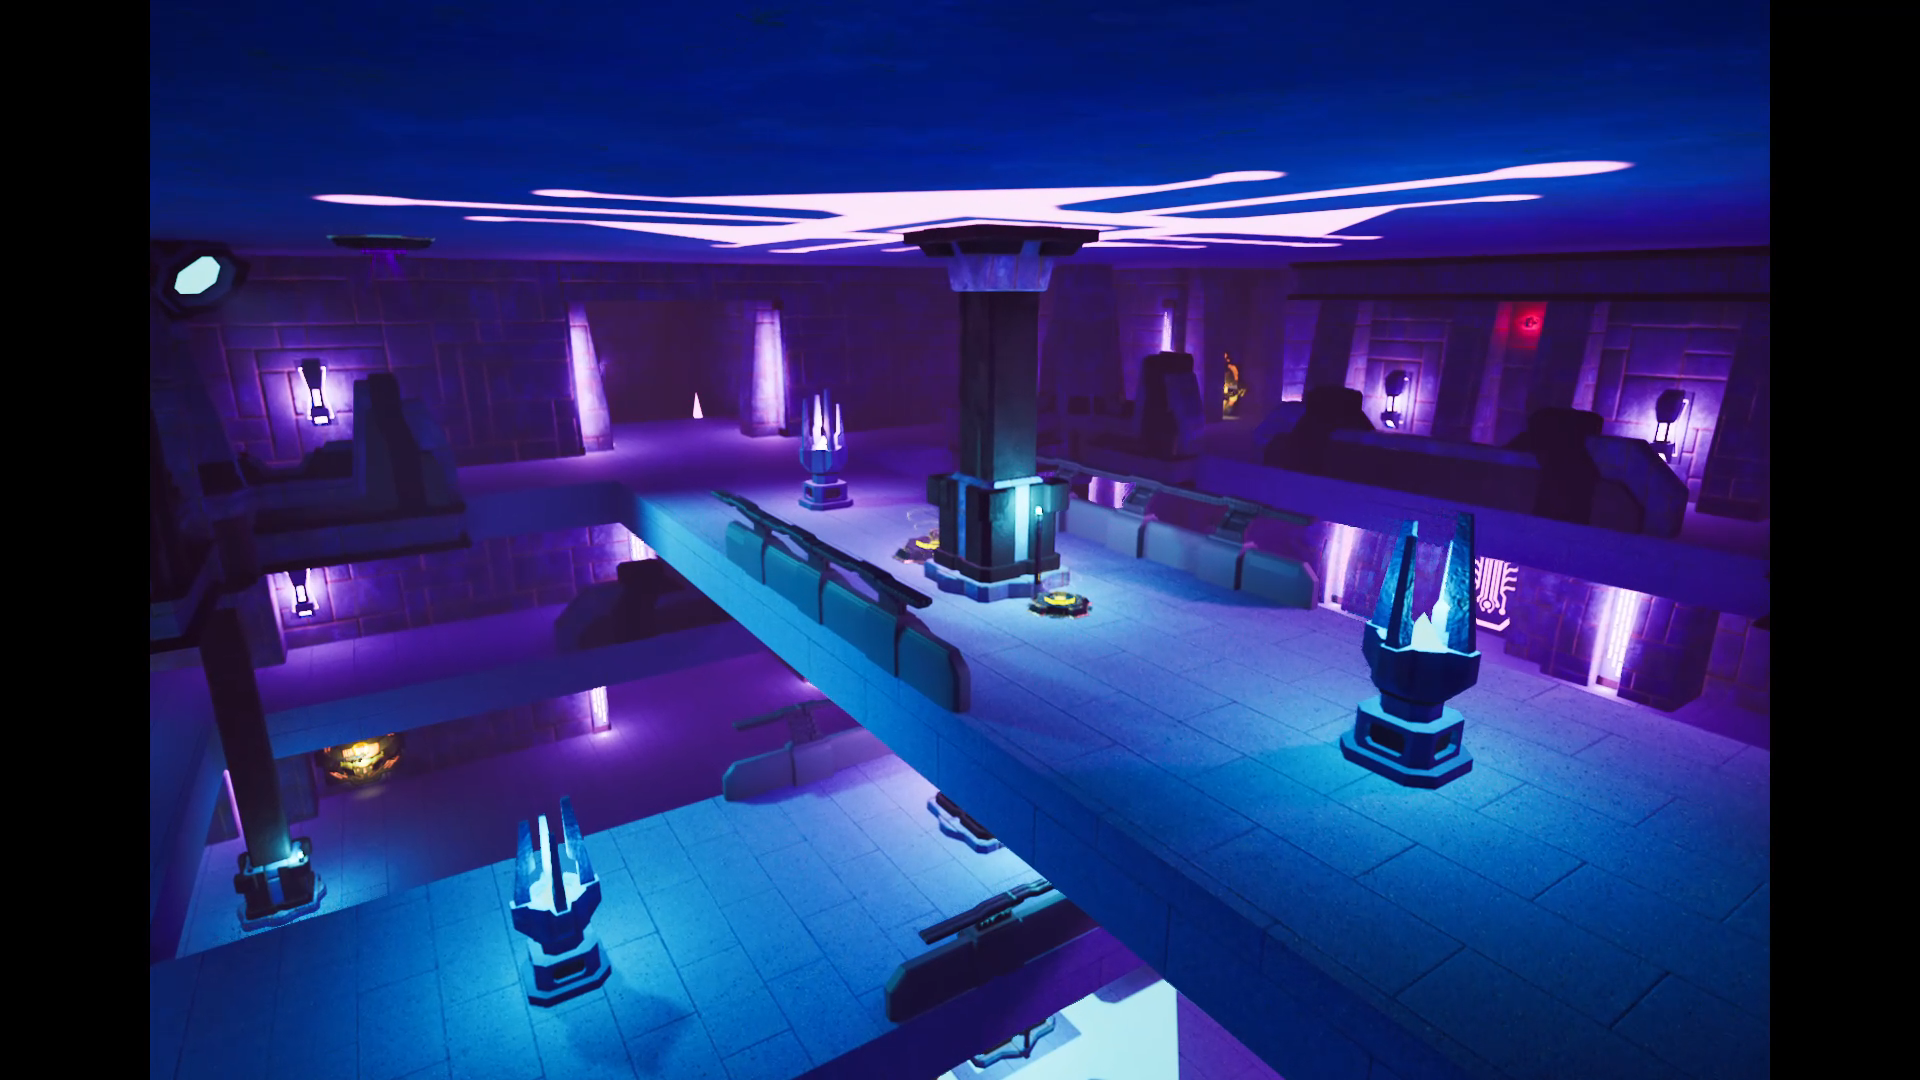
Cell Block Round 2 Pass
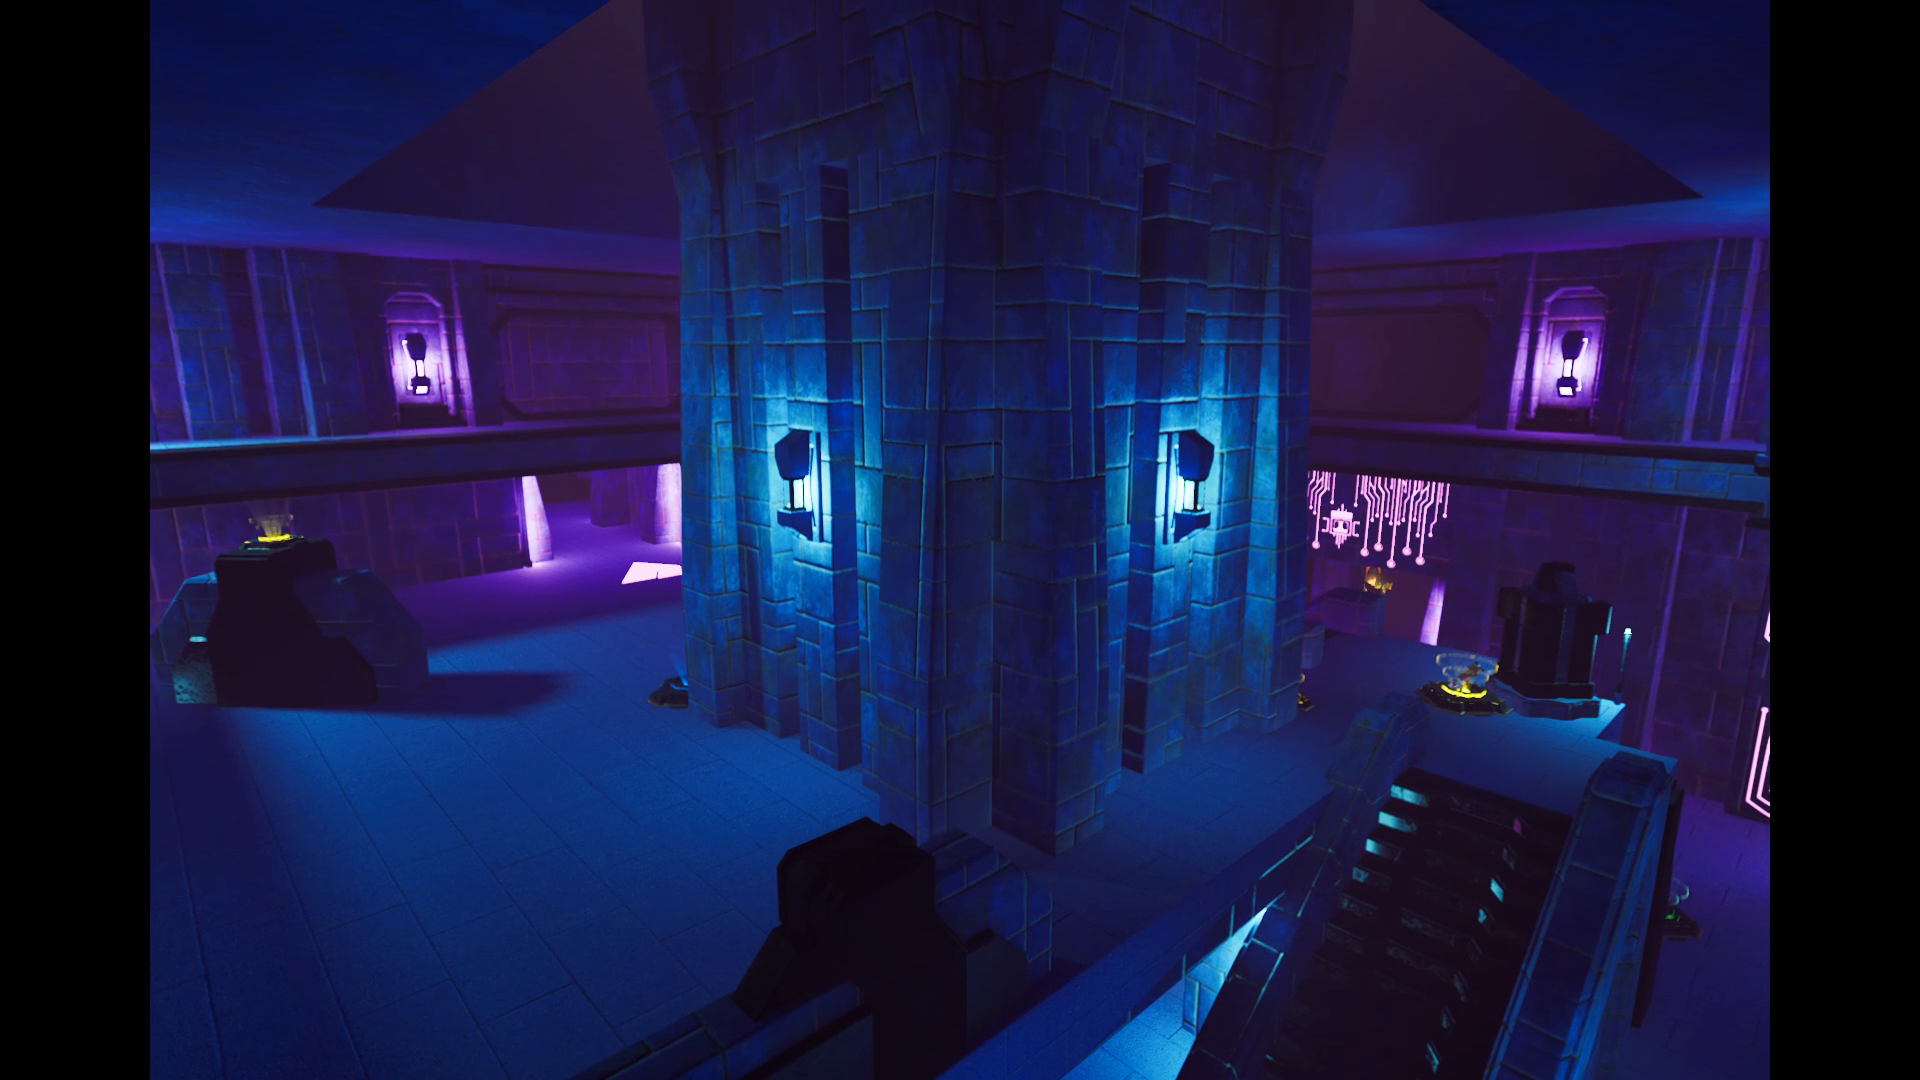
Cell Block Round 2 Pass
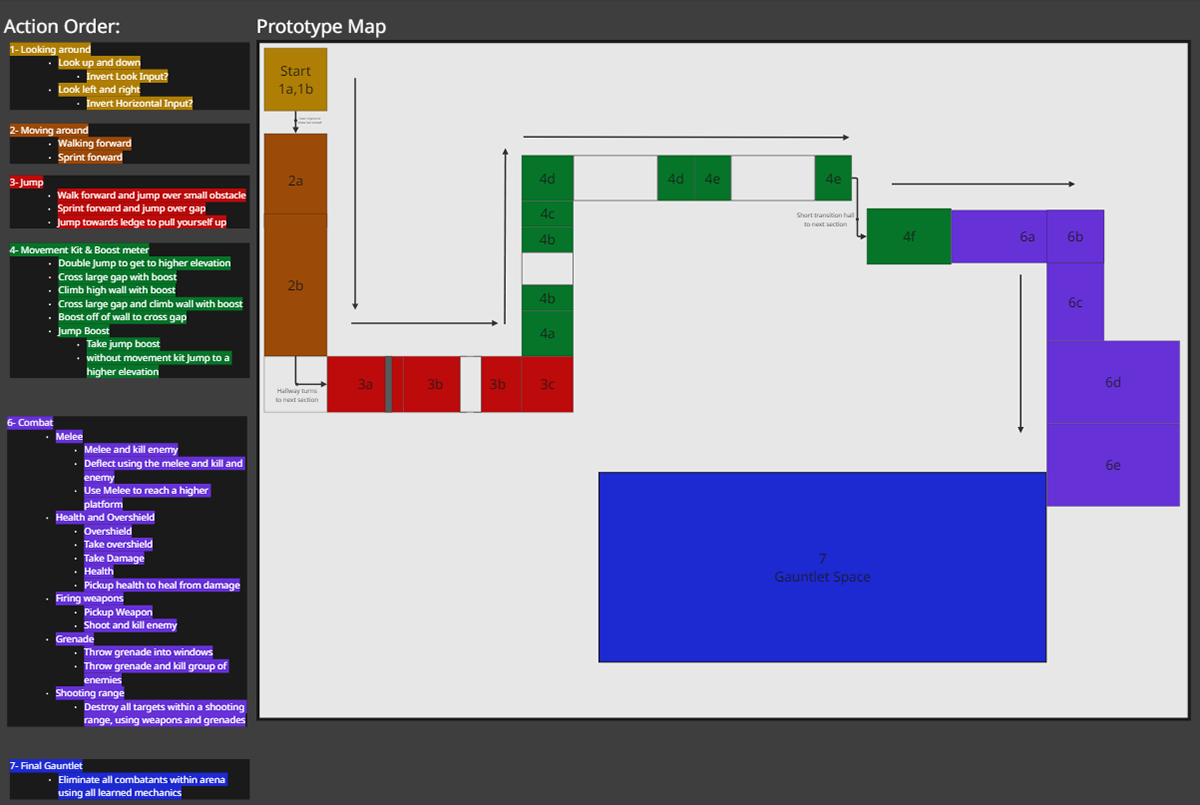
2D Prototype Tutorial
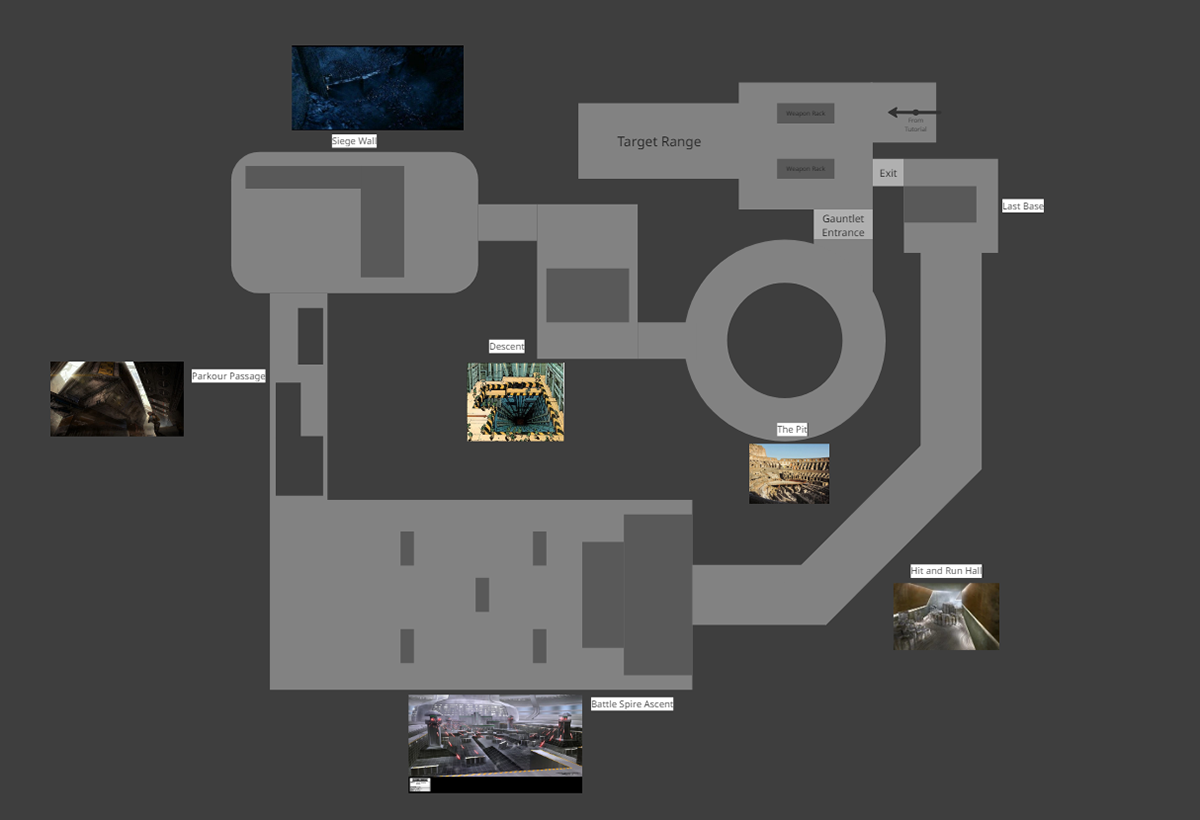
2D Prototype Tutorial Gauntlet
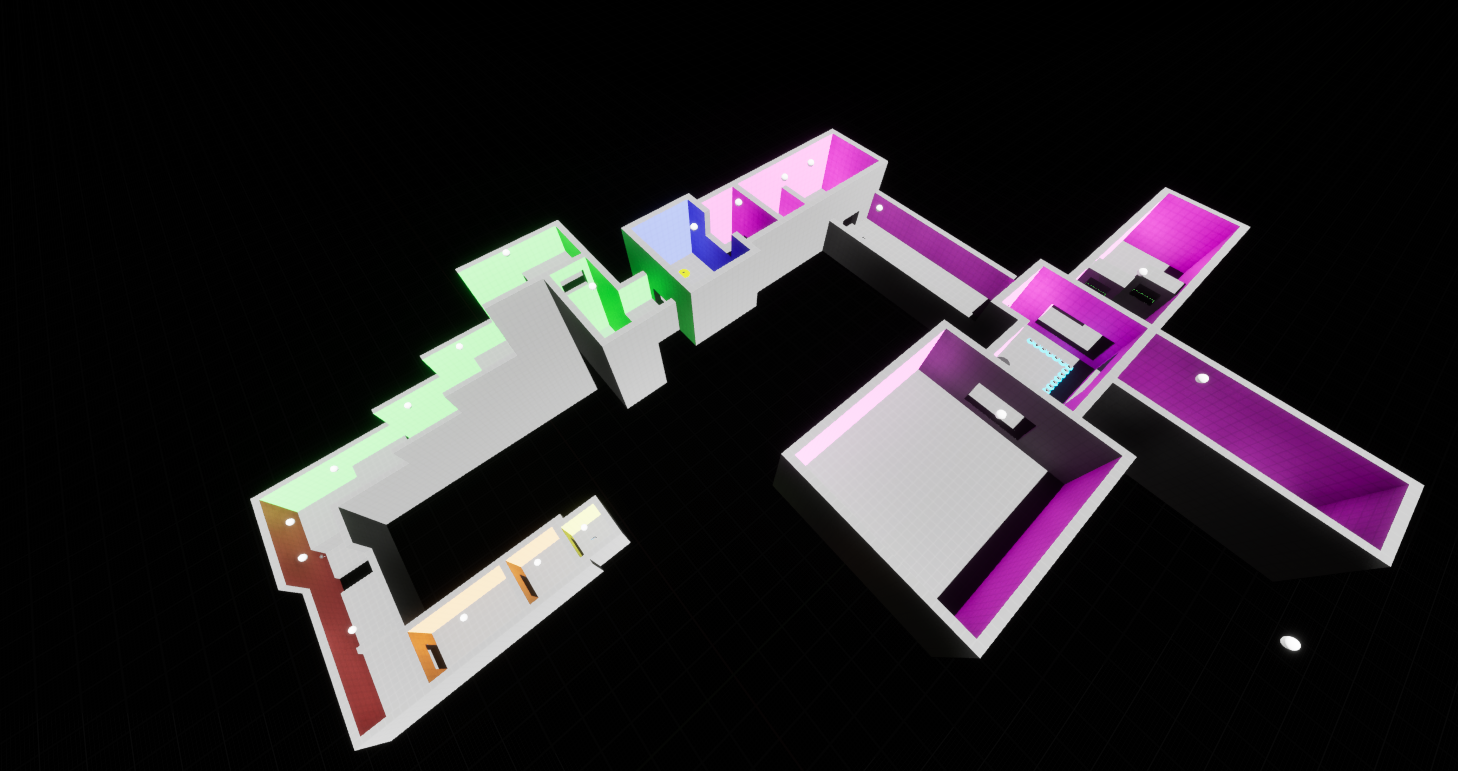
Initial Tutorial Prototype